このバージョンは誤った内容を含んでいる可能性があります。最新の承認済みスナップショットに切り替えてください。
必要な工具と部品
-
-
この手順は未翻訳です。 翻訳を手伝う。
-
To access and remove the fourth and final screw attaching the hood, the panel for the power button must be removed as follows:
-
Reach into the mouth of the printer and press on the small clip behind the power button. This allows the panel of the power button to be removed.
-
After pressing the clip, pull out the power button panel by pulling from right to left.
-
-
この手順は未翻訳です。 翻訳を手伝う。
-
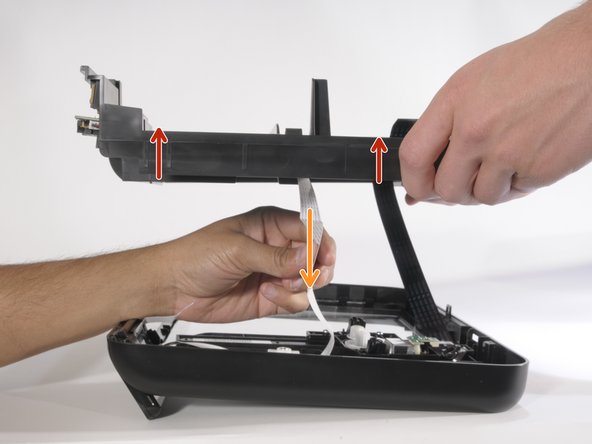
This step is easier with two people. Carefully have one person lift the hood of the printer 2-3 inches above where it was resting.
-
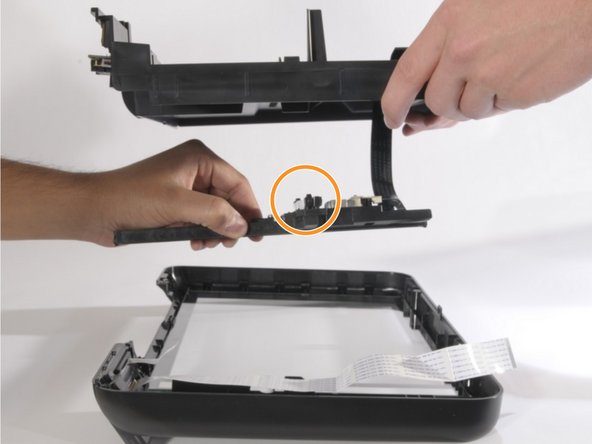
Remove the ribbon cables and wires attaching the motherboard (the only green PCB board) to the hood by gently pulling upward on them.
-
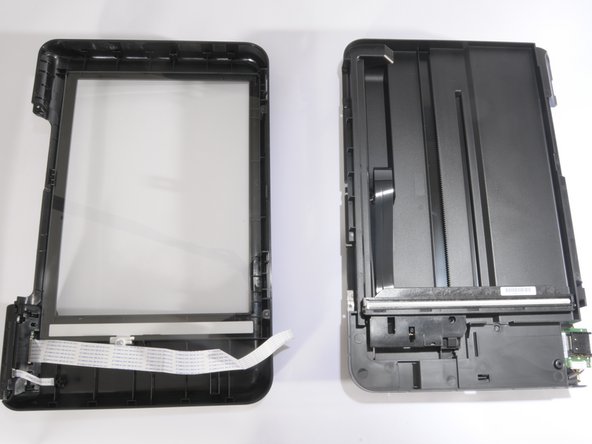
When all three cables are removed, lift the hood away from the printer and set it aside.
-


2 の人々がこのガイドを完成させました。
チーム

Cal Poly, Team 10-38, Forte Spring 2011 Cal Poly, Team 10-38, Forte Spring 2011人のメンバー
CPSU-FORTE-S11S10G38
5 メンバー
10のガイドは作成済み