必要な工具と部品
-
-
First you need to inspect the exterior of the device and locate the cracks. Usually the biggest cracks are located near the sim card slot and down the volume buttons.
-
-
-
-
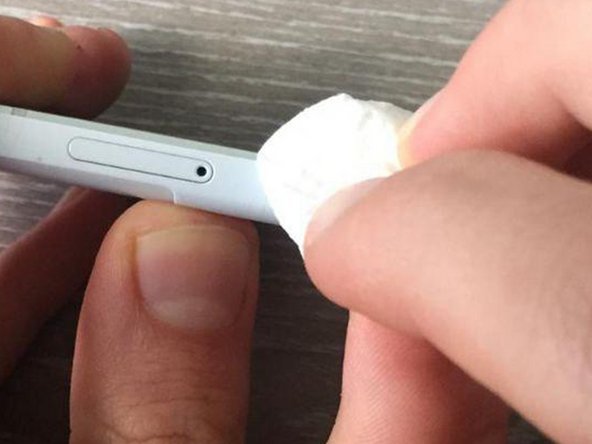
After the adhesive is applied use your fingers to press on the crack from the back of the device. In this way the crack opens and the adhesive gets inside the crack. After keeping it in this position for 10-15 sec you can take a piece of paper or anything else to wipe the left over adhesive while still applying force from the back.
-
-
-
After wiping the crack you can release the force and you must see tiny drops of adhesive coming out of the crack. From now leave the phone for 10-15 minutes to cure. Although full curing finishes after 48 hours. And after full curing you can repeat the process a couple of times. It woun't get full water resistance back but is better than nothing.
-


In conclusion this fix doesn’t recover full water resistance, but it adds some protection compared to the regular crack. Also, since the B7000 adhesive is somewhat soft means that this should be a kind of permanent fix.
In conclusion this fix doesn’t recover full water resistance, but it adds some protection compared to the regular crack. Also, since the B7000 adhesive is somewhat soft means that this should be a kind of permanent fix.
ある他の人がこのガイドを完成しました。