メインコンテンツにスキップ

How to fix Leaks in Shower Tiles by Caulking

必要な工具と部品

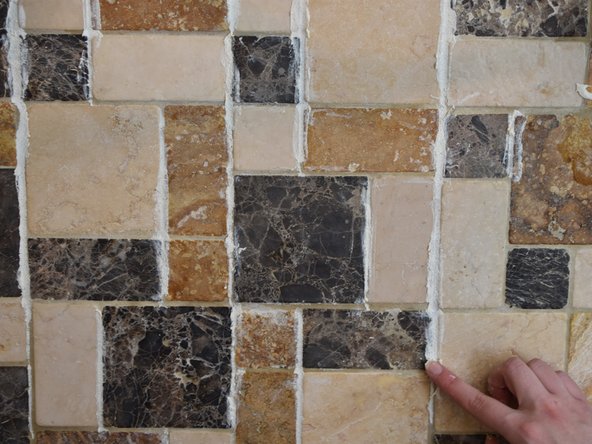
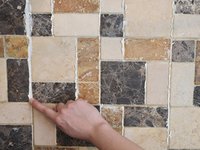
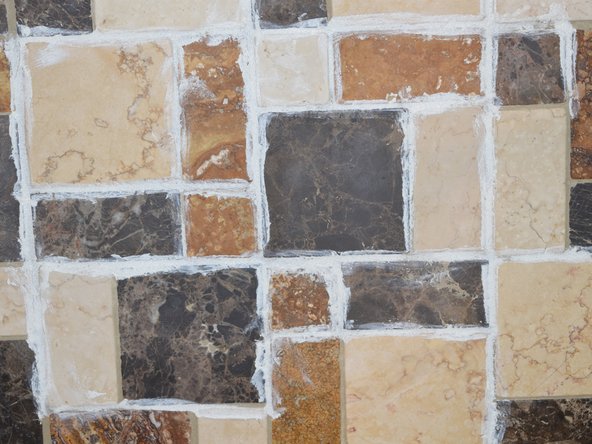
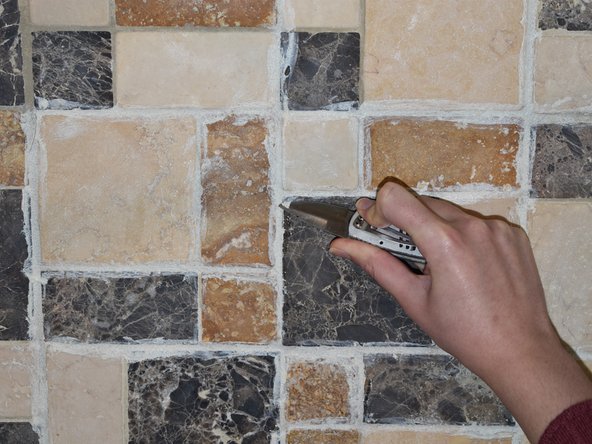
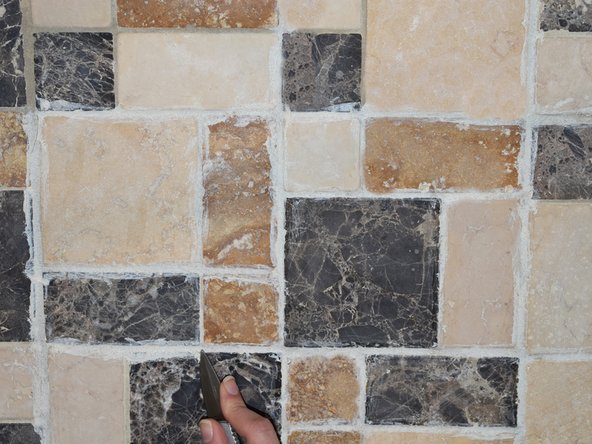
  1. How to fix Leaks in Shower Tiles by Caulking, How to fix Leaks in Shower Tiles by Caulking: 手順 1、 3の画像 1 How to fix Leaks in Shower Tiles by Caulking, How to fix Leaks in Shower Tiles by Caulking: 手順 1、 3の画像 2 How to fix Leaks in Shower Tiles by Caulking, How to fix Leaks in Shower Tiles by Caulking: 手順 1、 3の画像 3
    • Using a putty knife, remove the old caulk from the surface.

    • While using the scraper, hold the sharp end away from you.

  2. How to fix Leaks in Shower Tiles by Caulking: 手順 2、 3の画像 1 How to fix Leaks in Shower Tiles by Caulking: 手順 2、 3の画像 2 How to fix Leaks in Shower Tiles by Caulking: 手順 2、 3の画像 3
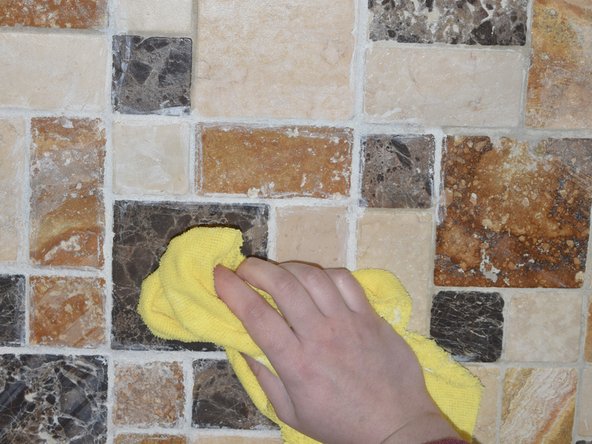
    • Using a damp cloth, wipe the surface to remove the scraped caulking.

    • Using another cloth, wipe the surface with disinfectant.

  3. How to fix Leaks in Shower Tiles by Caulking: 手順 3、 3の画像 1 How to fix Leaks in Shower Tiles by Caulking: 手順 3、 3の画像 2 How to fix Leaks in Shower Tiles by Caulking: 手順 3、 3の画像 3
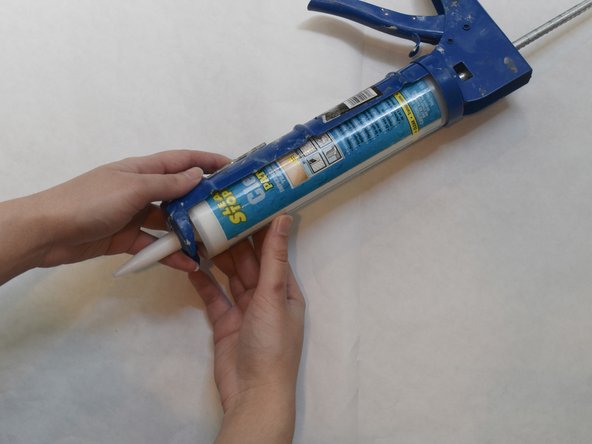
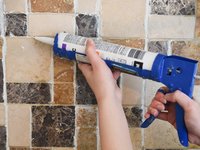
    • Place the caulking tube in the caulking gun.

    • Place the back of the tube into the gun.

    • Push the front of the tube inside.

    • Twist the hook at the end of the caulking gun inwards to hold the caulking tube in place.

  4. How to fix Leaks in Shower Tiles by Caulking: 手順 4、 3の画像 1 How to fix Leaks in Shower Tiles by Caulking: 手順 4、 3の画像 2 How to fix Leaks in Shower Tiles by Caulking: 手順 4、 3の画像 3
    • Cut the tip of the caulking tube at an angle.

    • Test the caulk on a paper towel before applying it on the surface.

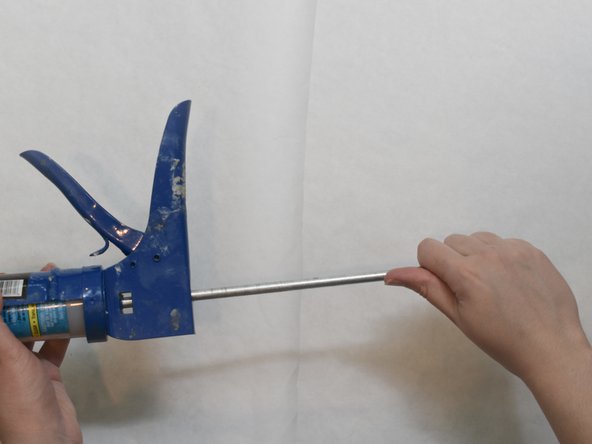
    • Press the trigger on the caulking gun to release the caulk from the tube.

  5. How to fix Leaks in Shower Tiles by Caulking: 手順 5、 3の画像 1 How to fix Leaks in Shower Tiles by Caulking: 手順 5、 3の画像 2 How to fix Leaks in Shower Tiles by Caulking: 手順 5、 3の画像 3
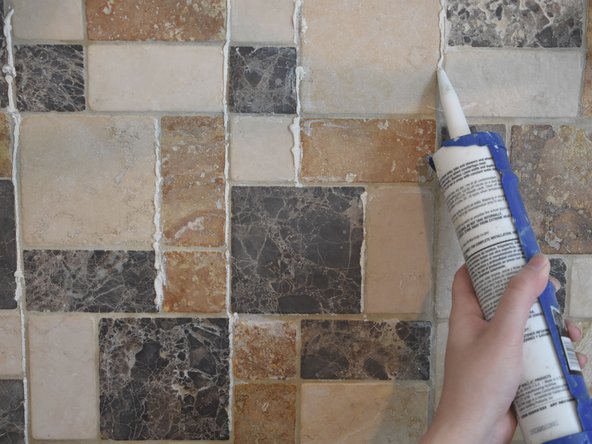
    • Start caulking at the top of the surface and move down along the surface.

    • Place the tip of the caulking gun on the surface between two tiles and move it down at a steady pace.

    • Go back to the top and apply the caulking on the next tile, until all of the space between the tiles has caulking.

    • Hold the caulking gun with both hands to be steady.

  6. How to fix Leaks in Shower Tiles by Caulking: 手順 6、 3の画像 1 How to fix Leaks in Shower Tiles by Caulking: 手順 6、 3の画像 2 How to fix Leaks in Shower Tiles by Caulking: 手順 6、 3の画像 3
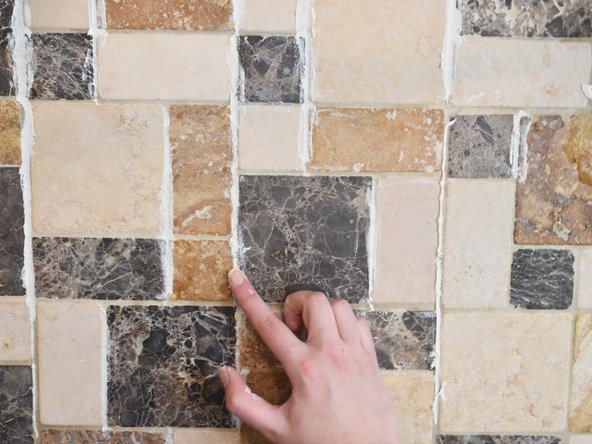
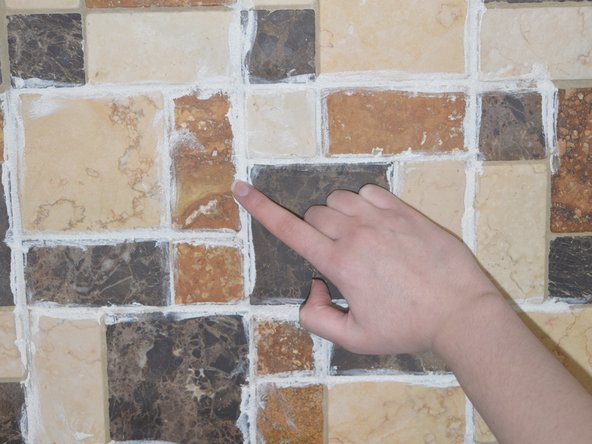
    • Using a damp finger, smoothen the caulking on the surface.

    • Keep a rag nearby to periodically wipe off any excess caulking.

    • Allow the caulking to dry for five minutes, before moving on to the next part.

  7. How to fix Leaks in Shower Tiles by Caulking: 手順 7、 3の画像 1 How to fix Leaks in Shower Tiles by Caulking: 手順 7、 3の画像 2 How to fix Leaks in Shower Tiles by Caulking: 手順 7、 3の画像 3
    • Now, apply the caulking in the horizontal direction.

    • Repeat the process in Step 5 and 6.

    • Allow the caulking to dry for 5 minutes before moving to the next part.

  8. How to fix Leaks in Shower Tiles by Caulking: 手順 8、 2の画像 1 How to fix Leaks in Shower Tiles by Caulking: 手順 8、 2の画像 2
    • Go over any areas that were missed or that don't have enough caulking.

    • Put a pea size amount of caulking in that area and smoothen it out with a damp finger.

  9. How to fix Leaks in Shower Tiles by Caulking: 手順 9、 3の画像 1 How to fix Leaks in Shower Tiles by Caulking: 手順 9、 3の画像 2 How to fix Leaks in Shower Tiles by Caulking: 手順 9、 3の画像 3
    • Let the surface dry for 20 minutes.

    • After the caulking has dried, remove the excess using a putty knife.

    • To avoid scratches while removing the excess, lay the scrapper flat towards the surface.

  10. How to fix Leaks in Shower Tiles by Caulking: 手順 10、 2の画像 1 How to fix Leaks in Shower Tiles by Caulking: 手順 10、 2の画像 2
    • In case there is still any excess, scrub over the scraped area with a damp cloth.

    • If there is any caulking left over, cover the tip of the caulking tube with a paper towel and store for later use.

    • The caulking tube can be left in the caulking gun or taken out by performing step 4 backward.

終わりに

Clean the surface and completely let it dry before using it. It may take up to a full day to dry completely, so be prepared to not use the surface for a while!

ある他の人がこのガイドを完成しました。

作成者

2人の作成者と共同で作成されました。

Suman Grewal

メンバー登録日: 04/26/20

208 ポイント

1ガイドが承認済み

チーム

UW Tacoma, Team S1-G36, Cardinal Spring 2020 UW Tacoma, Team S1-G36, Cardinal Spring 2020人のメンバー

UWT-CARDINAL-S20S1G36

1 メンバー

1のガイドは作成済み

0 件のコメント

コメントを追加

統計データ:

過去 24時間: 2

過去 7 日: 12

過去 30 日: 39

今までの合計 1,324