はじめに
This guide will help you remove the cover plates from your Canon Powershot SD790 IS digital camera. Removing the cover plates would be useful to you if you are trying to access the inside of your camera, which would allow you to fix any repairs that are needed.
必要な工具と部品
-
-
1. Use a Phillips #0 screwdriver to remove the six screws from the sides of the camera. 2. Hold the mini-USB cover open. Gently grip and remove the side cover. 3. Grip the camera from the sides and carefully remove the screen cover.
-
-
-
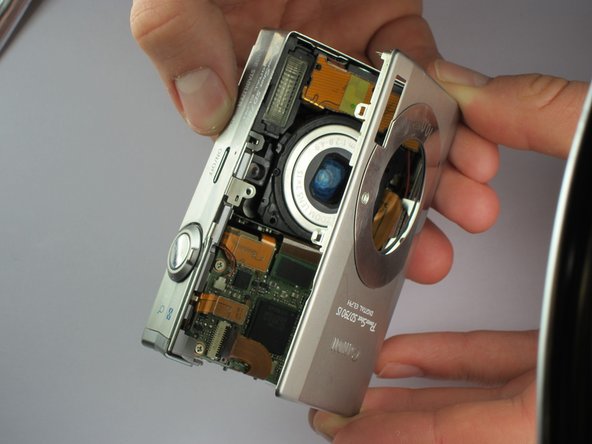
Grip the camera from the sides and carefully remove the screen cover.
-
Start at the bottom edge and slowly lift up the cover.
-
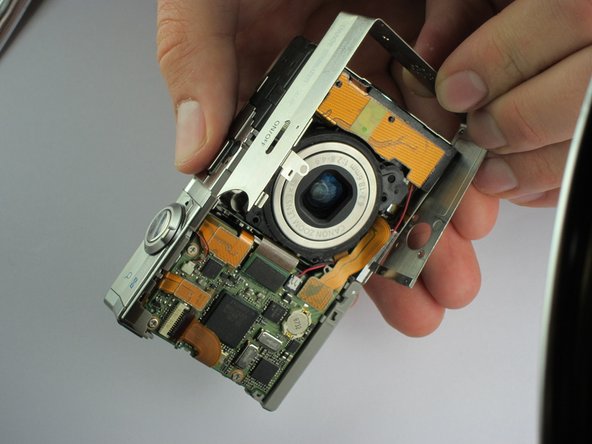
Remove the front cover while continuing to grip the sides of the camera.
-
After removing the screen cover, remove the screw by the power switch that anchors the side plate to separate the sides from the camera.
-


To reassemble your device, follow these instructions in reverse order.
Use a Phillips #0 screwdriver to remove the six screws from the sides of the camera.
Hold the mini-USB cover open. Gently grip and remove the side cover.
Grip the camera from the sides and carefully remove the screen cover.
To reassemble your device, follow these instructions in reverse order.
Use a Phillips #0 screwdriver to remove the six screws from the sides of the camera.
Hold the mini-USB cover open. Gently grip and remove the side cover.
Grip the camera from the sides and carefully remove the screen cover.
3 の人々がこのガイドを完成させました。
チーム

Cal Poly, Team 4-33, Regan Winter 2011 Cal Poly, Team 4-33, Regan Winter 2011人のメンバー
CPSU-REGAN-W11S4G33
4 メンバー
5のガイドは作成済み