はじめに
If your DiseZeit Manual Coffee Grinder Z1M isn't spinning and grinding your coffee like how it should, this guide will help you unjam the grinder. This guide could also be helpful for routine cleanings of the grinder to prevent more jams, or cross-contamination when switching to new beans.
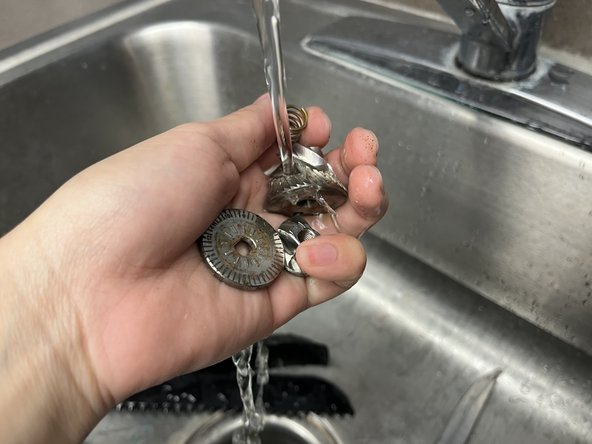
A manual coffee grinder can get clogged more often than an automatic coffee grinder used in commercial settings, and it can be confusing for individuals who enjoy making quality coffee at home to figure out how to clean out their personal grinding devices. All you will need for this guide is a place to wash the parts of the grinder.
-
-
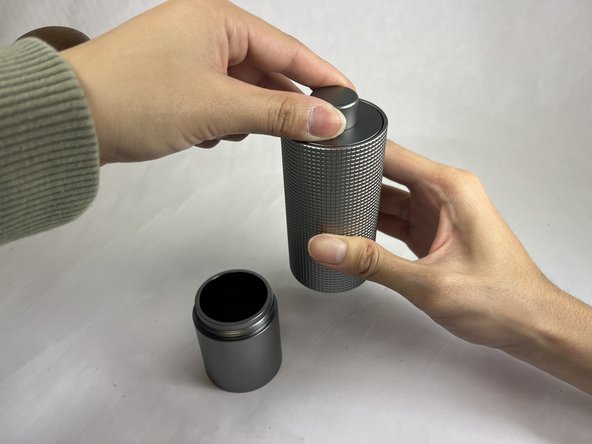
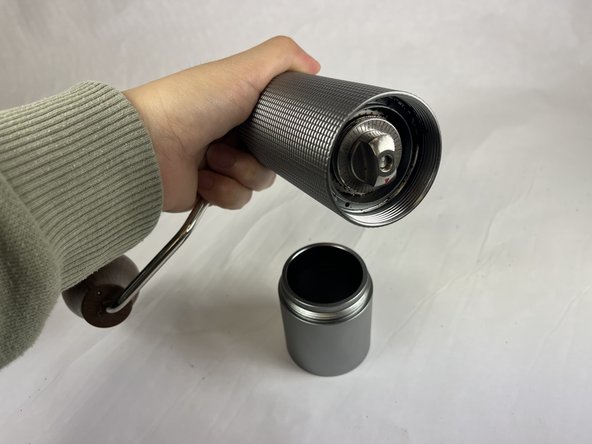
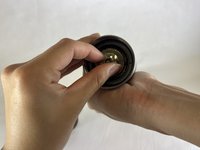
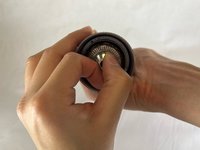
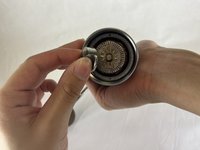
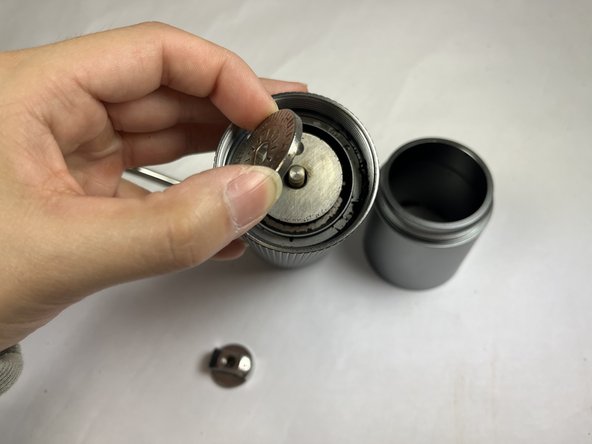
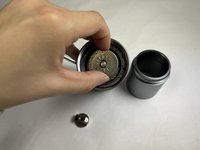
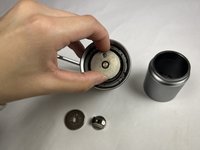
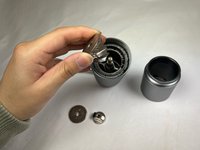
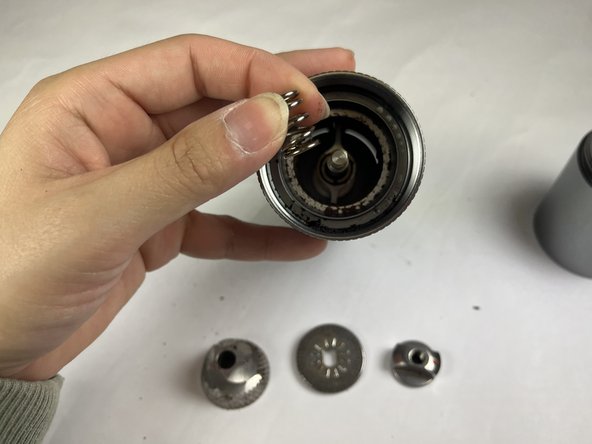
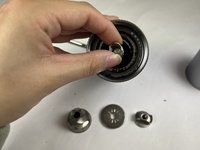
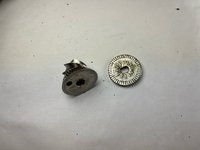
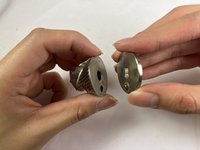
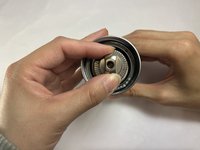
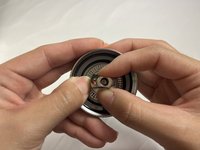
Unscrew the bottom of your grinder where the coffee grounds are held and remove it from the grinder's body.
-
-


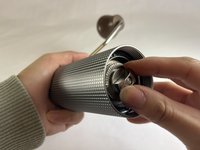

Enjoy your fresh coffee!
Enjoy your fresh coffee!

チーム

UC Davis, Team 1-4, Morris Winter 2024 UC Davis, Team 1-4, Morris Winter 2024人のメンバー
UCD-MORRIS-W24S1G4
3 メンバー
1のガイドは作成済み