はじめに
Follow this guide to completely reshell your Game Boy Advance.
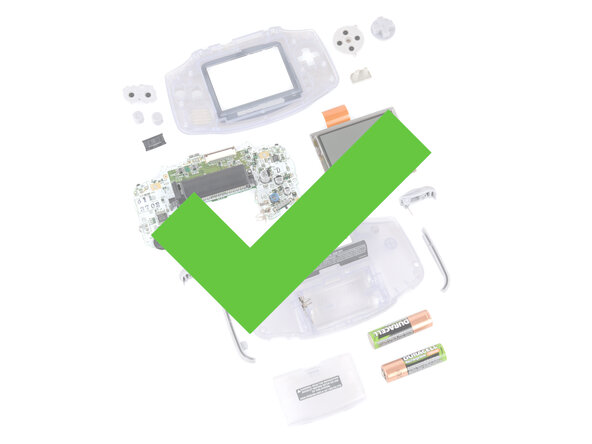
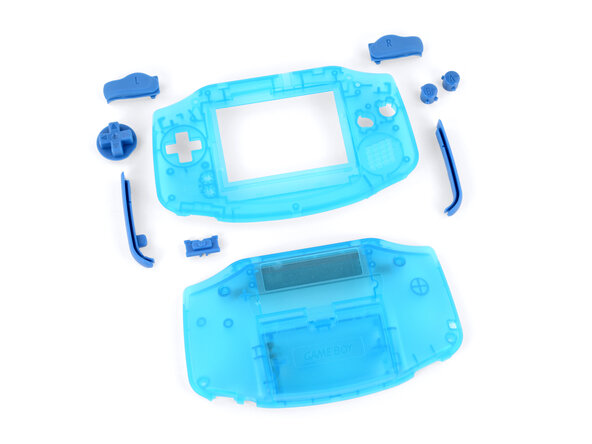
Reshelling your Game Boy Advance involves swapping out its outer plastic housing and transferring the internals, typically for customization.
This process replaces the both shells, and may also include new buttons, membranes, and the screen lens. You can also opt to replace or upgrade the screen and motherboard during this process. However, this guide doesn't cover any soldering, which is typically required for screen and motherboard upgrades.
The Game Boy Advance uses JIS screws. If you use a non-iFixit Phillips driver in JIS screws, you'll risk stripping them. iFixit's Phillips bits are designed to be compatible with JIS screws.
必要な工具と部品
-
-
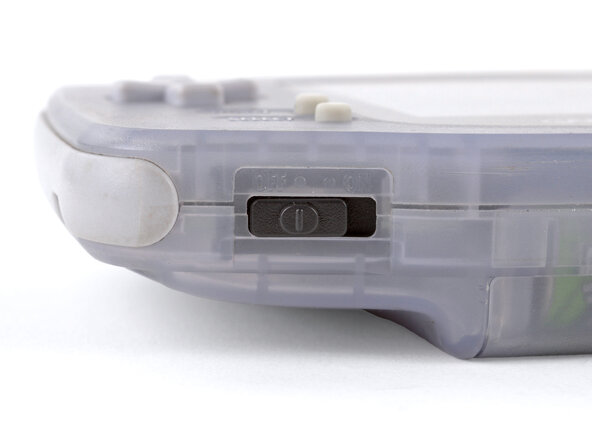
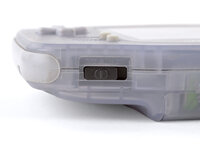
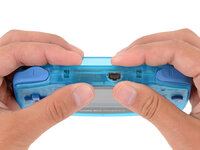
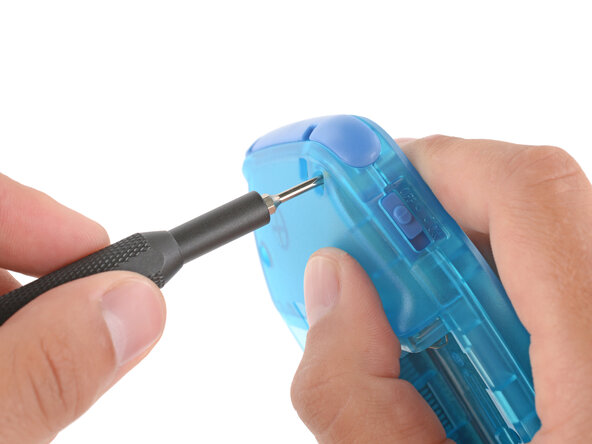
Before working on your Game Boy, turn the power switch to the OFF position and unplug any cables.
-
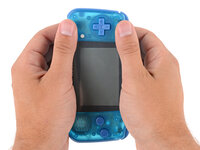
If you have a game cartridge installed, remove it.
-
-
-
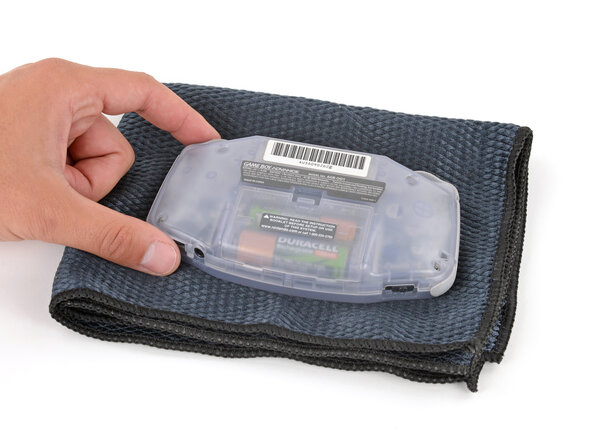
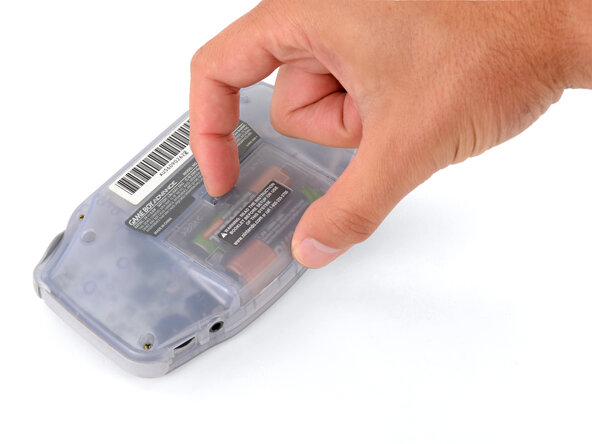
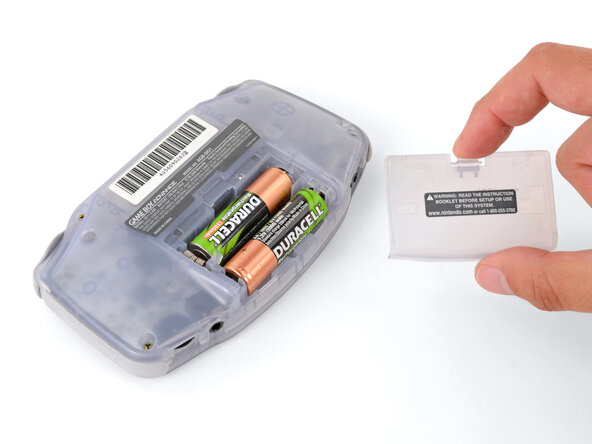
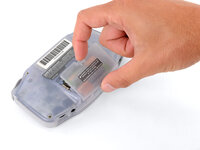
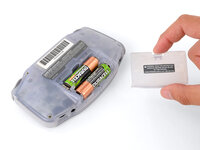
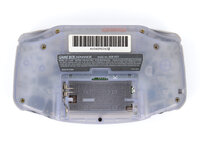
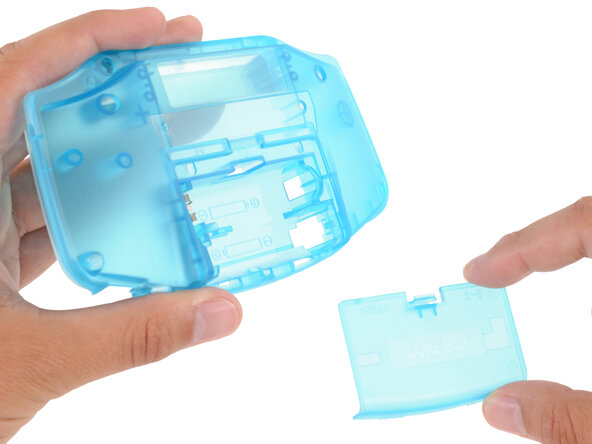
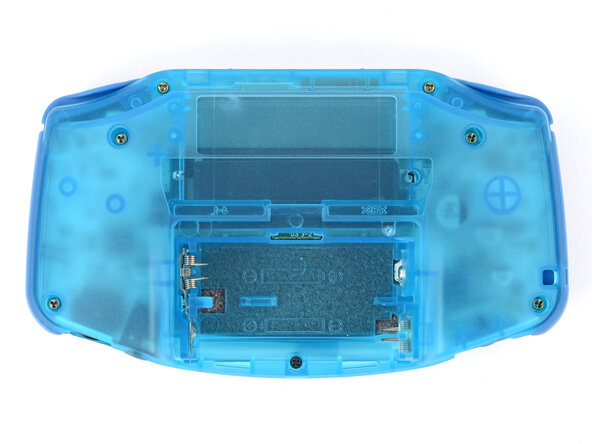
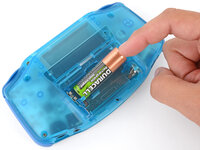
Release the battery cover tab with your finger and swing the cover away from your Game Boy to remove it.
-
-
-
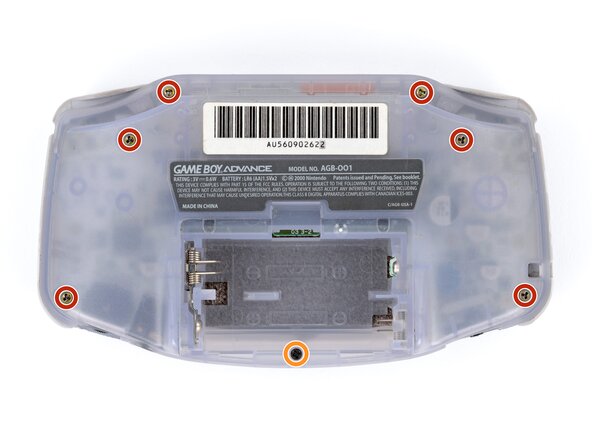
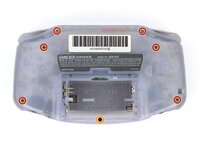
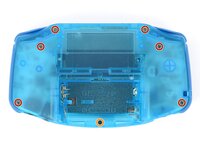
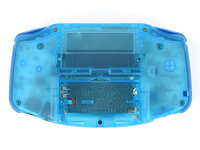
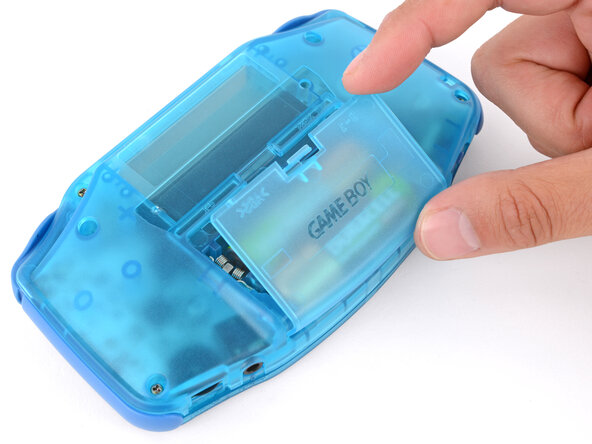
Remove the seven screws securing the back shell:
-
Six 9.4 mm‑long tri‑point Y0 screws
-
One 8.5 mm‑long JIS 1 screw
-
-
-
Lift the shoulder buttons (aka L and R buttons) straight up to remove them.
-
-
-
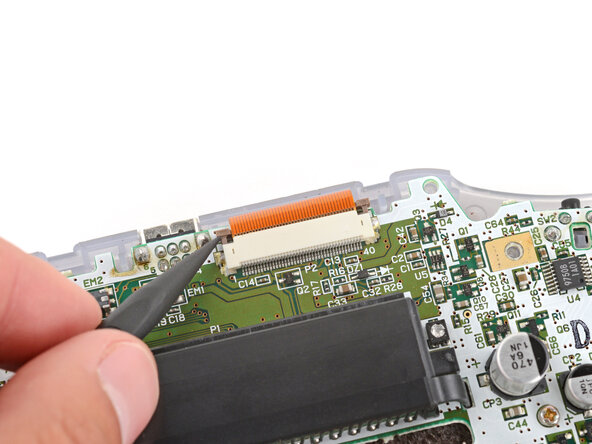
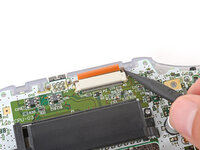
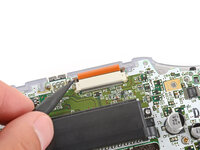
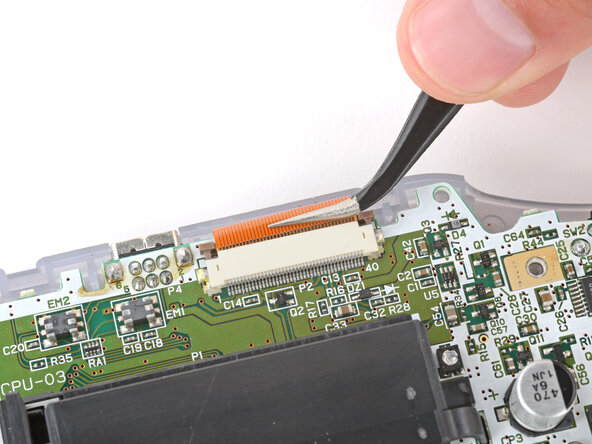
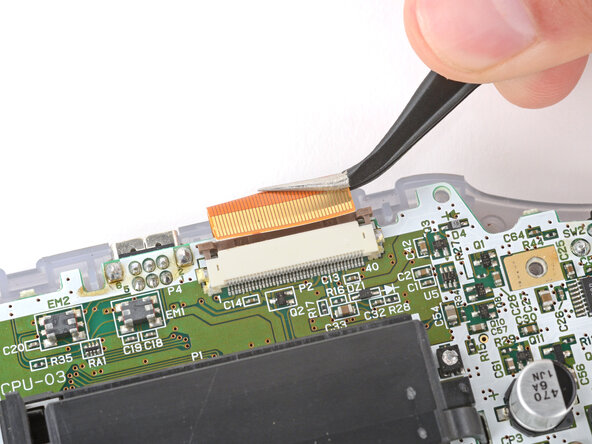
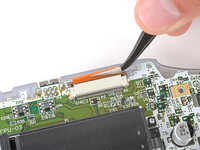
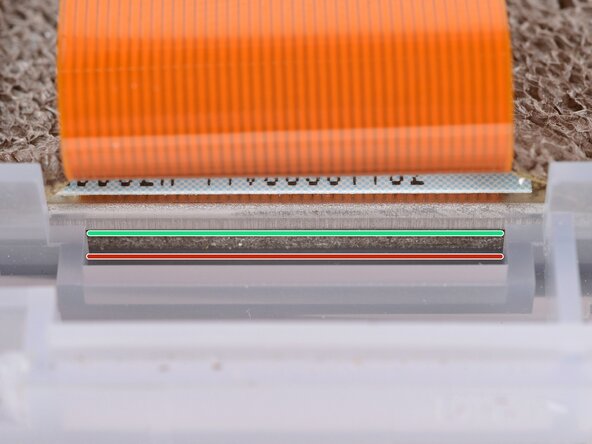
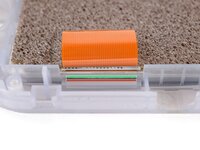
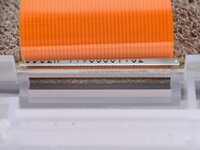
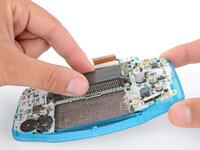
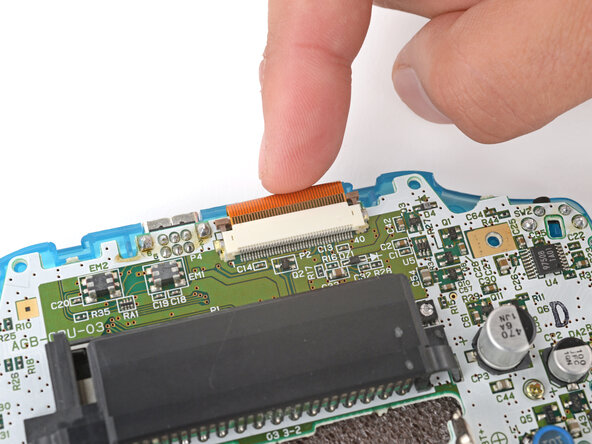
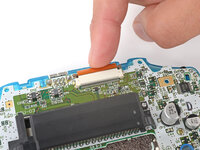
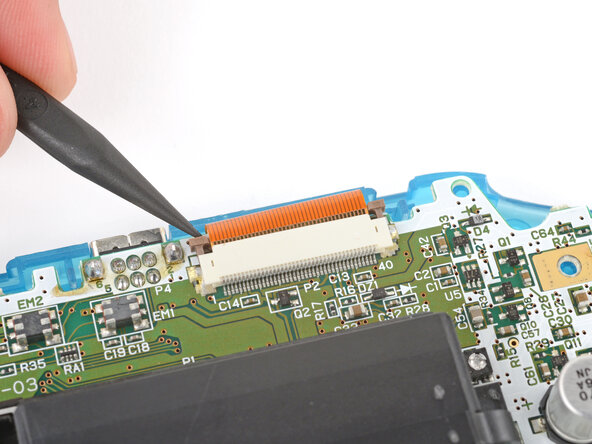
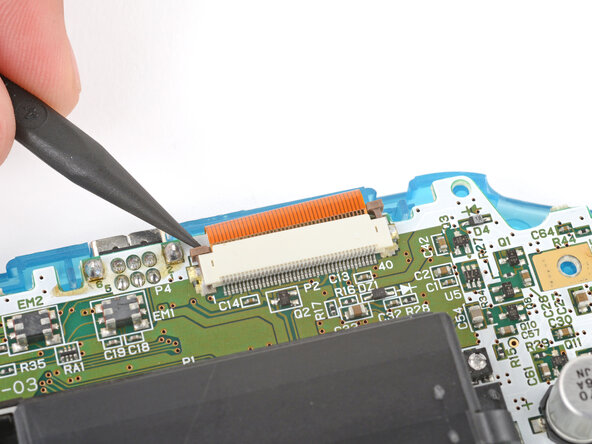
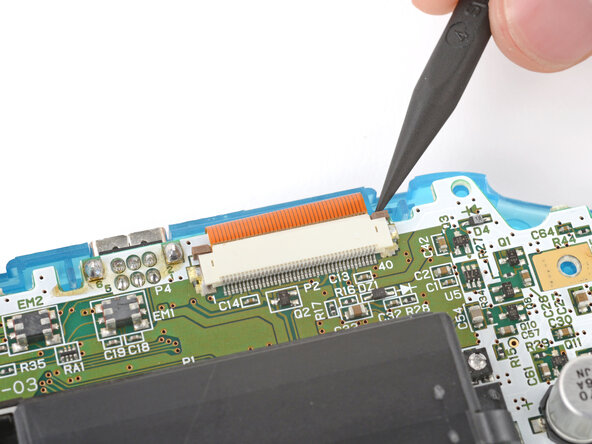
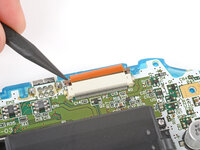
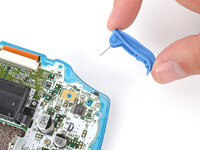
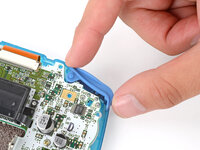
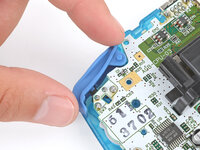
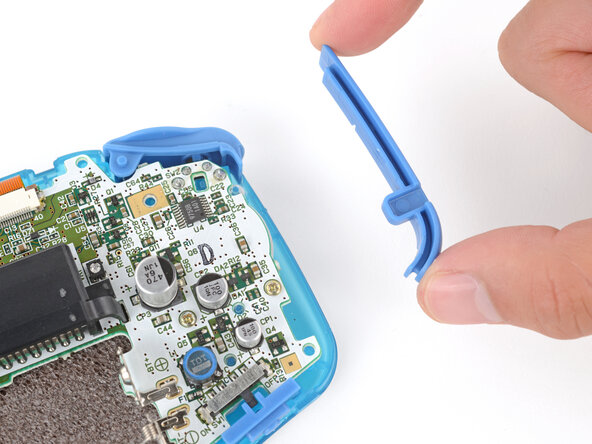
Use the point of a spudger to fully push up both locking tabs on either side of the screen cable connector.
-
-
-
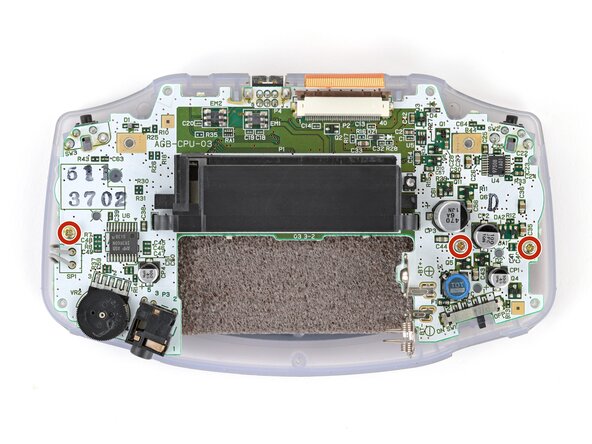
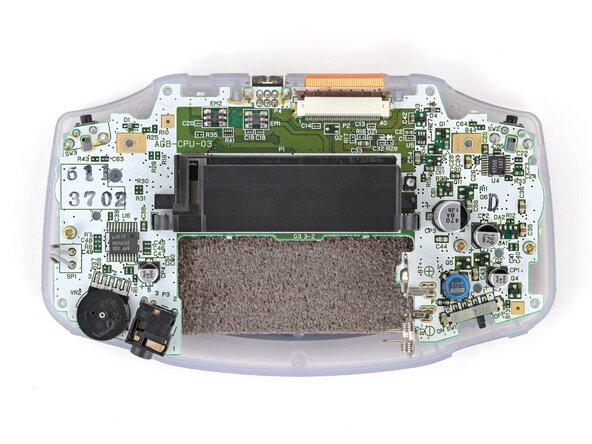
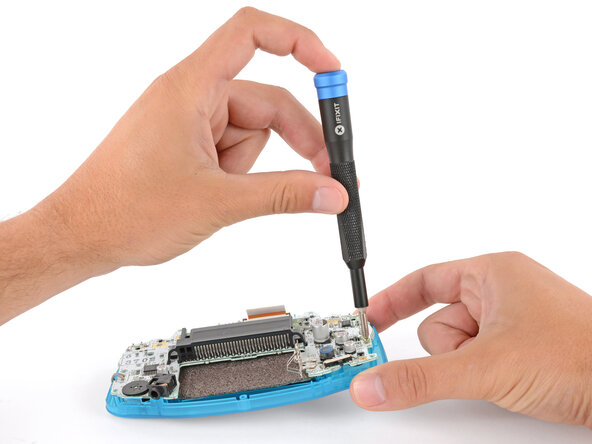
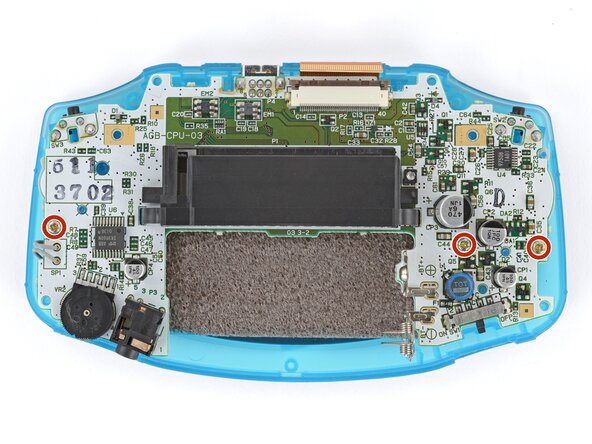
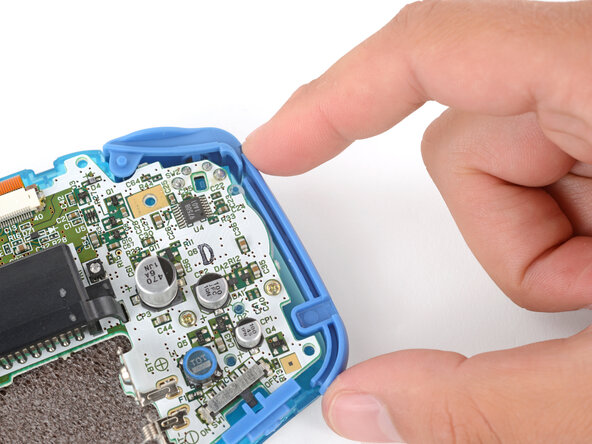
Use a JIS 1 screwdriver to remove the three 7 mm‑long screws securing the motherboard.
-
-
-
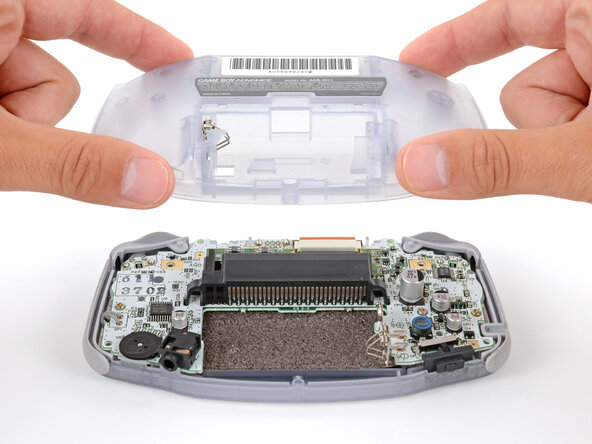
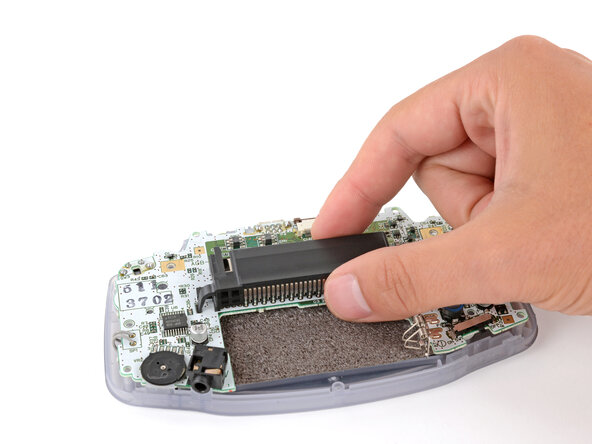
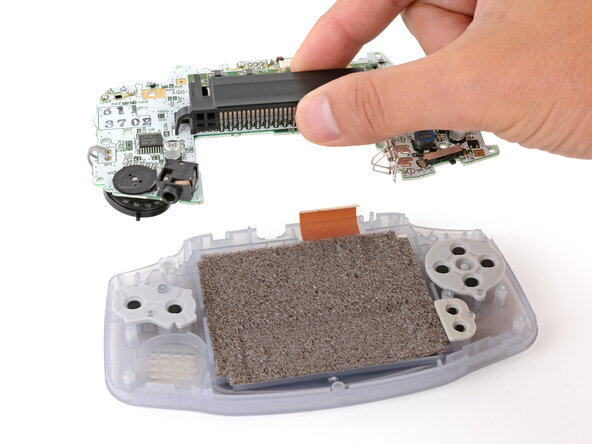
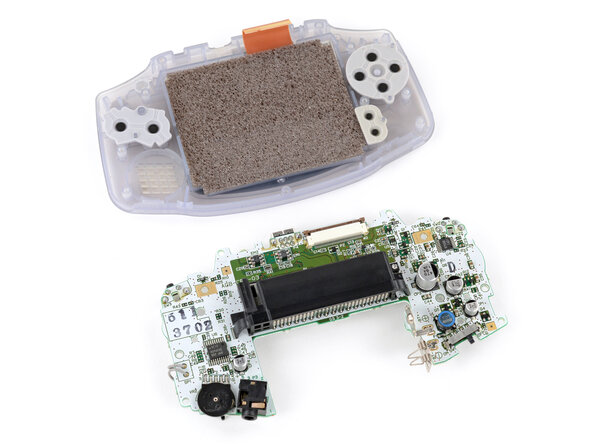
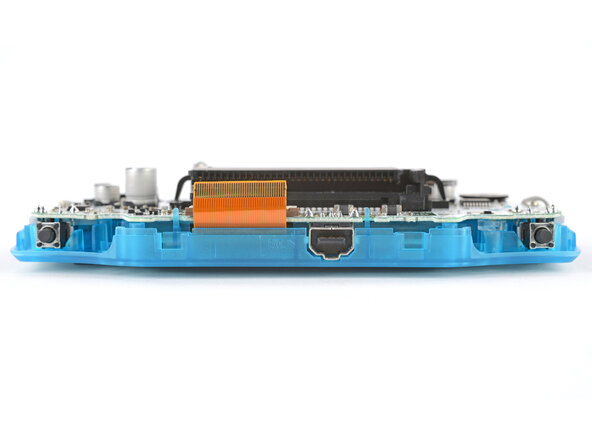
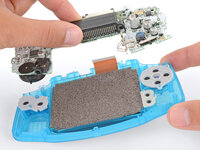
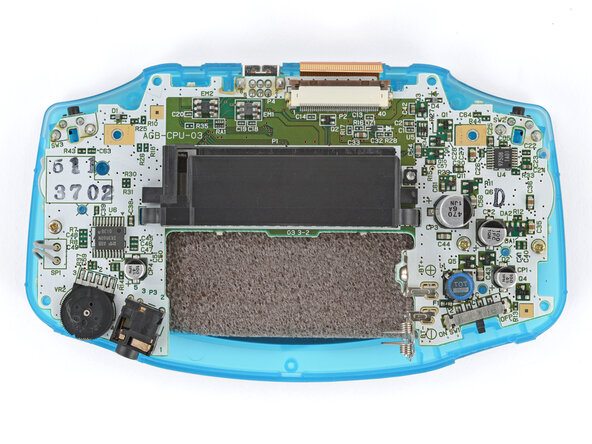
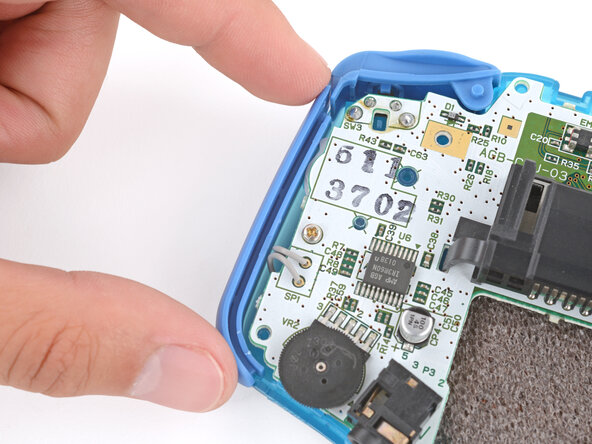
Use your fingers to grip the cartridge reader and lift the motherboard straight up to remove it.
-
-
-
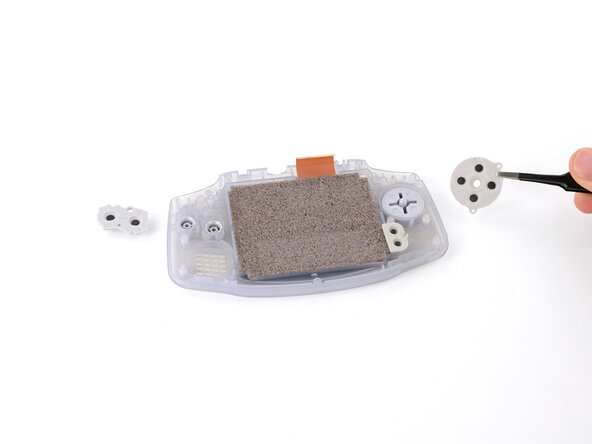
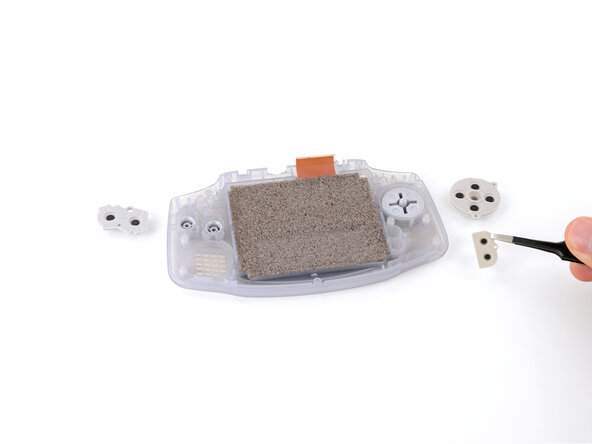
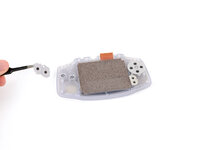
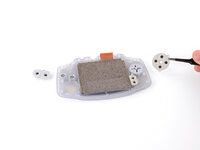
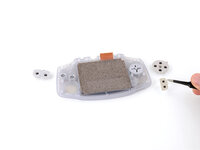
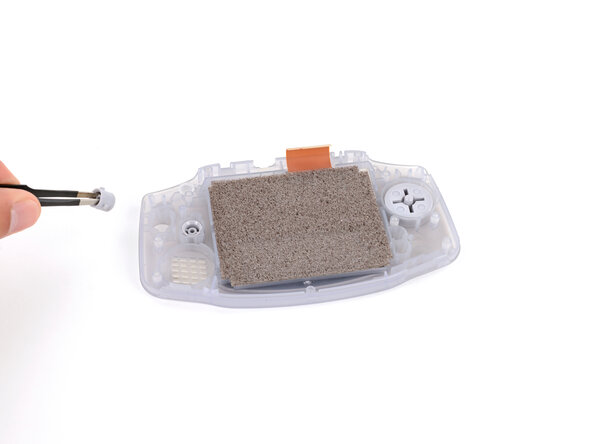
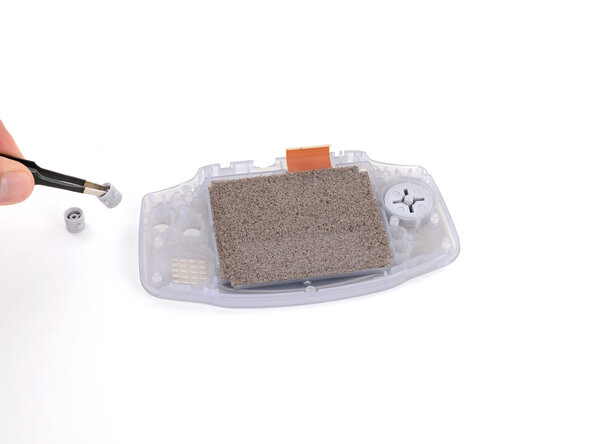
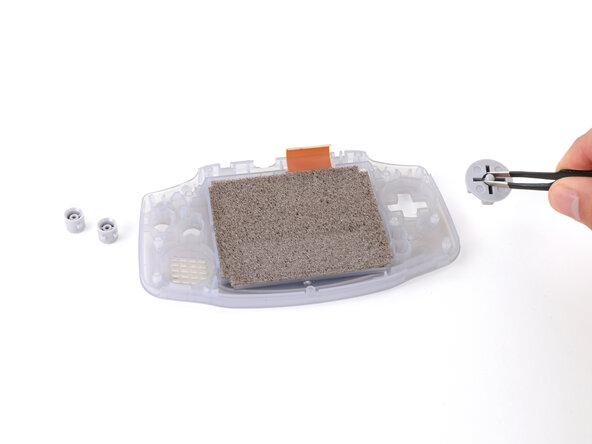
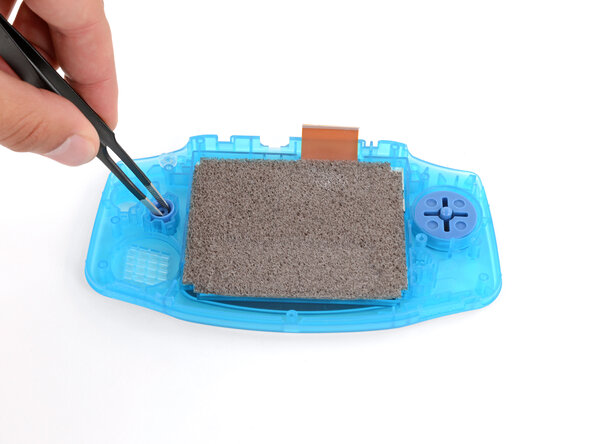
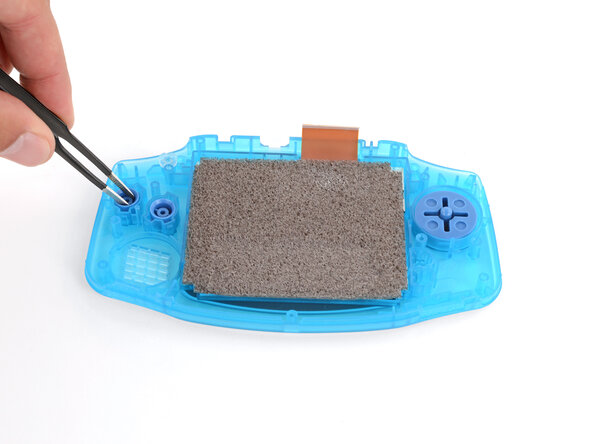
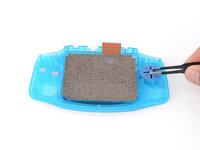
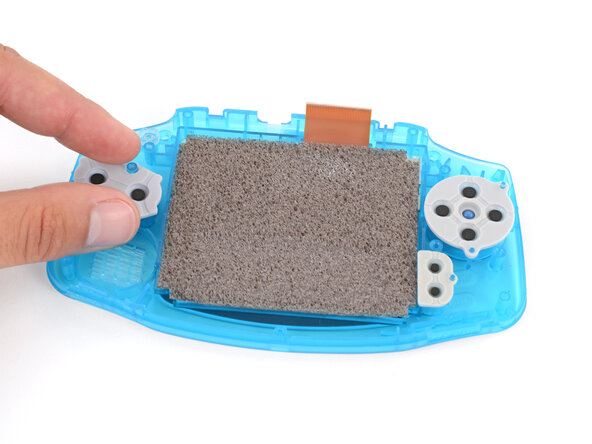
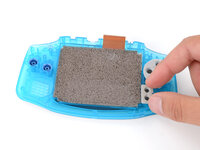
Use tweezers or your fingers to remove the silicone pads covering the action buttons (A and B), D‑pad, and Start/Select buttons.
-
-
-
-
Use tweezers or your fingers to remove the action buttons (A + B) and D‑pad.
-
-
-
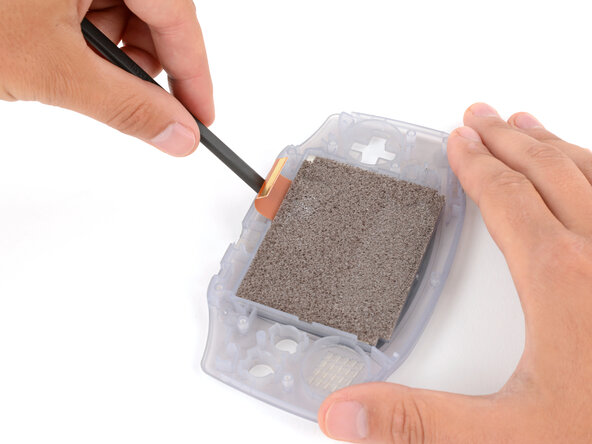
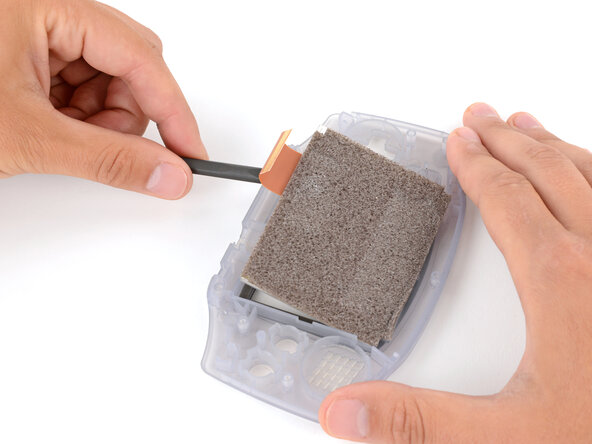
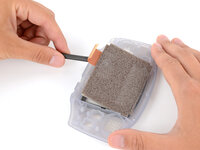
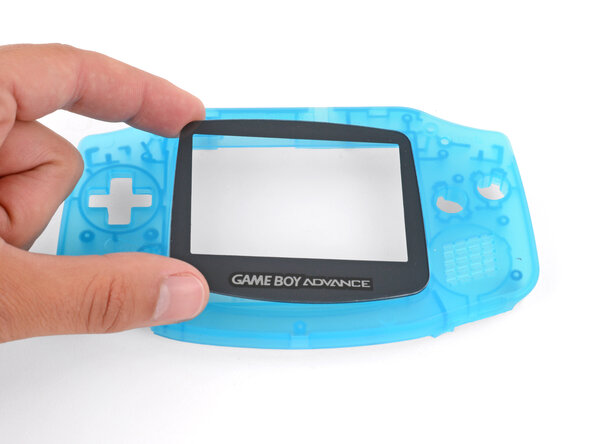
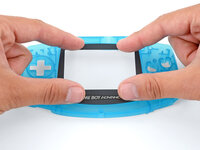
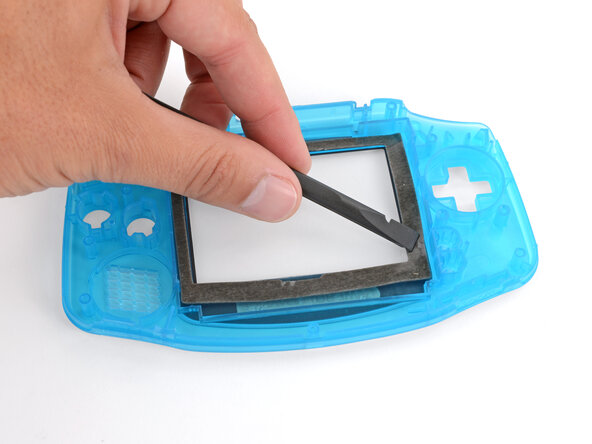
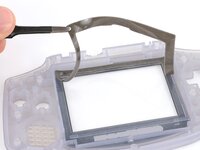
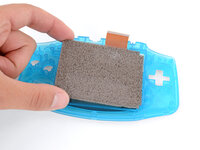
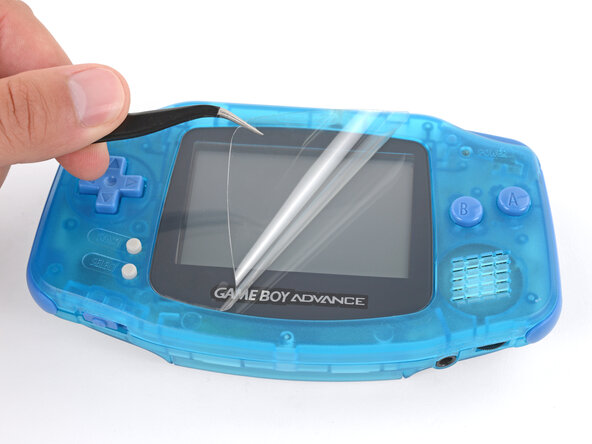
There's a seam between the screen and its gasket. Insert your tool here (under the screen) to give yourself the best chance of preserving the gasket.
-
There's a seam between the gasket and the shell. Don't insert your tool here, or you may damage the gasket.
-
-
-
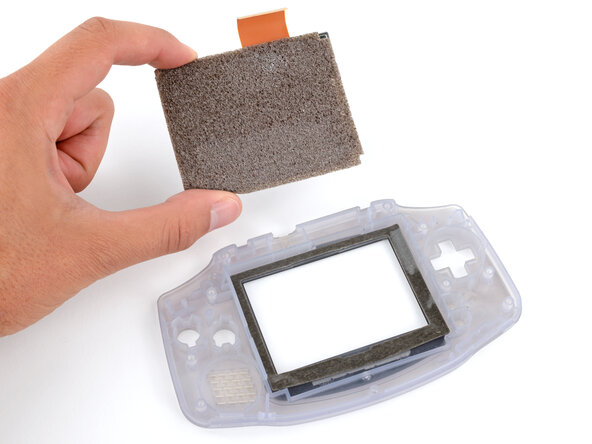
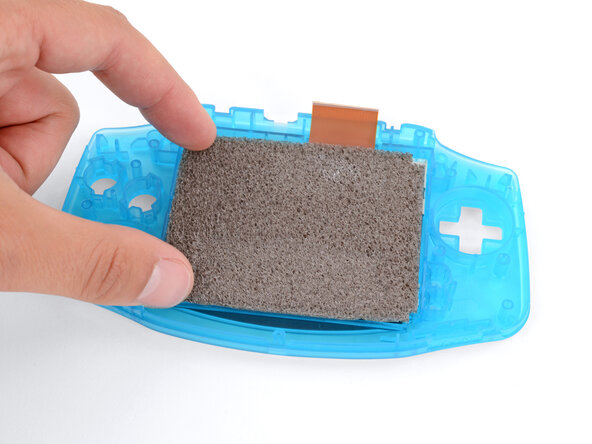
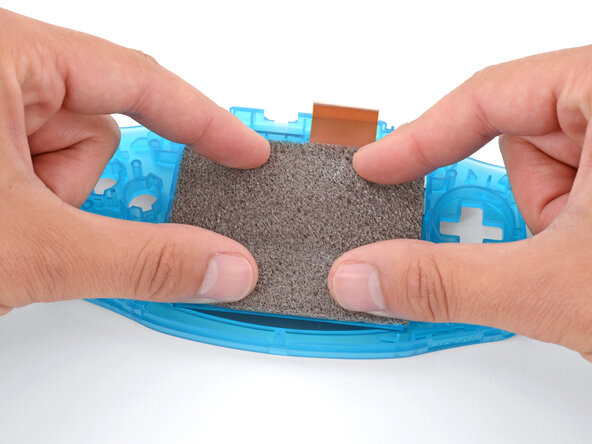
Insert the flat end of a spudger under the screen and pry the screen up. Apply constant, steady pressure to allow the screen adhesive to separate.
-
-
この手順で使用する道具:Maxi-Cure Glue$6.99
-
Before starting reassembly, gather your new shells and buttons. Compare them to the original parts—you may need to remove or transfer some pieces:
-
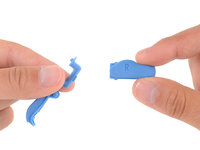
The new buttons may be connected together with small plastic sprues. If they are, break them apart and discard the plastic.
-
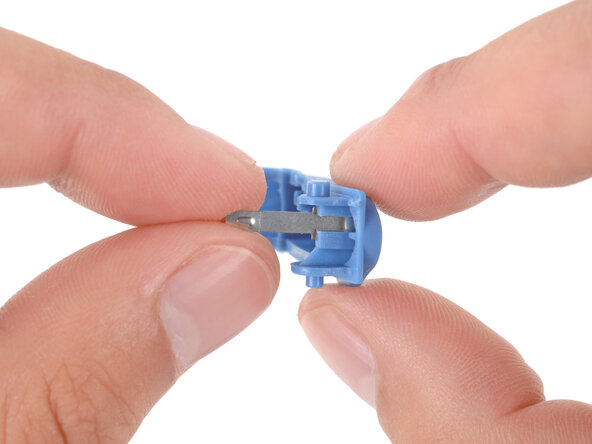
The new shoulder buttons require the small metal arms to function smoothly. Your replacement kit may come with them, or you might have to transfer them from the original buttons.
-
Once you've prepared your new parts for reassembly, separate them from your original ones—you don't want to accidentally install old parts!
-
-
-
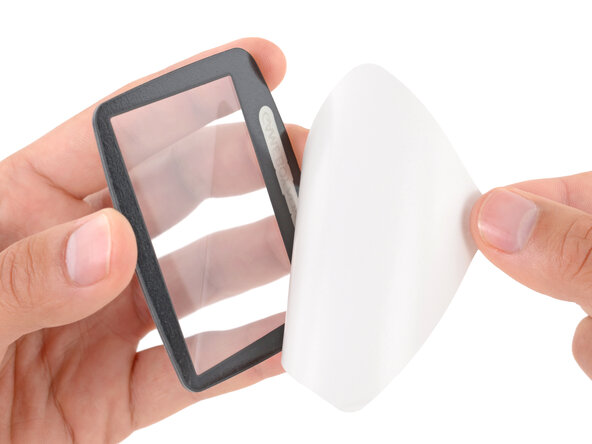
Remove the adhesive backing from your replacement screen lens and firmly press it into place on your new front shell.
-
-
-
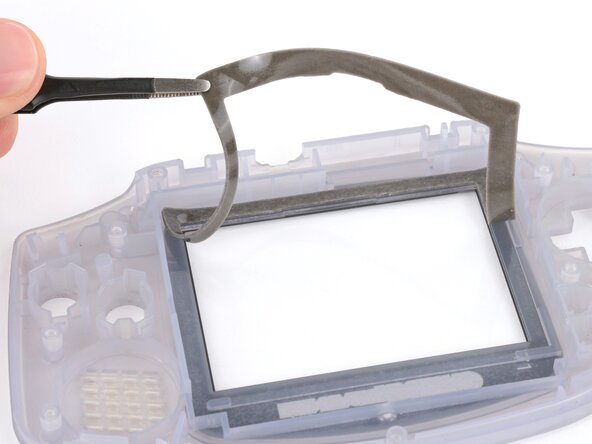
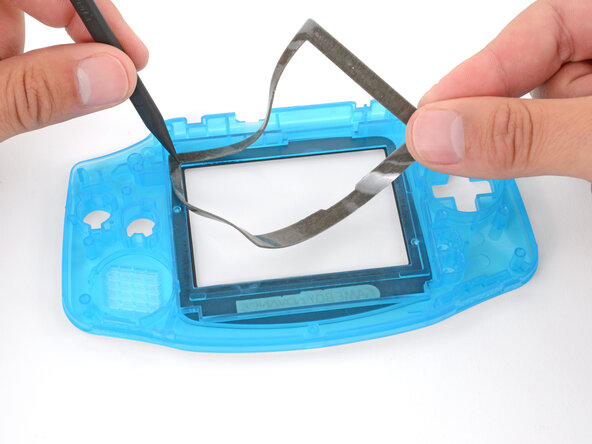
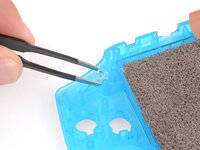
If your kit doesn't have a replacement gasket, carefully remove the old one from your original shell (or screen, if it stuck to the bottom). If your kit comes with a new gasket, remove its adhesive liner.
-
Use your fingers to carefully align and install the gasket in your new shell, using a spudger as necessary to hold the gasket in place and secure it.
-
-
-
If you're installing your original screen, this is a good time to gently clean it with a clean, lint‑free cloth.
-
If you're installing a new screen, check for any protective liners and remove them.
-
Lay your screen into its recess and firmly press around the perimeter to secure it against the adhesive gasket.
-
-
-
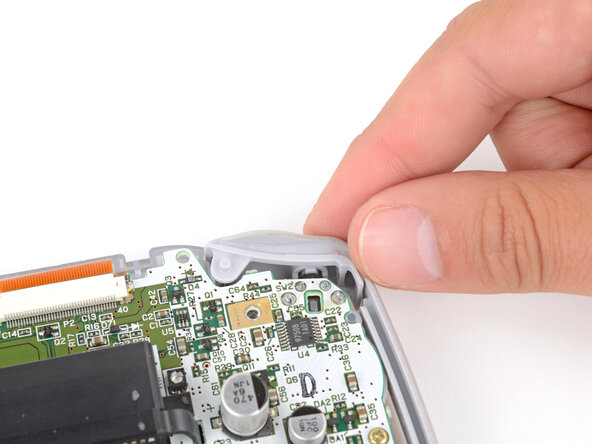
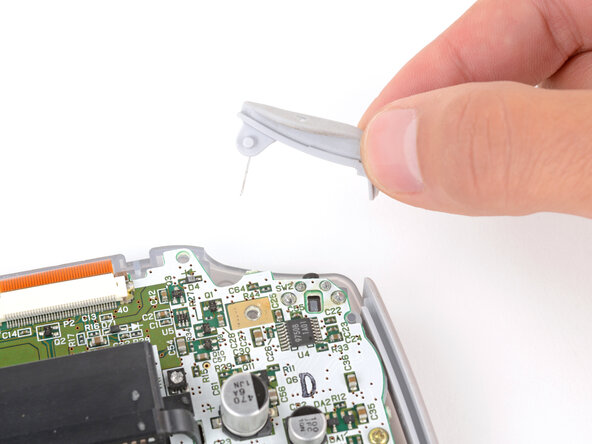
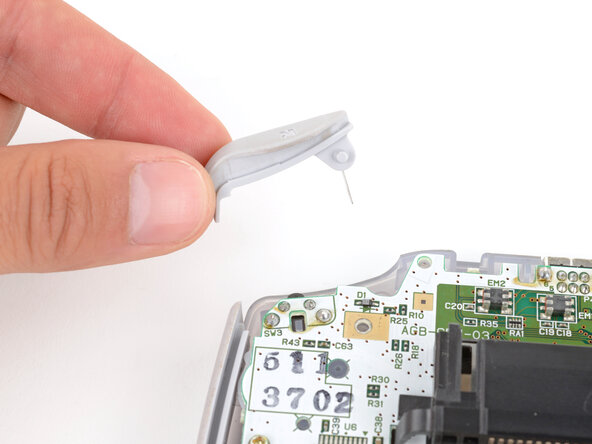
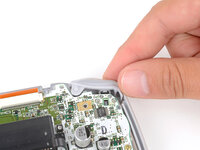
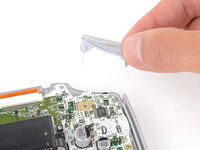
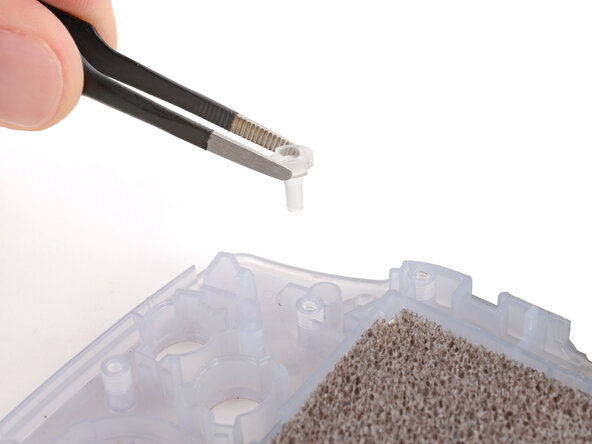
If your kit doesn't come with the small, translucent, peg‑shaped Power light diffuser, use tweezers to remove it from your original shell (above the action buttons).
-
Use tweezers to install the light diffuser in your new shell.
-
-
-
Use tweezers or your fingers to install the action buttons (A + B) and D‑pad.
-
-
-
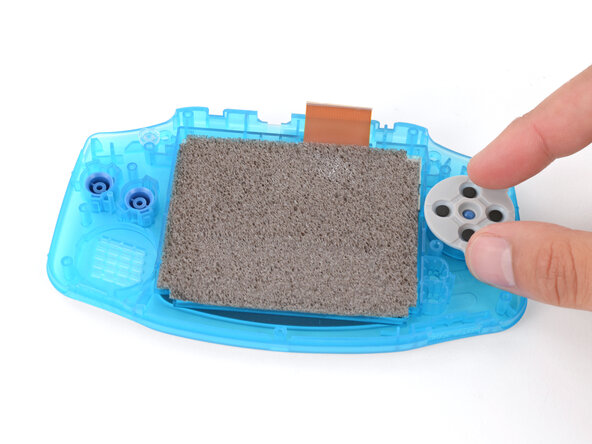
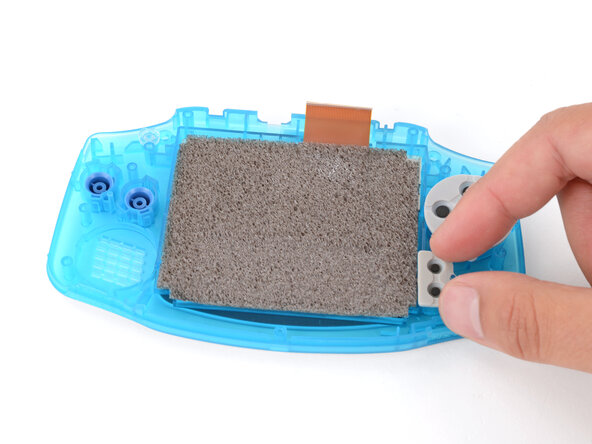
Use your fingers to firmly press the three silicone pads into place—one for the action buttons (A and B), D‑pad, and Start/Select buttons.
-
-
-
With one hand, hold the front shell slightly above your work surface—try to keep the shell raised until you install the motherboard screws.
-
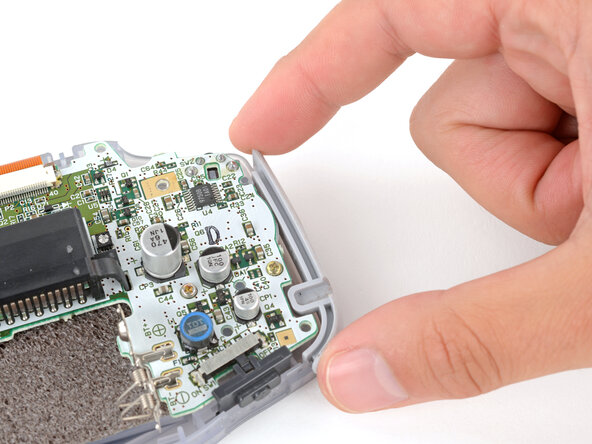
With your free hand, grip the motherboard by the cartridge reader.
-
Push the motherboard into place on the shell, making sure the speaker gets correctly slotted into its circular cutout (including a small tab on the bottom).
-
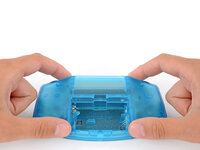
Check around the perimeter of the board to ensure it's fully seated with no large gaps between the board and shell. If there are, gently wiggle the board and push it into place.
-
-
-
With one side of the shell raised, use a JIS 1 screwdriver to install the three 7 mm‑long screws securing the motherboard.
-
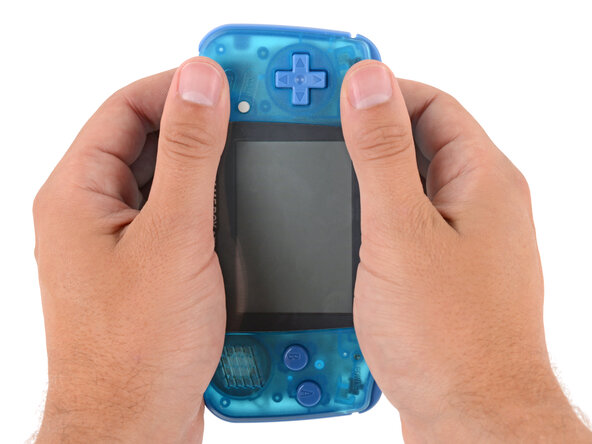
Test the action buttons, D‑pad, and Start/Select buttons.
-
Check around the perimeter of the board to ensure there are no large gaps between the board and shell.
-
If the buttons feel off or there are any large gaps, loosen the screws and re‑seat the board, tighten the board, and test it again.
-
-
-
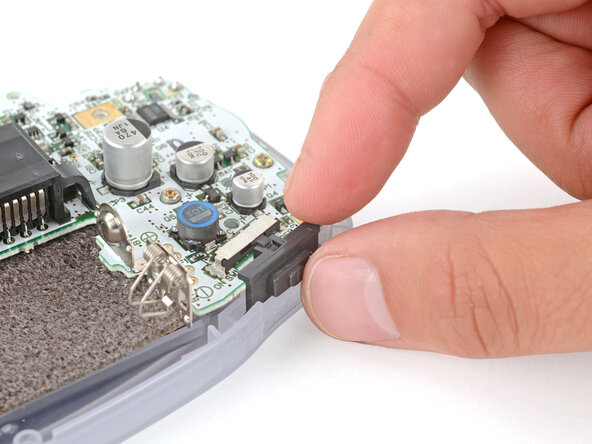
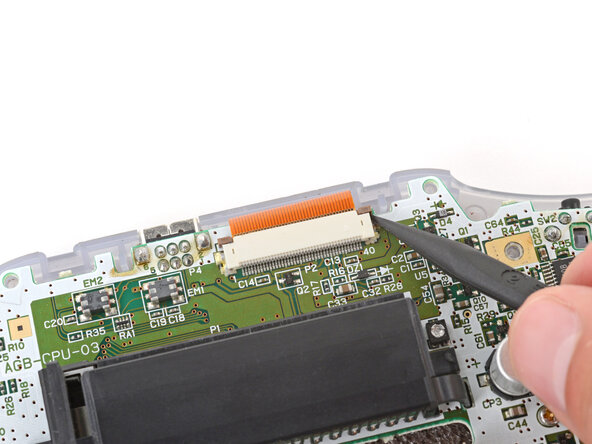
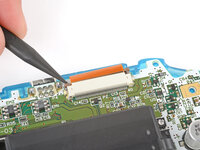
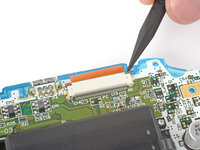
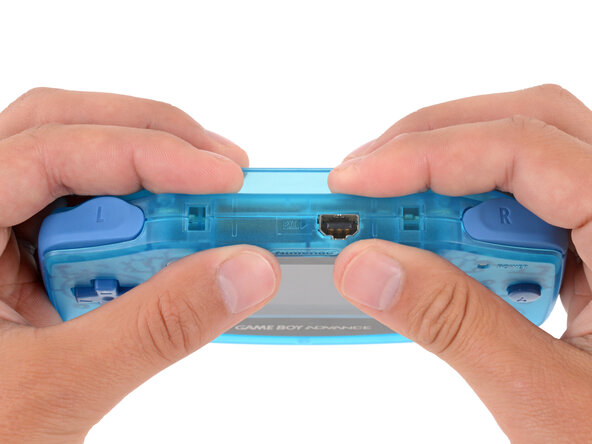
Before connecting the screen cable on the top edge, make sure both locking tabs are pushed up in the unlocked position.
-
Use your finger to gently push the display cable into its socket on the motherboard.
-
-
-
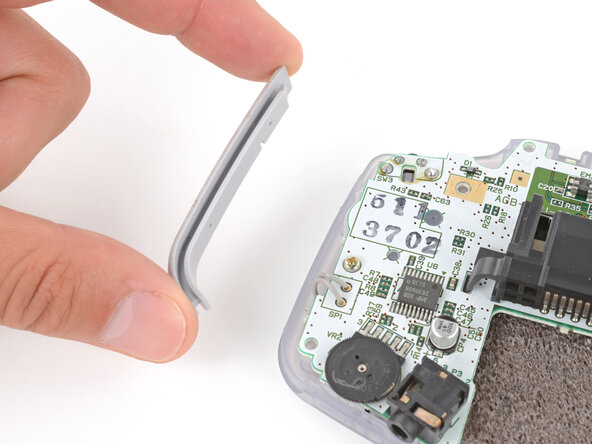
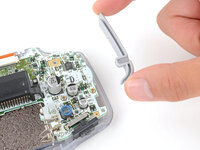
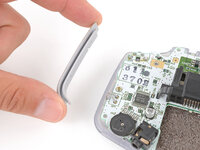
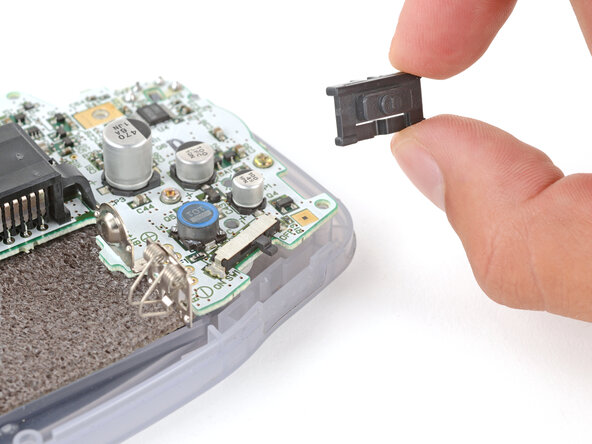
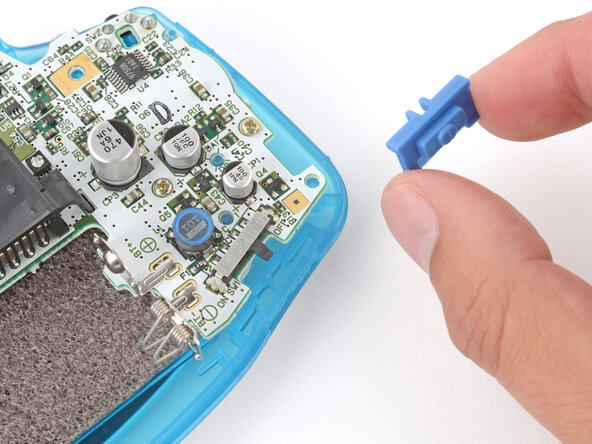
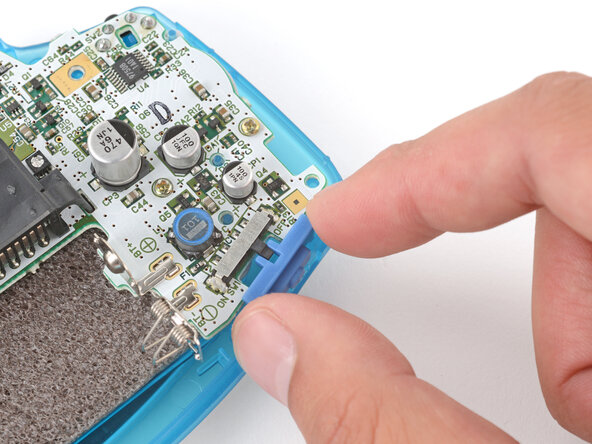
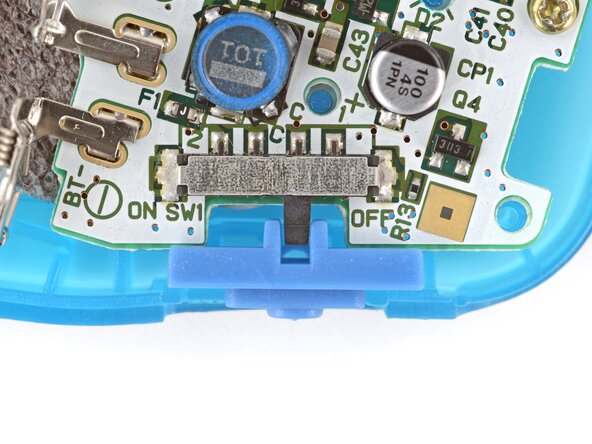
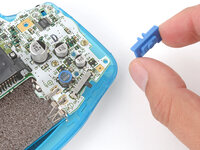
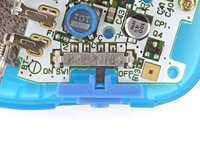
Use your fingers to install the power switch, making sure it's properly slotted around the arm on the switch mechanism.
-
-
-
Slide the shoulder buttons into place, making sure the peg on the button goes into its circular cutout and the button shroud is over the actual button mechanism.
-
Gently test the buttons to make sure they feel correct. If they don't, reposition them and make sure the metal arms aren't stuck in a weird position under the board.
-
-
-
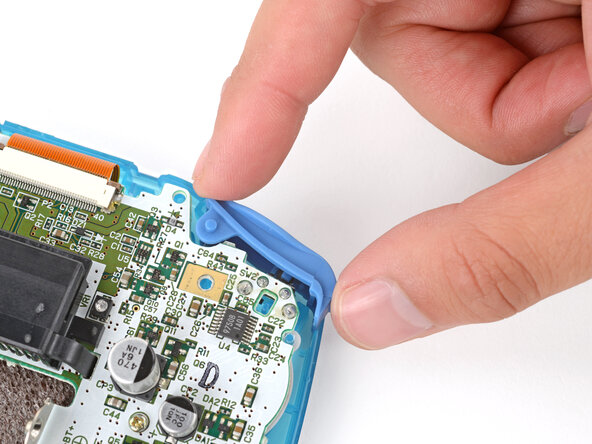
Use your fingers to install the side bumpers, making sure the top edges are on the outside of the shoulder buttons.
-
-
-
If your new back shell has the battery cover preinstalled, remove it for now.
-
Place the back shell onto the front shell.
-
-
-
Install the seven screws securing the back shell:
-
Six 9.4 mm‑long tri‑point Y0 screws
-
One 8.5 mm‑long JIS 1 screw
-
-
-
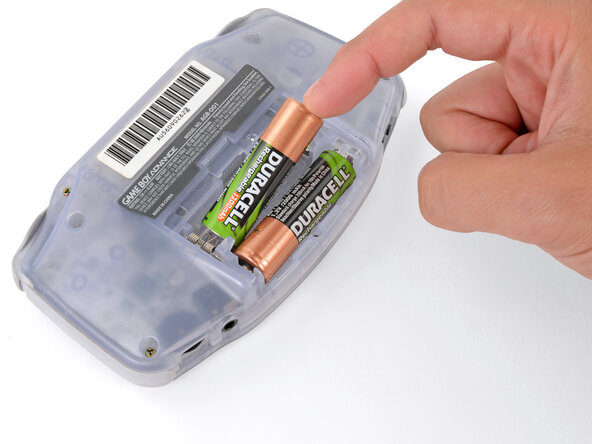
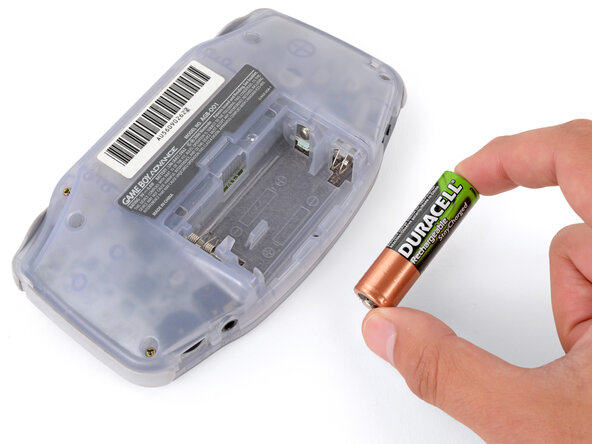
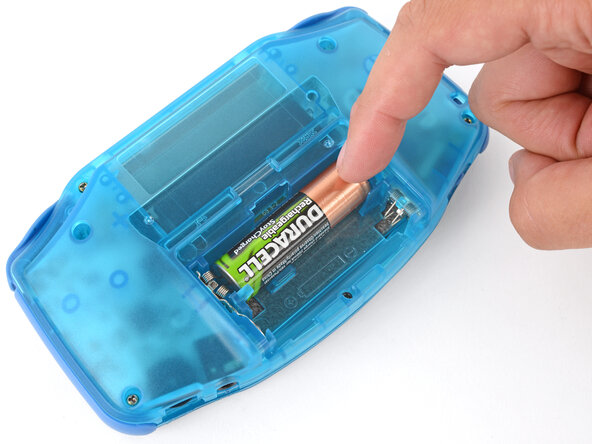
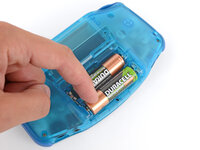
Use your fingers to install the batteries, following the diagram in the battery well to properly orient them.
-
-
-
Insert the tabs on the bottom edge of the battery cover into their cutouts and click the cover into place.
-


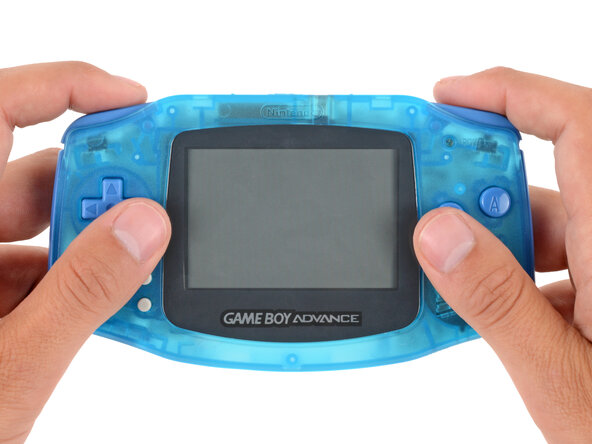


Congratulations on reshelling your Game Boy Advance!
Take your e-waste to an R2 or e-Stewards certified recycler.
Repair didn’t go as planned? Try some basic troubleshooting, or ask our Answers Community for troubleshooting help.
