メインコンテンツにスキップ

How to Replace Cracked Tile

必要な工具と部品

  1. How to Replace Cracked Tile, Cracked Tile: 手順 1、 1の画像 1
    • Use a painter's tool or putty knife to remove the grout from around the cracked tile.

    • Using an edge or corner of your painter's tool or putty knife, scrape the grout along the perimeter of the broken tile.

    • Be careful not to crack or scratch surrounding tiles.

  2. How to Replace Cracked Tile: 手順 2、 3の画像 1 How to Replace Cracked Tile: 手順 2、 3の画像 2 How to Replace Cracked Tile: 手順 2、 3の画像 3
    • Use the painter's tool or putty knife to pry up the broken tile.

    • If the tile does not lift, place an old rag over the tile and use the hammer to break the tile into smaller pieces.

    • Avoid using surrounding tile as leverage and be precise and careful while using the hammer.

  3. How to Replace Cracked Tile: 手順 3、 3の画像 1 How to Replace Cracked Tile: 手順 3、 3の画像 2 How to Replace Cracked Tile: 手順 3、 3の画像 3
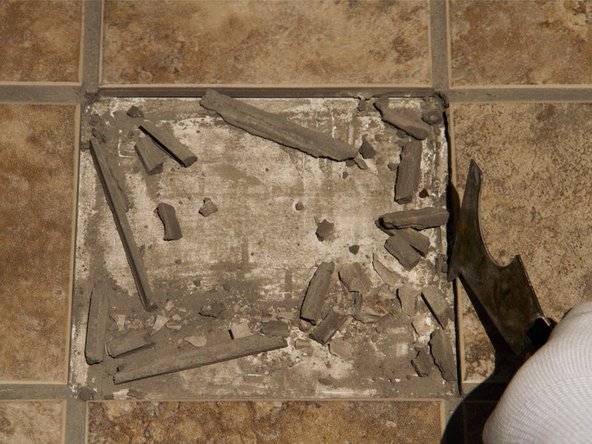
    • Remove the broken pieces of tile, using gloved hands for large pieces or a broom for smaller shards.

    • Using the painter's tool or putty knife, scrape the grout from the edges of tile and any adhesive from under the tile.

    • Be careful of sharp shards of tile.

  4. How to Replace Cracked Tile: 手順 4、 3の画像 1 How to Replace Cracked Tile: 手順 4、 3の画像 2 How to Replace Cracked Tile: 手順 4、 3の画像 3
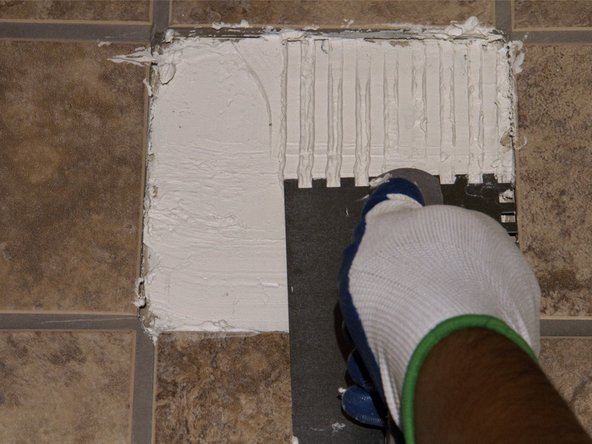
    • Apply new adhesive using the trowel, making sure the adhesive is spread evenly.

    • Drag the toothed end of the trowel across the adhesive to create even rows.

    • Quickly remove any adhesive from the surrounding tiles using a wet sponge or old rag, working quickly as the adhesive will begin to dry.

  5. How to Replace Cracked Tile: 手順 5、 3の画像 1 How to Replace Cracked Tile: 手順 5、 3の画像 2 How to Replace Cracked Tile: 手順 5、 3の画像 3
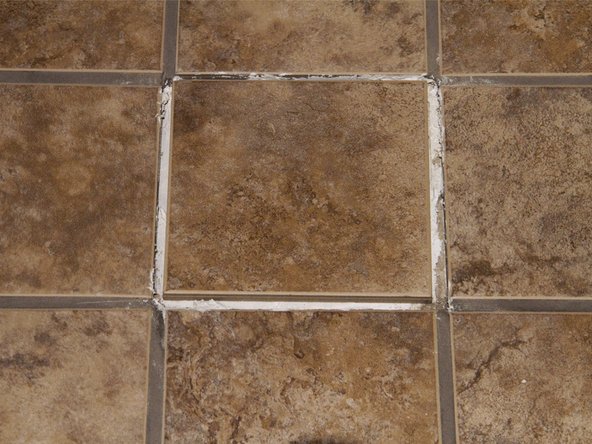
    • Place the new tile down in the center of the empty space.

    • If available, use tile spacers to ensure proper placement.

    • Allow the adhesive to dry based on the instructions provided on the product.

    • During this time, prevent foot traffic on the new tile.

  6. How to Replace Cracked Tile: 手順 6、 2の画像 1 How to Replace Cracked Tile: 手順 6、 2の画像 2
    • After the adhesive has dried, add water to a small amount of grout until it's the consistency of toothpaste.

    • Fill in the area around the new tile, making sure the new grout matches the height of the surrounding grout.

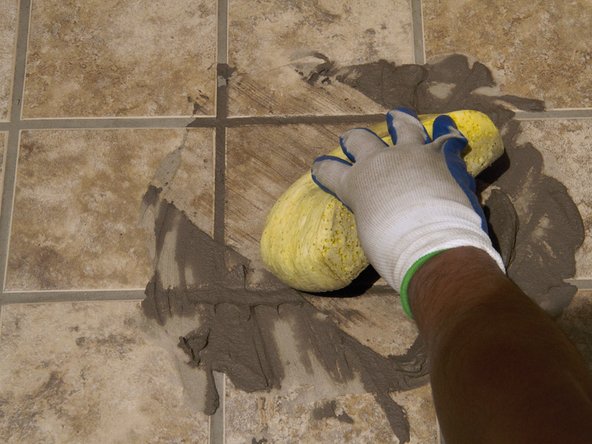
    • Use a moist sponge to wipe diagonally across the tile, cleaning off excess grout after each wipe.

  7. How to Replace Cracked Tile: 手順 7、 2の画像 1 How to Replace Cracked Tile: 手順 7、 2の画像 2
    • If any bubbles or gaps form in the grout while removing excess, add more grout and repeat the cleaning process.

    • Wait and allow grout to dry for several hours.

    • Keep foot traffic away from the new tile until the grout has had time to dry.

終わりに

Allow the grout to dry and then resume normal use.

8 の人々がこのガイドを完成させました。

作成者

2人の作成者と共同で作成されました。

Allie Wallace

メンバー登録日: 02/25/16

342 ポイント

1ガイドが承認済み

チーム

Texas Tech, Team 26-7, Rauch Spring 2016 Texas Tech, Team 26-7, Rauch Spring 2016人のメンバー

TTU-RAUCH-S16S26G7

3 メンバー

2のガイドは作成済み

0 件のコメント

コメントを追加

統計データ:

過去 24時間: 0

過去 7 日: 20

過去 30 日: 60

今までの合計 3,875