メインコンテンツにスキップ

How to Replace Basic Bag Lining

必要な工具と部品

  1. How to Replace Basic Bag Lining, Bag Lining: 手順 1、 1の画像 1
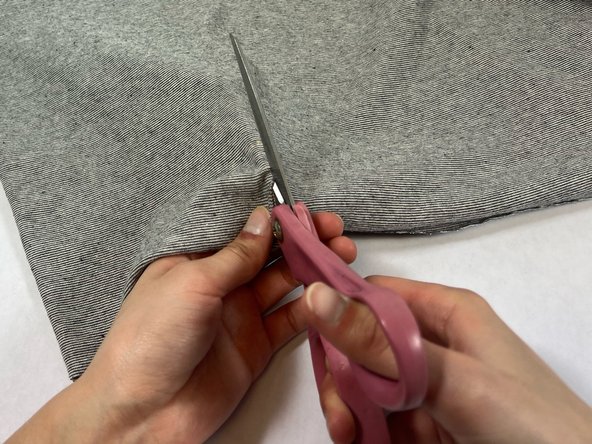
    • Assess the old bag lining you will be replacing.

    • Consider color, material, and amount of fabric needed for the new lining.

  2. How to Replace Basic Bag Lining: 手順 2、 3の画像 1 How to Replace Basic Bag Lining: 手順 2、 3の画像 2 How to Replace Basic Bag Lining: 手順 2、 3の画像 3
    • At the seams, use your hands or sewing to carefully rip or cut out old bag lining.

  3. How to Replace Basic Bag Lining: 手順 3、 1の画像 1
    • Lay out old bag lining on fabric and measure out the size of the new bag lining, adding an extra 2 cm on each side.

  4. How to Replace Basic Bag Lining: 手順 4、 2の画像 1 How to Replace Basic Bag Lining: 手順 4、 2の画像 2
    • Fold new fabric in half to create one closed end for the bag lining.

    • Cut out bag lining based on measurements from previous step.

  5. How to Replace Basic Bag Lining: 手順 5、 1の画像 1
    • Stitch the two sides of fabric adjacent to the folded side to create a rectangle with one opening.

    • You can stitch by hand or use a sewing machine.

    • Use stitches small and tight enough to ensure new lining remains intact.

    • Finish stitching 2 cm from the end of the open side.

  6. How to Replace Basic Bag Lining: 手順 6、 1の画像 1
    • Fold over extra 2 cm from the opening of the new bag lining outward to hide the raw edge of the fabric.

    • With a needle suitable for sewing through your bag material, attach the bag lining with a straight running stitch around the mouth of the bag.

    • See the article How to Work a Running Stitch from The Spruce Crafts to learn how to do a running stitch.

ゴール

作成者

1人の作成者と共同作成されました。

Ijada Nguyen

メンバー登録日: 01/26/23

133 ポイント

1ガイドが承認済み

チーム

UC Davis, Team 1-1, Morris Winter 2023 UC Davis, Team 1-1, Morris Winter 2023人のメンバー

UCD-MORRIS-W23S1G1

2 メンバー

1のガイドは作成済み

0 件のコメント

コメントを追加

統計データ:

過去 24時間: 2

過去 7 日: 17

過去 30 日: 86

今までの合計 874