メインコンテンツにスキップ

How to Repair a Fastmark by AMT Datasouth Arm Band Printer

医療機器
この修理ガイドは医療機器メーカーからの是認を得ておらず、iFixitと医療機器メーカーは提携していません。
  1. How to Repair a Fastmark by AMT Datasouth Arm Band Printer, How to Repair a Fastmark by AMT Datasouth Arm Band Printer: 手順 1、 3の画像 1 How to Repair a Fastmark by AMT Datasouth Arm Band Printer, How to Repair a Fastmark by AMT Datasouth Arm Band Printer: 手順 1、 3の画像 2 How to Repair a Fastmark by AMT Datasouth Arm Band Printer, How to Repair a Fastmark by AMT Datasouth Arm Band Printer: 手順 1、 3の画像 3
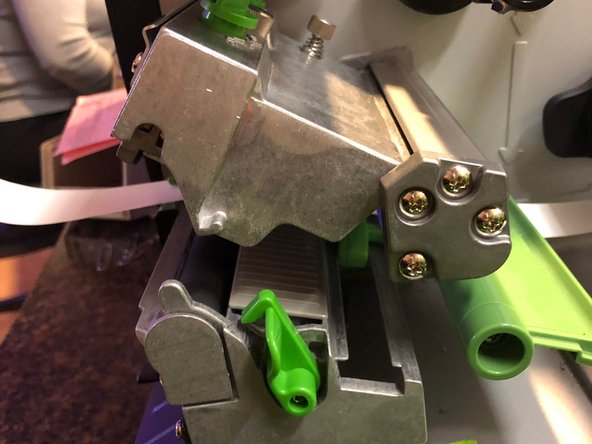
    • Open the machine by lifting the right side up.

  2. How to Repair a Fastmark by AMT Datasouth Arm Band Printer: 手順 2、 3の画像 1 How to Repair a Fastmark by AMT Datasouth Arm Band Printer: 手順 2、 3の画像 2 How to Repair a Fastmark by AMT Datasouth Arm Band Printer: 手順 2、 3の画像 3
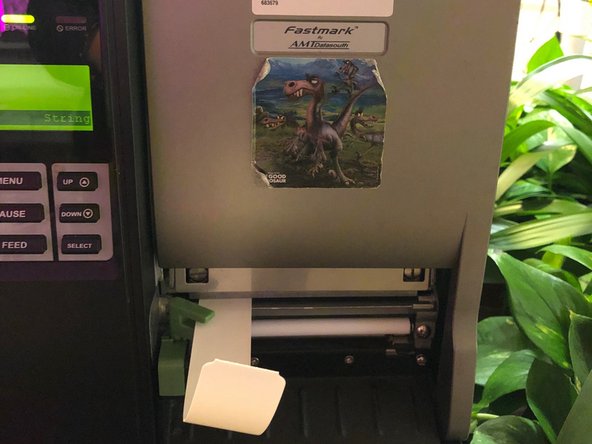
    • Assess where the problem is within the machine. Press the green button that says "push" to release the end of the armband that is clamped in the machine.

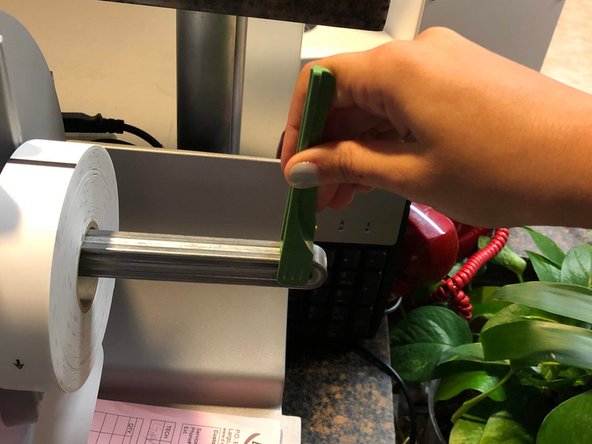
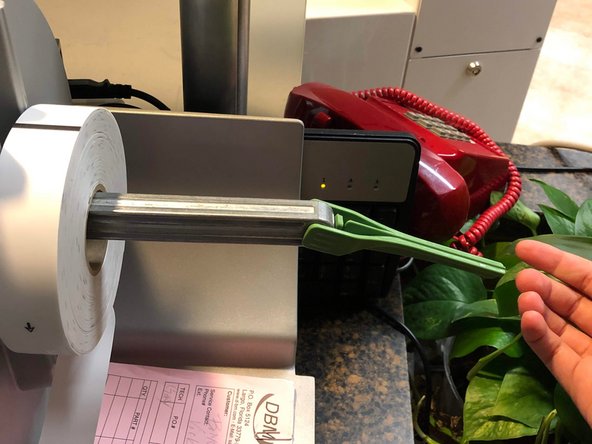
  3. How to Repair a Fastmark by AMT Datasouth Arm Band Printer: 手順 3、 3の画像 1 How to Repair a Fastmark by AMT Datasouth Arm Band Printer: 手順 3、 3の画像 2 How to Repair a Fastmark by AMT Datasouth Arm Band Printer: 手順 3、 3の画像 3
    • Slide the green bar to the right then pull it down to remove the roll of armbands.

  4. How to Repair a Fastmark by AMT Datasouth Arm Band Printer: 手順 4、 1の画像 1
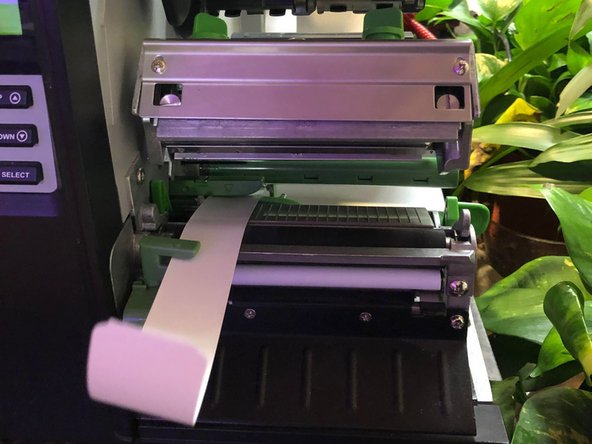
    • Remove the armband strip from under the press.

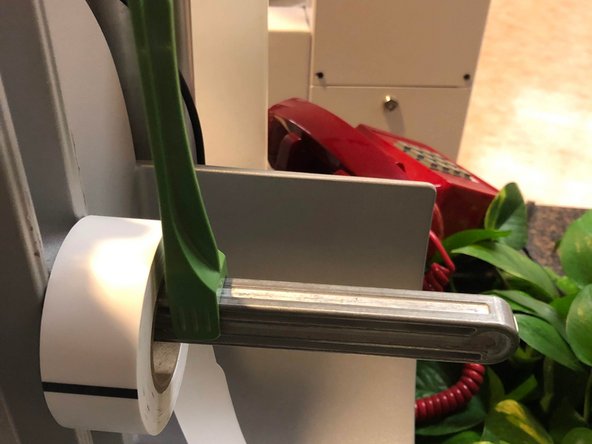
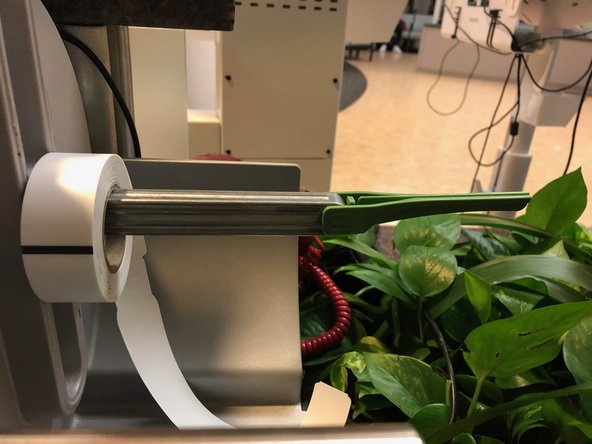
  5. How to Repair a Fastmark by AMT Datasouth Arm Band Printer: 手順 5、 3の画像 1 How to Repair a Fastmark by AMT Datasouth Arm Band Printer: 手順 5、 3の画像 2 How to Repair a Fastmark by AMT Datasouth Arm Band Printer: 手順 5、 3の画像 3
    • Replace the previous armband roll if it's damaged and insert a new roll by sliding it onto the device and pushing the green bar back into place.

  6. How to Repair a Fastmark by AMT Datasouth Arm Band Printer: 手順 6、 3の画像 1 How to Repair a Fastmark by AMT Datasouth Arm Band Printer: 手順 6、 3の画像 2 How to Repair a Fastmark by AMT Datasouth Arm Band Printer: 手順 6、 3の画像 3
    • Weave the new armband strip under the back and green cylinder and through the press. Close the press by pushing it down firmly.

  7. How to Repair a Fastmark by AMT Datasouth Arm Band Printer: 手順 7、 3の画像 1 How to Repair a Fastmark by AMT Datasouth Arm Band Printer: 手順 7、 3の画像 2 How to Repair a Fastmark by AMT Datasouth Arm Band Printer: 手順 7、 3の画像 3
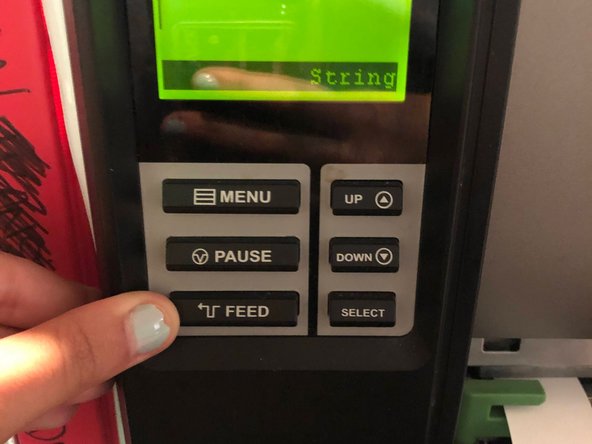
    • Close the top of the armband machine and then press the feed button on the outside to make sure it is working correctly.

終わりに

Repeat these steps if the text is not lined up in the correct place on the armband.

2 の人々がこのガイドを完成させました。

作成者

1人の作成者と共同作成されました。

Devon Sineno

メンバー登録日: 02/02/20

202 ポイント

1ガイドが承認済み

チーム

USF Sarasota-Manatee, Team S1-G1, Stewart Spring 2020 USF Sarasota-Manatee, Team S1-G1, Stewart Spring 2020人のメンバー

USFSM-STEWART-S20S1G1

23 メンバー

27のガイドは作成済み

0 件のコメント

コメントを追加

統計データ:

過去 24時間: 5

過去 7 日: 19

過去 30 日: 57

今までの合計 1,540