メインコンテンツにスキップ

How to Repair Minor Cricket Bat Damage

必要な工具と部品

  1. How to Repair Minor Cricket Bat Damage, How to Repair Minor Cricket Bat Damage: 手順 1、 3の画像 1 How to Repair Minor Cricket Bat Damage, How to Repair Minor Cricket Bat Damage: 手順 1、 3の画像 2 How to Repair Minor Cricket Bat Damage, How to Repair Minor Cricket Bat Damage: 手順 1、 3の画像 3
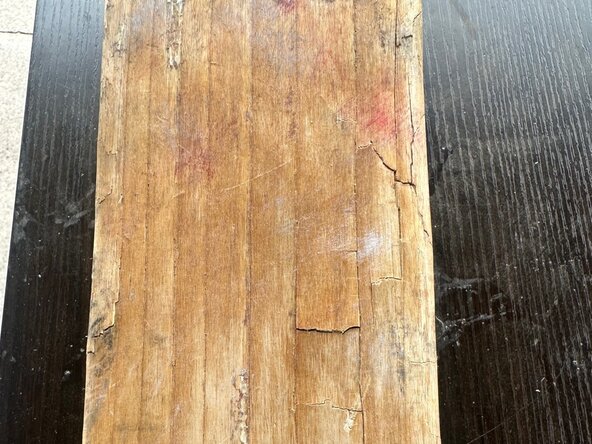
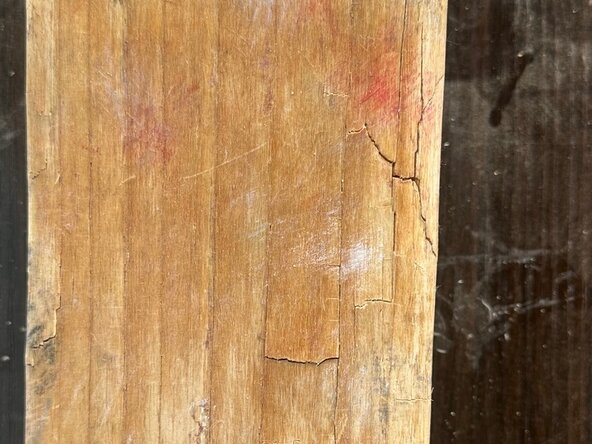
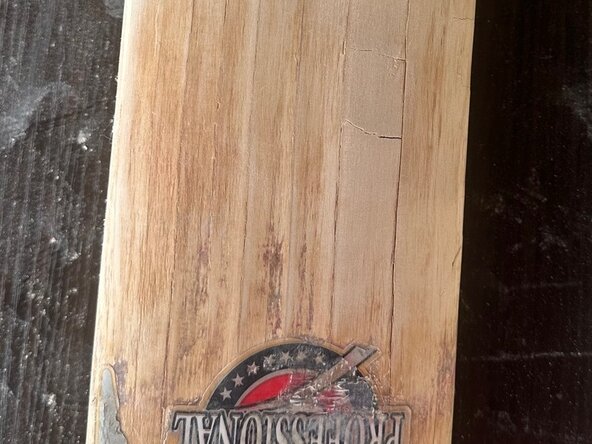
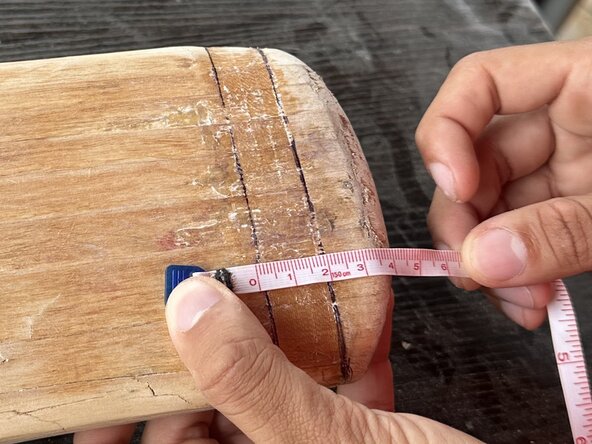
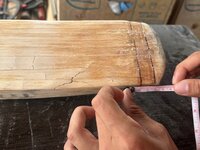
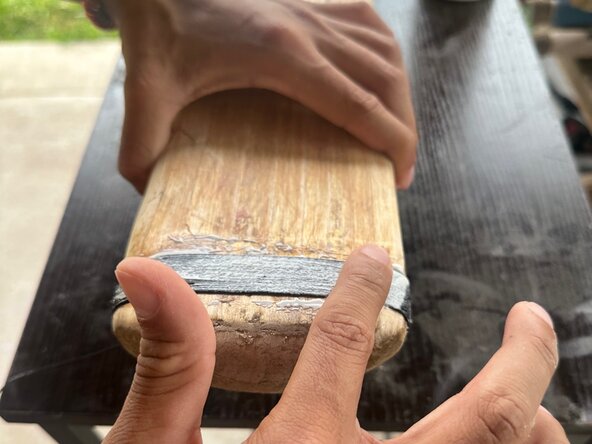
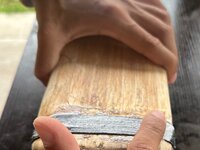
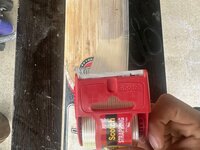
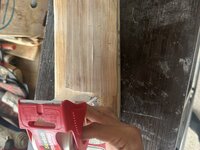
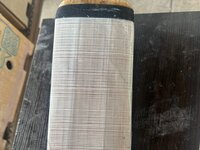
    • In this picture you are to examine the damages done on the bat and see the severity of how badly the wood has been damaged. For examples, cracks, chips, dryness, or just broken.

  2. How to Repair Minor Cricket Bat Damage: 手順 2、 3の画像 1 How to Repair Minor Cricket Bat Damage: 手順 2、 3の画像 2 How to Repair Minor Cricket Bat Damage: 手順 2、 3の画像 3
    • You are to use a sander like shown in the images or sandpaper and make sure all edges and the face of the bat is smoothened out.

    • DO NOT grind/sand the back of the bat

    • Take your hand and run it through the sanded areas, and as long it is nice and smooth you have done a great job.

    • (Hint: When you begin to see the white on the wood it means you are doing it correctly)

  3. How to Repair Minor Cricket Bat Damage: 手順 3、 3の画像 1 How to Repair Minor Cricket Bat Damage: 手順 3、 3の画像 2 How to Repair Minor Cricket Bat Damage: 手順 3、 3の画像 3
    • After you have the wood is ready, taking a pen or a pencil you'll need to mark the 'starting' point and 'Ending' points.

    • 2 parallel lines no more than 2-3cm

    • Leave another 2-3cm of space between starting point and the bottom of the bat

  4. How to Repair Minor Cricket Bat Damage: 手順 4、 3の画像 1 How to Repair Minor Cricket Bat Damage: 手順 4、 3の画像 2 How to Repair Minor Cricket Bat Damage: 手順 4、 3の画像 3
    • Start with applying gorilla wood glue in between the 2 lines and spreading with your finger on both the front and back sides of the bat. Using the nylon thread, you are to wrap the thread all around the bat where the 2 lines are not to be visible.

    • Pull using strength and after each loop pull hard

    • Hold bat from center to help with easy rotation

  5. How to Repair Minor Cricket Bat Damage: 手順 5、 3の画像 1 How to Repair Minor Cricket Bat Damage: 手順 5、 3の画像 2 How to Repair Minor Cricket Bat Damage: 手順 5、 3の画像 3
    • Reapply Gorilla Glue to finished work to ensure any work that is done stays intact

    • Wait 10-15 minutes to dry

    • Dry and clean your hands for next step

  6. How to Repair Minor Cricket Bat Damage: 手順 6、 3の画像 1 How to Repair Minor Cricket Bat Damage: 手順 6、 3の画像 2 How to Repair Minor Cricket Bat Damage: 手順 6、 3の画像 3
    • Cover the bat with heavy duty scotch tape. This'll ensure that no other damages will occur to the face of this bat. Known as "The Protector".

    • Cover from head to toe

  7. How to Repair Minor Cricket Bat Damage: 手順 7、 3の画像 1 How to Repair Minor Cricket Bat Damage: 手順 7、 3の画像 2 How to Repair Minor Cricket Bat Damage: 手順 7、 3の画像 3
    • Final step is looking to make sure the bat is completely fixed. If it looks like everything is holding together and looks nice and neat, congratulations you have done it!

    • No Loose threads

    • No hanging tape

    • No sharp edges or corners

終わりに

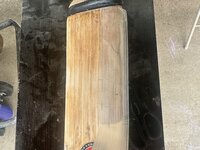
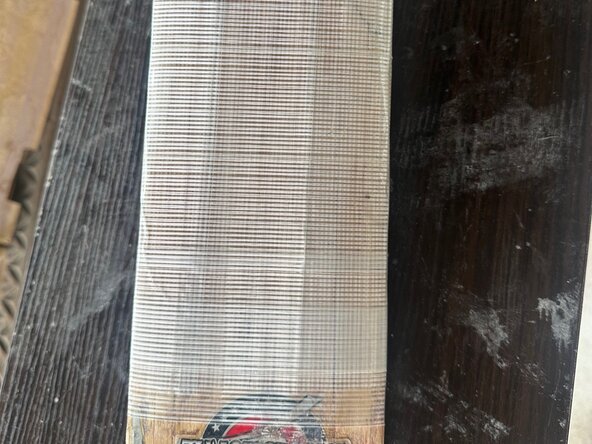
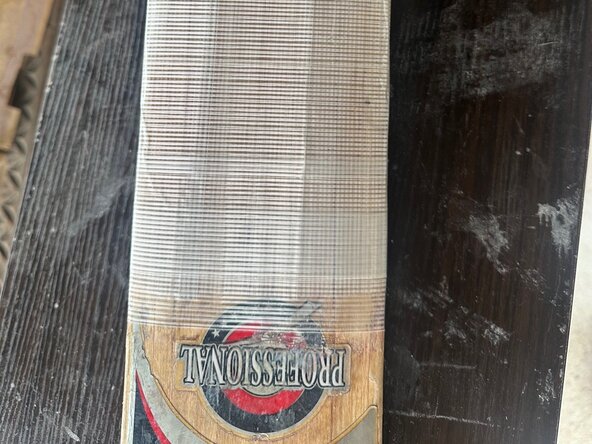
Now you have a good as new cricket bat and learned to repair one for next time!

作成者

2人の作成者と共同で作成されました。

Majjid

メンバー登録日: 03/12/25

145 ポイント

1ガイドが承認済み

チーム

Austin Community College, Team 2-8, Kapoor Spring 2025 Austin Community College, Team 2-8, Kapoor Spring 2025人のメンバー

AUSTINCC-KAPOOR-S25S2G8

1 メンバー

1のガイドは作成済み

0件のガイドコメント

コメントを追加

統計データ:

過去 24時間: 1

過去 7 日: 4

過去 30 日: 18

今までの合計 133