メインコンテンツにスキップ

How to Repair Loose Joints in Gunpla Figures

必要な工具と部品

  1. How to Repair Loose Joints in Gunpla Figures, How to Repair Loose Joints in Gunpla Figures: 手順 1、 1の画像 1
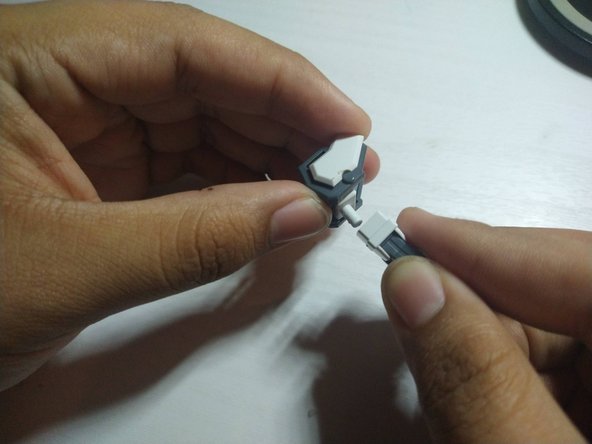
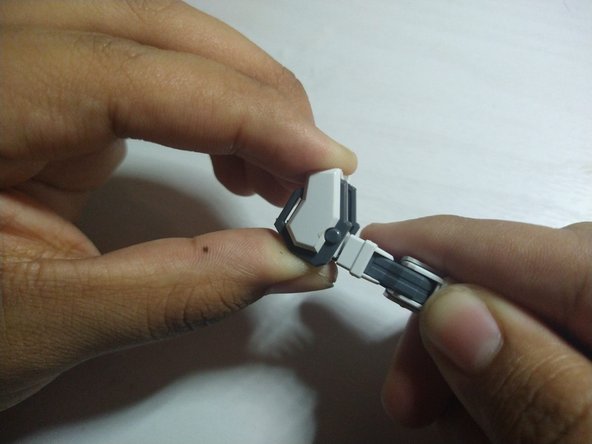
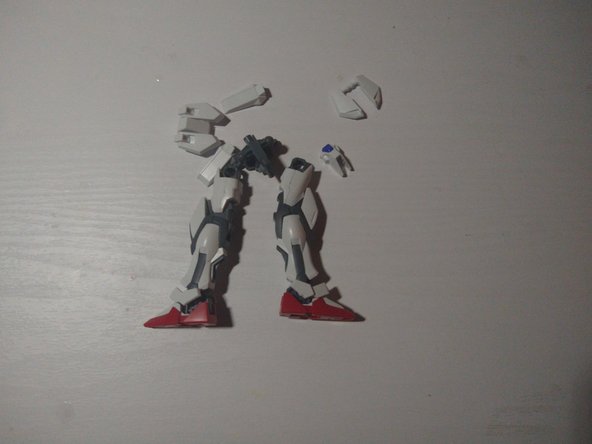
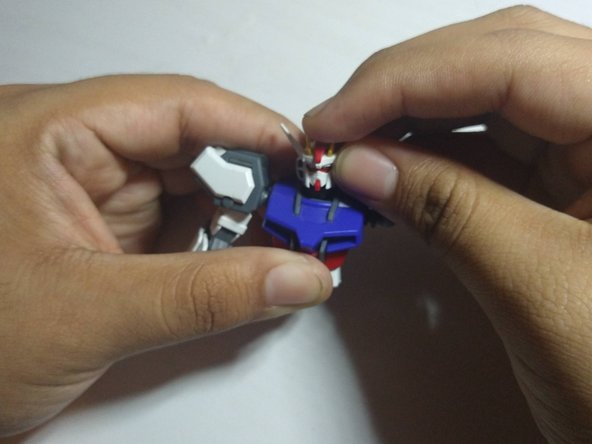
    • With any model you own, find the loose part. It can be the head or arm moving too loosely or a part of the arm or leg that falls off too much.

    • While the model you use may differ from the one in the guide, the joints shown are similar to those used in most models.

    • Before you do this, if you plan on adding paint to your model, do it before applying glue to your joints.

  2. How to Repair Loose Joints in Gunpla Figures: 手順 2、 2の画像 1 How to Repair Loose Joints in Gunpla Figures: 手順 2、 2の画像 2
    • If you have a loose arm, you’ll have to take it apart to access the areas where you need to apply glue.

    • Using a bamboo stick (or any stick), apply super glue to the tip to spread it evenly against the ball or peg joint.

    • After you finish, wait for it to dry before you connect any parts to it.

    • When the super glue dries up, it may leave white marks. This means there's too much glue, so try not to apply too much.

    • If you get glue on your fingers, apply soap and warm water to them. This will cause the glue to be easier to remove.

  3. How to Repair Loose Joints in Gunpla Figures: 手順 3、 3の画像 1 How to Repair Loose Joints in Gunpla Figures: 手順 3、 3の画像 2 How to Repair Loose Joints in Gunpla Figures: 手順 3、 3の画像 3
    • Make sure to add a small layer of glue to the peg joint and spread it evenly around the peg area.

    • DO NOT add glue inside the part that the peg connects to. It may cause the peg to have less movement.

    • Once it's dried, reassemble the arm back together.

  4. How to Repair Loose Joints in Gunpla Figures: 手順 4、 3の画像 1 How to Repair Loose Joints in Gunpla Figures: 手順 4、 3の画像 2 How to Repair Loose Joints in Gunpla Figures: 手順 4、 3の画像 3
    • Detach the legs from the waist and disassemble them to access the ball joint.

    • Apply a small amount of glue to the ball joint and spread it evenly.

    • If you apply too much glue, it can cause damage to the ball joint.

    • Once it's dry, reattach the legs and reassemble the waist. Start to move the joint around to see how it feels.

  5. How to Repair Loose Joints in Gunpla Figures: 手順 5、 2の画像 1 How to Repair Loose Joints in Gunpla Figures: 手順 5、 2の画像 2
    • For the head, you’ll need to remove it to expose the joint.

    • Apply a small amount of glue to it and spread it evenly.

    • Once it's dry, reattach the head to the joint and move it around to see how it feels.

終わりに

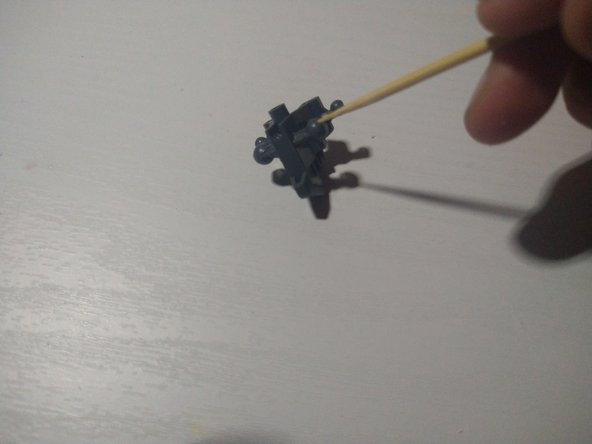
Once you're done reassemble your model and try to move the joints around to see if you need to fix anything else.

2 の人々がこのガイドを完成させました。

作成者

1人の作成者と共同作成されました。

Steven Magana

メンバー登録日: 10/25/23

175 ポイント

1ガイドが承認済み

チーム

CSU Los Angeles, Team 4-12, Kershman Fall 2023 CSU Los Angeles, Team 4-12, Kershman Fall 2023人のメンバー

CSULA-KERSHMAN-F23S4G12

1 メンバー

1のガイドは作成済み

0 件のコメント

コメントを追加

統計データ:

過去 24時間: 4

過去 7 日: 34

過去 30 日: 153

今までの合計 481