はじめに
Backpacks can get ripped from frequent use, but you don’t need to throw them away. We will show you how to patch a rip with easy steps for a durable repair. Whether you’re a DIY pro or a beginner, you’ll find it easy to restore your backpack. Let’s get started!
➡️Before you get started, please check the safety disclaimer at the bottom of the page.
必要な工具と部品
-
-
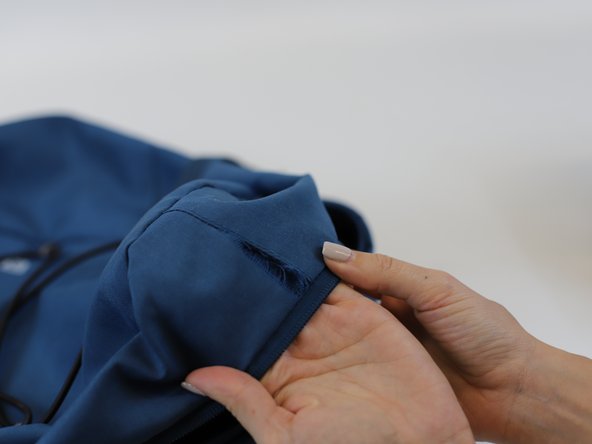
Identify the defective area and assess how large the damage is.
 FixBotに聞いてみる
-
-
-
Use a pair of scissors to cut the loose threads and clean the area.
-
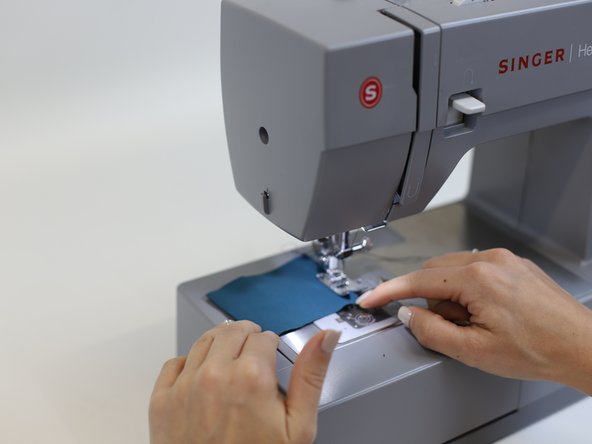
Use a similar color fabric to create your "own patch".
-
Tip: Cut a piece of fabric that is at least 1cm bigger than the tear (from each side). Use a sewing machine to create a hem around the border of the patch.
-
-
-
-
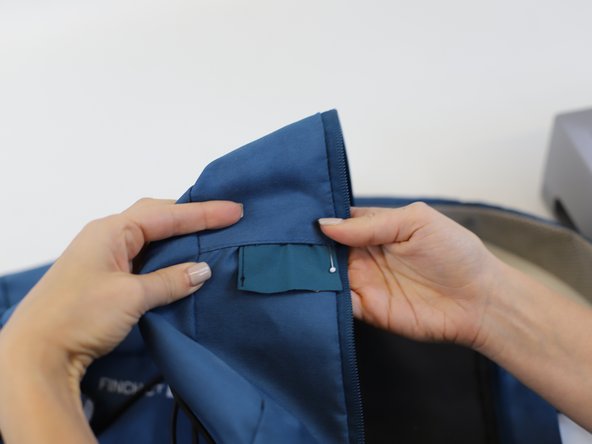
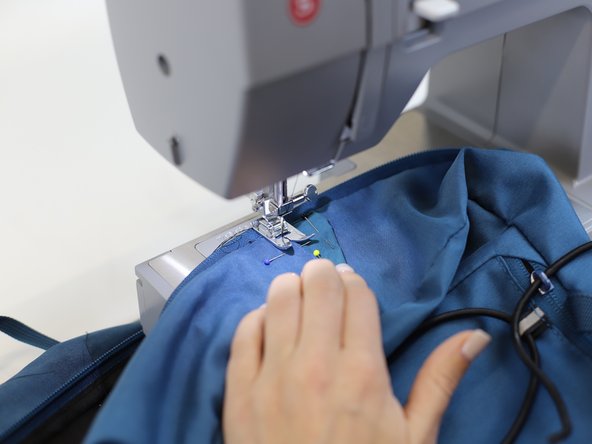
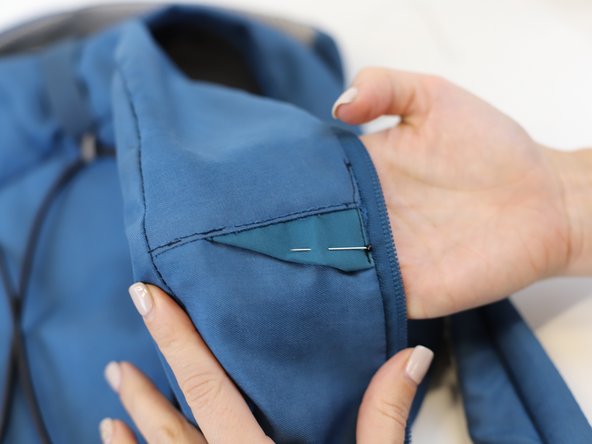
Use sewing pins to pin the area and set the patch in place.
-
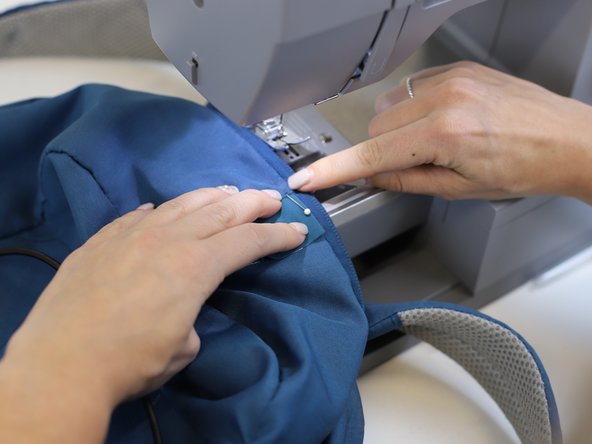
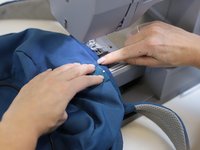
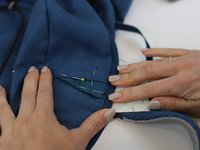
Start sewing follow the shape of the patch.
-
-
-
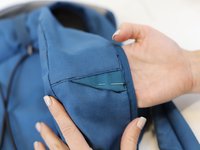
Once you have stitched the first side of the patch. Apply more sewing pins to set the patch in place and continue sewing.
-
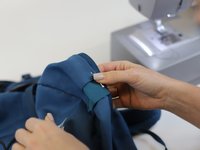
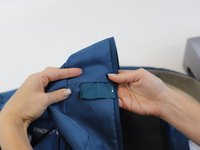
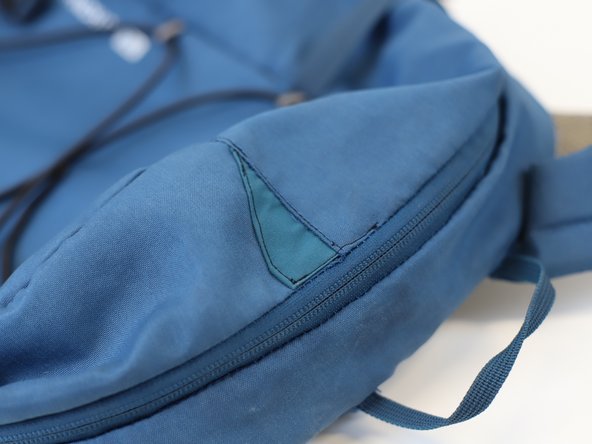
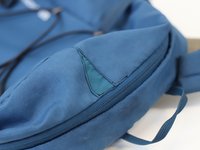
Tip: In this example, a square patch was used to repair the tear. For aesthetic reasons, a “triangle” shape was achieved by inserting part of the patch inside the tear and folding one side inward.
-
-
-
🛠️🏆👏 Congratulations! The repair is complete, and you're ready to go!
-







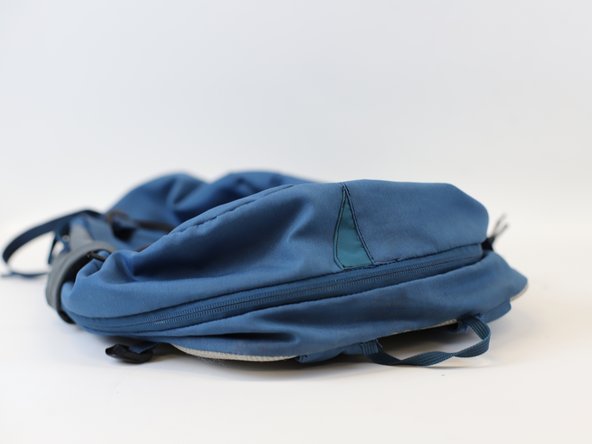

In need of another repair? Don't worry! Check out our other guides to find quick solutions for your favourite clothing, footwear and equipment!
----------------------------------------
🚨🛠️🩹 IMPORTANT SAFETY NOTICE:
The repair guides provided on this site are intended to help you repair products on your own. While we have put a lot of care into them, all repair work carries some risk:
- Safety Precautions: When repairing your product, take all necessary precautions to ensure your safety. Use appropriate tools and follow the instructions carefully.
- Product Condition: Once your product has been repaired, it may not meet original compliance guidelines anymore and could potentially have issues.
- Liability: We are not responsible for any damage or injury that may occur during the repair process or as a result of using a repaired product. You, as the repairer, assume all risks and responsibilities associated with the repair.
By using these repair guides, you fully acknowledge and accept the potential risks and responsibilities involved.

チーム

