メインコンテンツにスキップ

How to Hand Stitch a Ripped Seam

必要な工具と部品

  1. How to Hand Stitch a Ripped Seam, How to Hand Stitch a Ripped Seam: 手順 1、 1の画像 1
    • Obtain a roll of thread that matches the color of the clothing and a threading needle.

  2. How to Hand Stitch a Ripped Seam: 手順 2、 1の画像 1
    • Measure out a piece of thread the length of your wingspan. Then, take about 10 more inches than that.

    • The thicker the fabric, the more thread you should use.

  3. How to Hand Stitch a Ripped Seam: 手順 3、 1の画像 1
    • Thread the need so that the needle falls exactly in the middle of the thread.

    • If you have trouble threading it, you can wet it and roll it so it’s easier or use a needle threader.

  4. How to Hand Stitch a Ripped Seam: 手順 4、 1の画像 1
    • Now, tie a knot at the end of the thread about 2 inches away from the end of the thread.

    • Tie the knot multiple times in the same place so that it is big enough to keep that end from slipping through the fabric.

  5. How to Hand Stitch a Ripped Seam: 手順 5、 1の画像 1
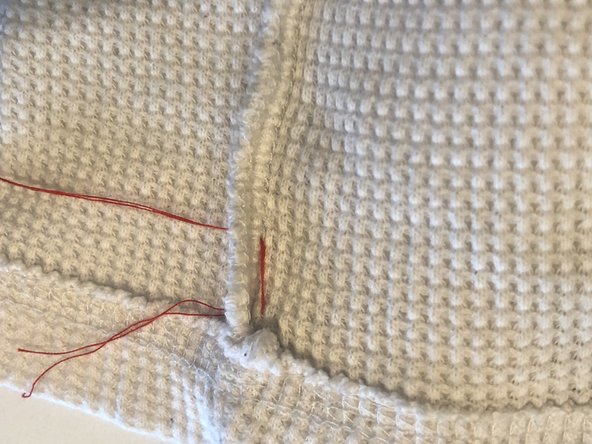
    • Turn the clothing inside out and insert the needle at the end of the rip.

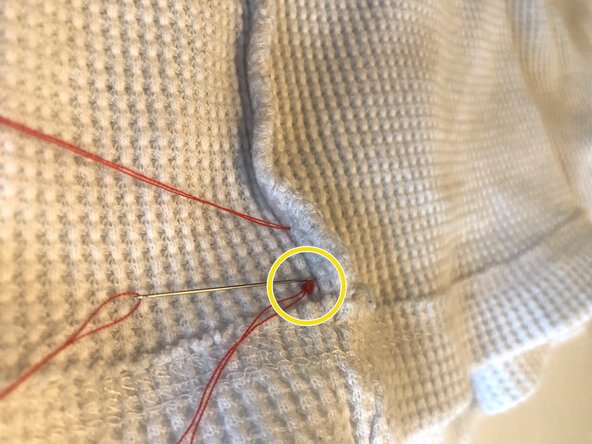
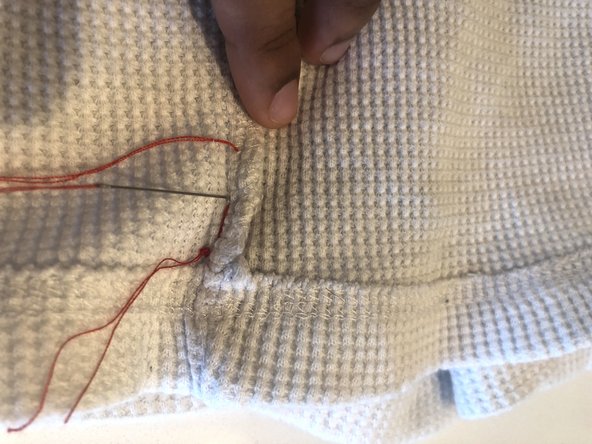
  6. How to Hand Stitch a Ripped Seam: 手順 6、 3の画像 1 How to Hand Stitch a Ripped Seam: 手順 6、 3の画像 2 How to Hand Stitch a Ripped Seam: 手順 6、 3の画像 3
    • Now, push the needle back through the other side a space away from the initial piercing spot.

    • Then, go back through the initial piercing spot (the end of the first stitch) through the back this time.

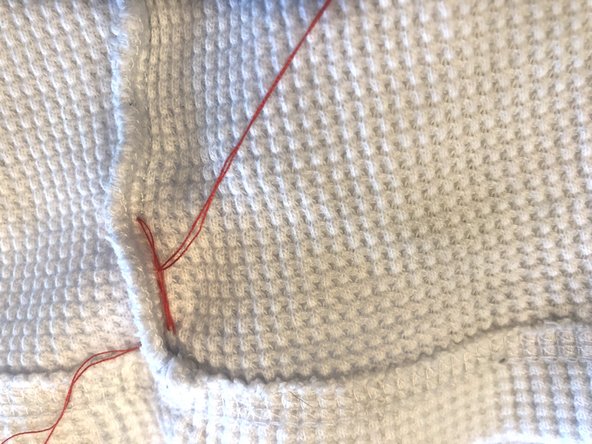
  7. How to Hand Stitch a Ripped Seam: 手順 7、 3の画像 1 How to Hand Stitch a Ripped Seam: 手順 7、 3の画像 2 How to Hand Stitch a Ripped Seam: 手順 7、 3の画像 3
    • Poke the needle through the fabric another space away from the previous stitch and stitch back through again then, repeat.

  8. How to Hand Stitch a Ripped Seam: 手順 8、 1の画像 1
    • Continue this pattern until the hole is completely closed.

  9. How to Hand Stitch a Ripped Seam: 手順 9、 3の画像 1 How to Hand Stitch a Ripped Seam: 手順 9、 3の画像 2 How to Hand Stitch a Ripped Seam: 手順 9、 3の画像 3
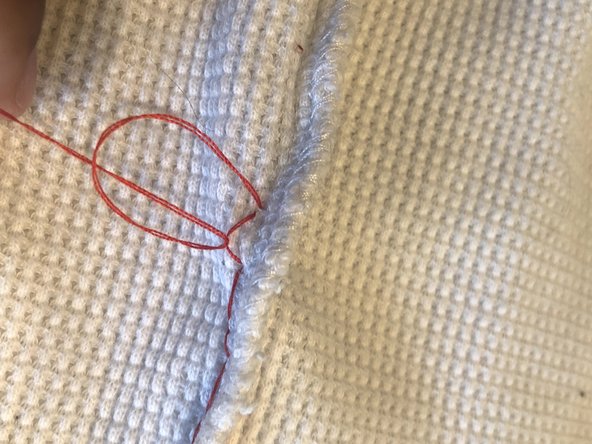
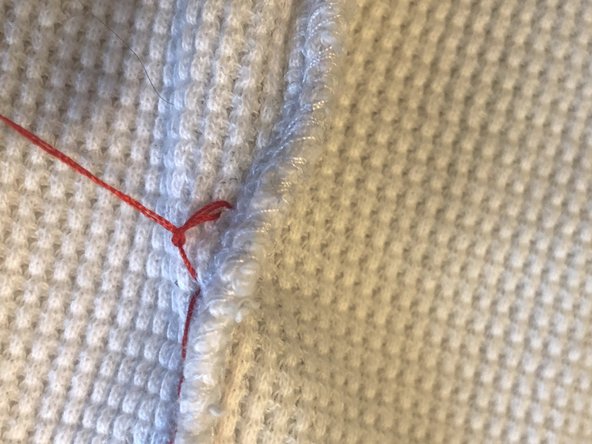
    • Begin to tie off the knot by looping the needle and thread over and under the bottom of the last stitch you made.

    • Then, loop the needle and thread over and under the bigger loop that your first loop created and pull to fasten the knot.

    • Clip any extra thread that is left over.

終わりに

Flip garment right side out again and now you’re ready to wear!

作成者

1人の作成者と共同作成されました。

Indigo Young

メンバー登録日: 05/15/20

169 ポイント

1ガイドが承認済み

チーム

UW Tacoma, Team S1-G24, Cardinal Spring 2020 UW Tacoma, Team S1-G24, Cardinal Spring 2020人のメンバー

UWT-CARDINAL-S20S1G24

1 メンバー

1のガイドは作成済み

0 件のコメント

コメントを追加

統計データ:

過去 24時間: 0

過去 7 日: 1

過去 30 日: 18

今までの合計 1,413