メインコンテンツにスキップ

How to Hand Stitch a Patch to Clothing

必要な工具と部品

  1. How to Hand Stitch a Patch to Clothing, How to Hand Stitch a Patch to Clothing: 手順 1、 2の画像 1 How to Hand Stitch a Patch to Clothing, How to Hand Stitch a Patch to Clothing: 手順 1、 2の画像 2
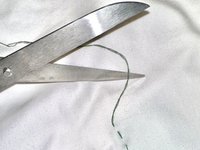
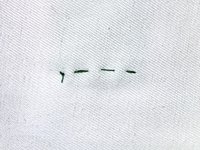
    • Use scissors to cut just outside the perimeter of the hole to clean the edges.

    • Handle scissors safely, as they can be very sharp.

  2. How to Hand Stitch a Patch to Clothing: 手順 2、 2の画像 1 How to Hand Stitch a Patch to Clothing: 手順 2、 2の画像 2
    • Decide what recycled fabric you would like to use as a patch and cut a rectangle just larger than the hole in your clothes.

    • If your hole is not a rectangle, design your patch accordingly to best fit your hole's shape. Generally, a non-stretch fabric will work the best for this project.

    • Lay your patch over the hole to cover it entirely and ensure that the patch covers all sides with seam allowance.

  3. How to Hand Stitch a Patch to Clothing: 手順 3、 2の画像 1 How to Hand Stitch a Patch to Clothing: 手順 3、 2の画像 2
    • Thread your needle by pulling one end of the thread through the eyes of the needle.

    • Pull your needle along the thread to the center and pull the thread straight so that the ends align.

  4. How to Hand Stitch a Patch to Clothing: 手順 4、 2の画像 1 How to Hand Stitch a Patch to Clothing: 手順 4、 2の画像 2
    • Tie your thread at the end to secure your needle.

    • To tie a knot, make a loop with the thread, then wrap the under-thread over around the outside and pull it down through the center. Pull both ends tight.

  5. How to Hand Stitch a Patch to Clothing: 手順 5、 2の画像 1 How to Hand Stitch a Patch to Clothing: 手順 5、 2の画像 2
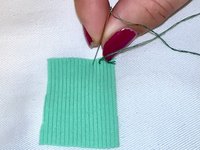
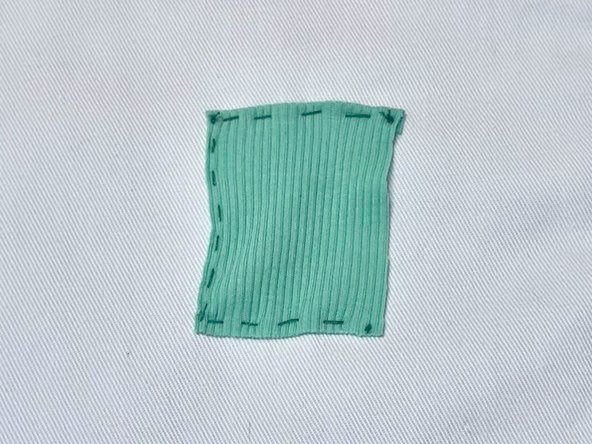
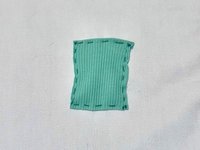
    • Center and place the patch over the hole.

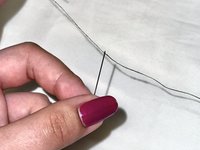
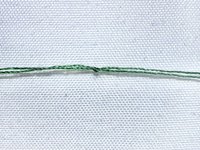
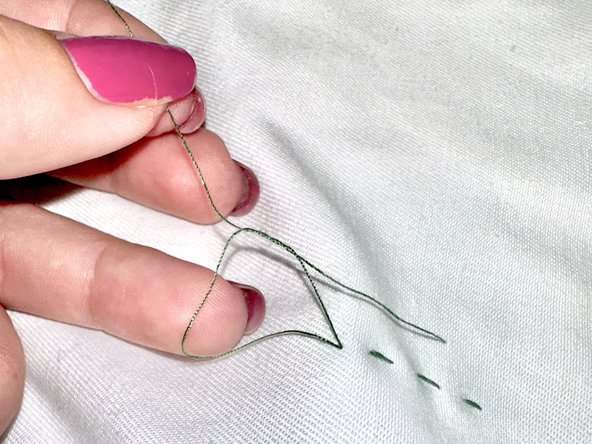
    • Secure the top edge of your patch using straight stitch, ensuring to pull any access thread through along with the needle.

    • A straight stitch is the most common sewing stitch. To preform a straight stitch, hold the fabric flat and insert the needle though the front side to the back side. Continue to your next stitch and insert it back through to the front side of the fabric following the straight progression of the line.

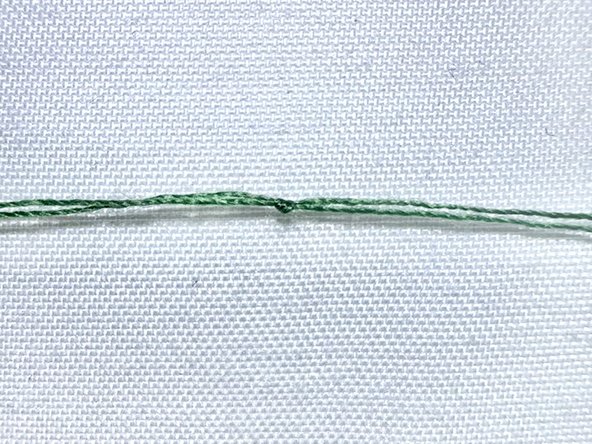
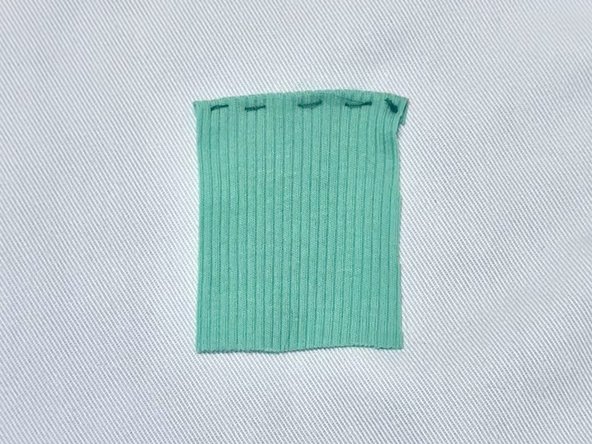
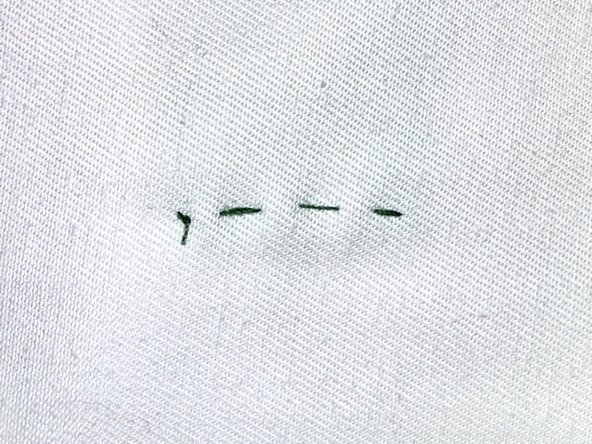
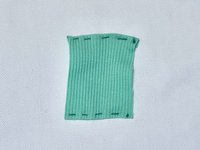
    • Make as many stitches as you need to reach the end of your patch, with your final needle position on the backside of your fabric.

  6. How to Hand Stitch a Patch to Clothing: 手順 6、 3の画像 1 How to Hand Stitch a Patch to Clothing: 手順 6、 3の画像 2 How to Hand Stitch a Patch to Clothing: 手順 6、 3の画像 3
    • Cut excess thread using your scissors, leaving plenty of room for a knot.

    • Securing your stitches with a knot anchors the thread so that the stitches cannot pull through.

    • Tie a double-knot in your thread.

    • Be careful not to tie it too tight or the fabric will bunch.

  7. How to Hand Stitch a Patch to Clothing: 手順 7、 3の画像 1 How to Hand Stitch a Patch to Clothing: 手順 7、 3の画像 2 How to Hand Stitch a Patch to Clothing: 手順 7、 3の画像 3
    • Repeat the previous steps to secure the remaining edges of your patch.

    • Do not forget to tie each edge.

  8. How to Hand Stitch a Patch to Clothing: 手順 8、 1の画像 1
    • Your final result should show all four sides of your patch sewn into your original fabric, with a seam allowance.

終わりに

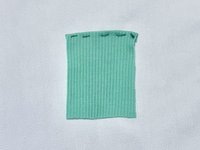
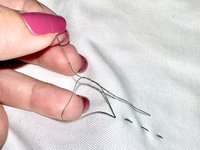
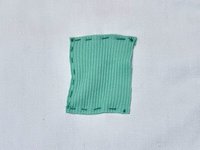
You're all finished! To remove a patch, carefully use scissors or a seam ripper to cut only the thread used to secure the patch to the base fabric. Be cautious not to cut the fabric.

2 の人々がこのガイドを完成させました。

作成者

2人の作成者と共同で作成されました。

Eli Hardy

メンバー登録日: 04/30/24

181 ポイント

1ガイドが承認済み

チーム

CSU Los Angeles, Team 6-9, Briggs Spring 2024 CSU Los Angeles, Team 6-9, Briggs Spring 2024人のメンバー

CSULA-BRIGGS-S24S6G9

1 メンバー

4のガイドは作成済み

0件のガイドコメント

コメントを追加

統計データ:

過去 24時間: 6

過去 7 日: 41

過去 30 日: 235

今までの合計 1,600