はじめに
This guide shows an easy step-by-step repair process that fixes stuck buttons on the Sharp scientific calculator quickly.
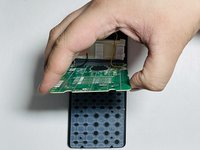
It covers the models EL-W531X, EL-W531XG, EL-W531XH, and EL-W535X for Sharp Scientific Write View Calculator. If your device does not display the inputted numbers correctly, it is likely due to sticky keys. This common issue occurs when the buttons become exposed to excessive force, such as being dropped or roughly used. As a result, some keys become sticky, knocked out from their position and unusable.
必要な工具と部品
-
-
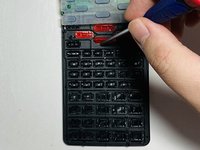
Turn the power off by pressing a button named 2NDF located in the top-left corner.
-
Press the button named ON/C in the top-right corner.
-
-


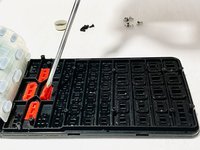
To reassemble your device, follow these instructions in reverse order.
2 の人々がこのガイドを完成させました。
添付文書

チーム

York University, Team S1-G5, O'Regan Summer 2020 York University, Team S1-G5, O'Regan Summer 2020人のメンバー
YORK-O'REGAN-SU20S1G5
1 メンバー
1のガイドは作成済み