はじめに
Sewing can give power and save one money by providing a means for repurposing almost anything made of or with fabric. Ripped seams are regular and often discarded for a replacement, which can become expensive to replace or pay someone to fix. This guide will help to teach users to hand repair fabric-based objects, using a simple, yet versatile stitch pattern, back to their proper state.
必要な工具と部品
-
-
Thread the needle by pulling the end of the thread through the needle's eye (a small hole on the blunt end of the needle), and looping the thread under itself - forming a temporary knot.
-
-
-
-
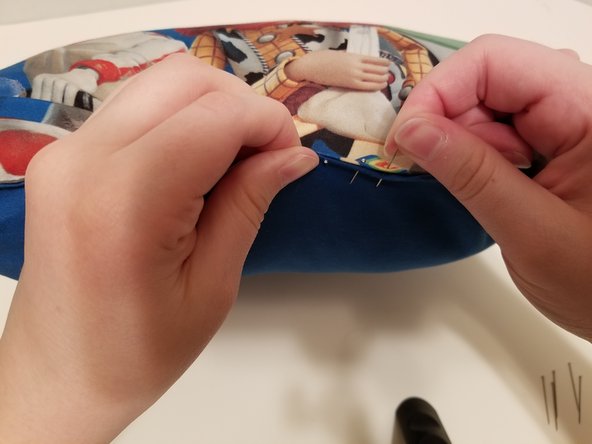
Push the parallel edges of the folded sides next to one another and secure with a pin – enclosing the hole. Do so by pushing the pin through the new folds and angling the pins head down into the pillow, away from the user. Repeat the process until the ripped seam is enclosed and no stuffing can be seen.
-
-
-
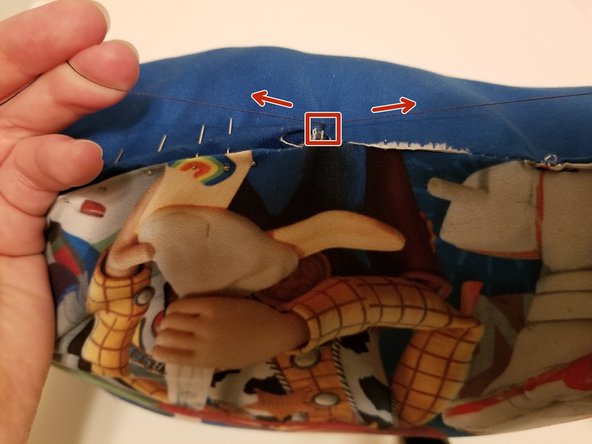
Holding onto the first pin, insert the needle into the pillow near where the seam begins, under the top of the fold and tie a knot.
-
Tie a knot by inserting the needle under the nearest stitch and pulling it until it forms a loop that's at least 1 inch wide. Insert the needle through the loop and pull it tight to create a knot.
-
-
-
Sew down the length of the seam by inserting the needle at the outermost edge of the visible fabric folds - alternating to the parallel side and back to the starting side.
-
Each stitch should be approx. 1/4 inches or less apart from the prior stitch when alternating sides.
-
Remove the pins as your stitch approaches them, making sure to keep the fabric folded in on itself.
-
-
-
Once the ripped seam is patched, tie off the thread with a knot by inserting the needle under the nearest stitch and pulling it until it forms a loop that's at least 1 inch wide. After you make the loop, insert the needle through the loop and pull it tight to create a knot (as seen in step 4).
-
Cut the thread connecting the newly formed knot and needle as close to the pillow stitch as possible, making sure to leave the knot in one piece to keep the seam secured.
-


2 の人々がこのガイドを完成させました。
チーム

UW Tacoma, Team S1-G26, Cardinal Spring 2020 UW Tacoma, Team S1-G26, Cardinal Spring 2020人のメンバー
UWT-CARDINAL-S20S1G26
1 メンバー
1のガイドは作成済み