必要な工具と部品
ビデオの概要
-
-
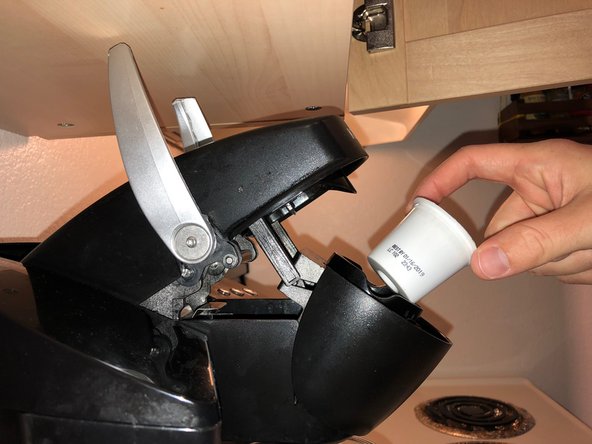
Is this what's preventing you from happiness in the morning? The K-Cup cannot fit in the reservoir because the handle hits the low lying cabinets.
-
-
-
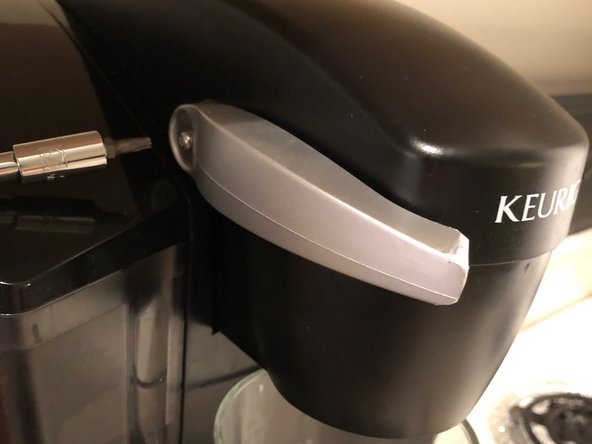
Pull your Keurig forward until you can extend the handle completely vertical.
-
Push the whole Keurig backwards until the now vertical handle is flush with the front of the cabinet.
-
Use a sharpie to draw a line on the Keurig handle about an inch below the bottom of the cabinet.
-
-
-
-
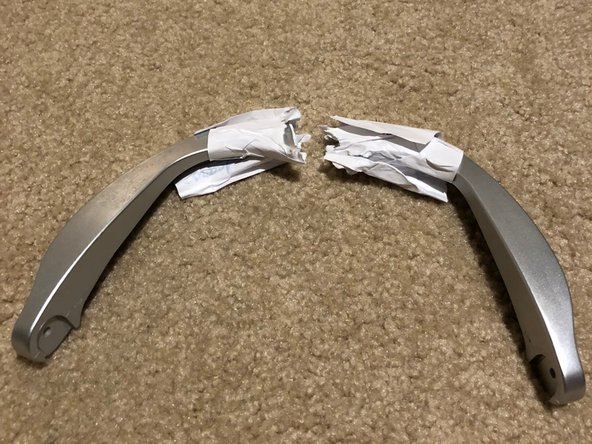
Find a way to separate the handle like a turkey wishbone. I used just my hands. I wrapped a piece of paper around the break area to protect the skin on my thumbs.
-
With the paper in place, pull the handle apart with sufficient force to snap the handle into two pieces. It doesn't matter where the break is, just as long as it is in-between the two lines you drew.
-
-
-
Use sandpaper or other means to sand the broken ends of the handle down to the lines you marked on them. This is by far the most time consuming step.
-
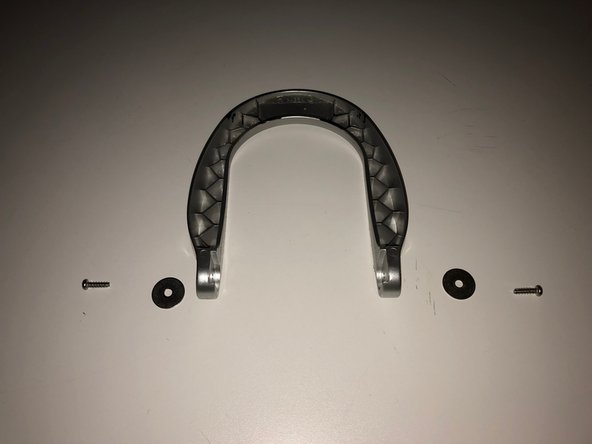
Reassemble the handles with the screws and the washers. Remember, the curve of the handle will wrap nicely around the K-Cup reservoir and the smooth finished side will face up. Refer to step 3.
-


Enjoy coffee! Paint the ends of the handle where you sanded the same color as the rest of the handle if you so desire.
Enjoy coffee! Paint the ends of the handle where you sanded the same color as the rest of the handle if you so desire.

4 件のコメント
That looks like crap. You still have to pull it out to add water.
Hey hey, sorry you think that. I didn’t really care how it looked. I might try 3D printing the part now. Also, my model allowed me to easily remove the water reservoir. Lmk if you need more help.
Did you print a 3D handle? I’ve been debating that path.
Chris, that’s a good idea. I did this right before 3D printers were really getting mainstream. If you have a good model for the handle, can you link it?