メインコンテンツにスキップ

How to Clean the Condenser Coils in your Whirlpool Refrigerator

必要な工具と部品

  1. How to Clean the Condenser Coils in your Whirlpool Refrigerator, Safety precautions: 手順 1、 1の画像 1
    • Before you begin your repair, perform the following:

    • Turn off your main water supply

    • Unplug your device

  2. How to Clean the Condenser Coils in your Whirlpool Refrigerator, Unfasten the rear panel: 手順 2、 3の画像 1 How to Clean the Condenser Coils in your Whirlpool Refrigerator, Unfasten the rear panel: 手順 2、 3の画像 2 How to Clean the Condenser Coils in your Whirlpool Refrigerator, Unfasten the rear panel: 手順 2、 3の画像 3
    • Remove the screw(s) securing the rear panel.

    • Loosen the screw securing the water hose enough for the rear panel to freely move.

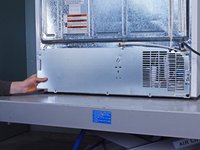
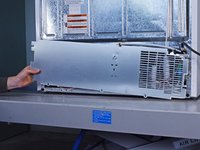
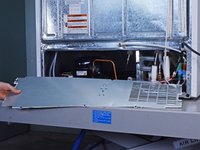
  3. How to Clean the Condenser Coils in your Whirlpool Refrigerator, Remove the rear panel: 手順 3、 3の画像 1 How to Clean the Condenser Coils in your Whirlpool Refrigerator, Remove the rear panel: 手順 3、 3の画像 2 How to Clean the Condenser Coils in your Whirlpool Refrigerator, Remove the rear panel: 手順 3、 3の画像 3
    • Pull the rear panel off the chassis to remove it.

  4. How to Clean the Condenser Coils in your Whirlpool Refrigerator, Open the doors: 手順 4、 3の画像 1 How to Clean the Condenser Coils in your Whirlpool Refrigerator, Open the doors: 手順 4、 3の画像 2 How to Clean the Condenser Coils in your Whirlpool Refrigerator, Open the doors: 手順 4、 3の画像 3
    • Depending on your repair, open one or both doors.

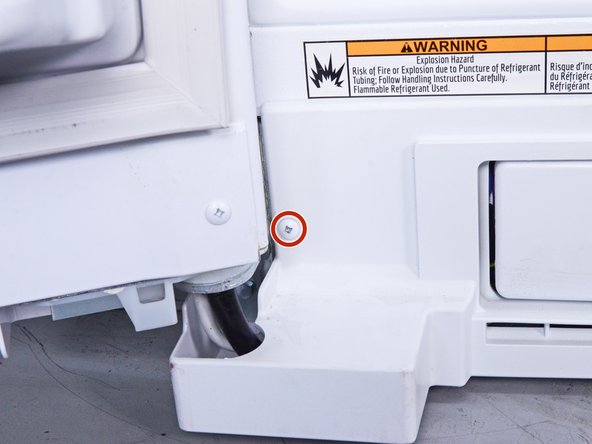
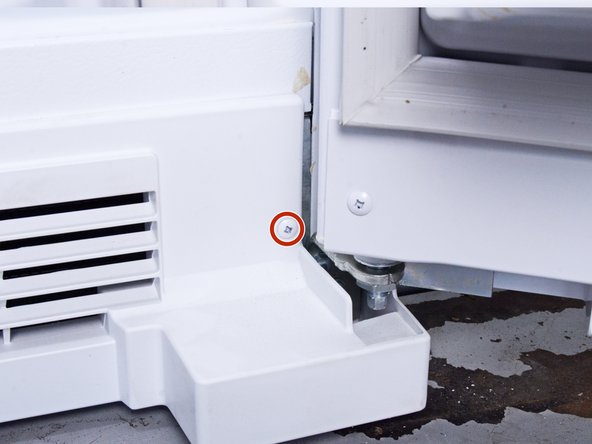
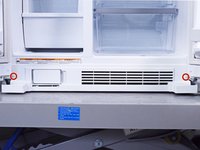
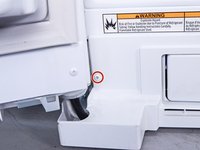
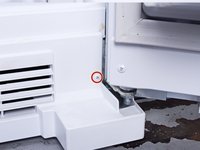
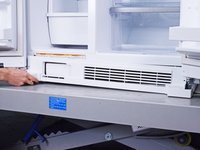
  5. How to Clean the Condenser Coils in your Whirlpool Refrigerator, Unfasten the front panel: 手順 5、 3の画像 1 How to Clean the Condenser Coils in your Whirlpool Refrigerator, Unfasten the front panel: 手順 5、 3の画像 2 How to Clean the Condenser Coils in your Whirlpool Refrigerator, Unfasten the front panel: 手順 5、 3の画像 3
    • Remove the screw(s) securing the front panel.

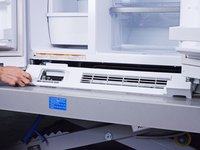
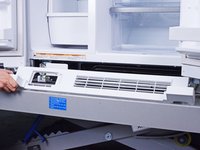
  6. How to Clean the Condenser Coils in your Whirlpool Refrigerator, Remove the front panel: 手順 6、 3の画像 1 How to Clean the Condenser Coils in your Whirlpool Refrigerator, Remove the front panel: 手順 6、 3の画像 2 How to Clean the Condenser Coils in your Whirlpool Refrigerator, Remove the front panel: 手順 6、 3の画像 3
    • Pull the front panel straight off the chassis and remove it.

    • You may have to slightly open the water filter door to remove the front panel completely.

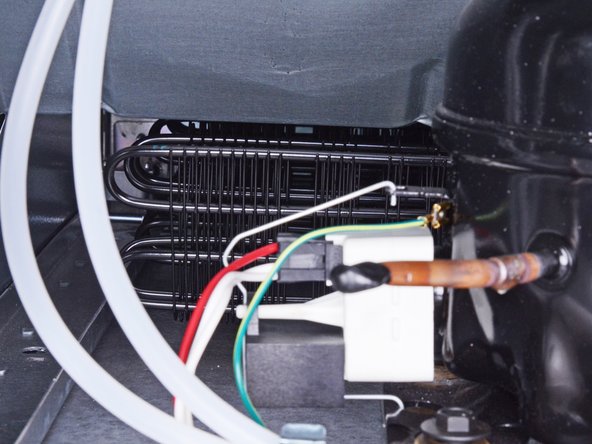
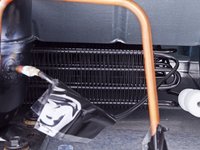
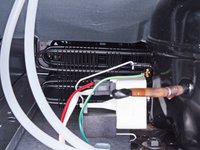
  7. How to Clean the Condenser Coils in your Whirlpool Refrigerator, Vacuum the condenser coils: 手順 7、 2の画像 1 How to Clean the Condenser Coils in your Whirlpool Refrigerator, Vacuum the condenser coils: 手順 7、 2の画像 2
    • Vacuum any dust or debris clinging to the black condenser coils.

終わりに

To reassemble your device, follow these instructions in reverse order.

Repair didn’t go as planned? Ask our Answers community for help.

7 の人々がこのガイドを完成させました。

作成者

2人の作成者と共同で作成されました。

nicO

メンバー登録日: 04/14/15

15,927 ポイント

88のガイドは作成済み

チーム

Global Fixers Global Fixers人のメンバー

Community

33 メンバー

571のガイドは作成済み

コメント 1 件

Thanks for this, step 5 helped out a lot. I do have to say it is very frustrating trying to clean the coils on this model. The coils have that ‘V’ pattern all the way back which makes it really difficult to get a brush through. You almost need some type of access through the side to do this properly.

Kurt R - 返信

コメントを追加

統計データ:

過去 24時間: 4

過去 7 日: 68

過去 30 日: 322

今までの合計 3,946