はじめに
Coffee makers are a household appliance high in popularity, but oftentimes, people experience a multitude of issues that lead to them throwing out their model in order to upgrade; then, inevitably, the cycle continues. Companies that make coffee makers are counting on this to happen, especially with cheaper models like this one, because it means more profit for them – but it also means more plastic in landfills, which can release toxic chemicals over time. In order to stop this cycle, try to address your coffee maker's issue yourself.
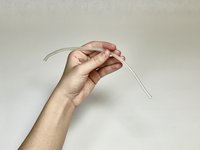
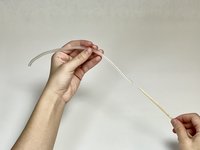
If your machine is producing coffee that tastes off, or lukewarm/cold coffee, your machine's water tube may be compromised. If you live in a region with hard water, not using filtered water can cause mineral buildup in the tube that may affect water taste. Depending on the location of your coffee maker, small particles can easily get inside the tube that takes water to the heating component, potentially blocking the water from making it there.
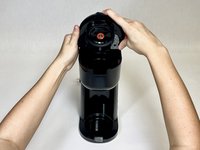
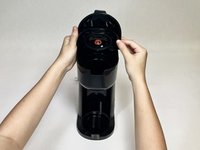
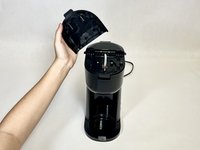
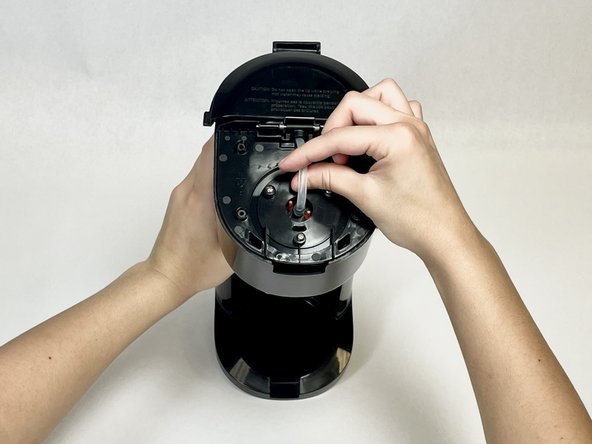
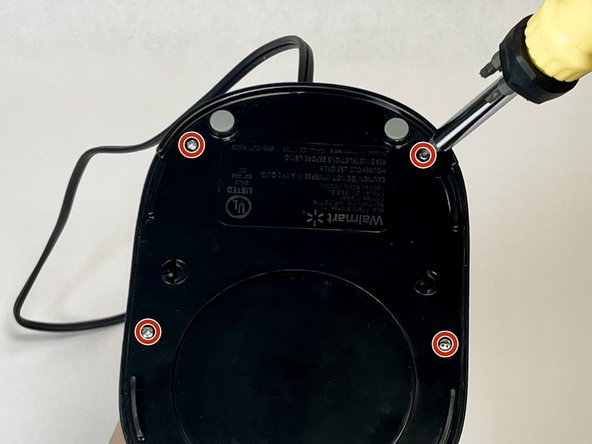
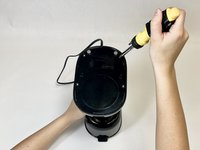
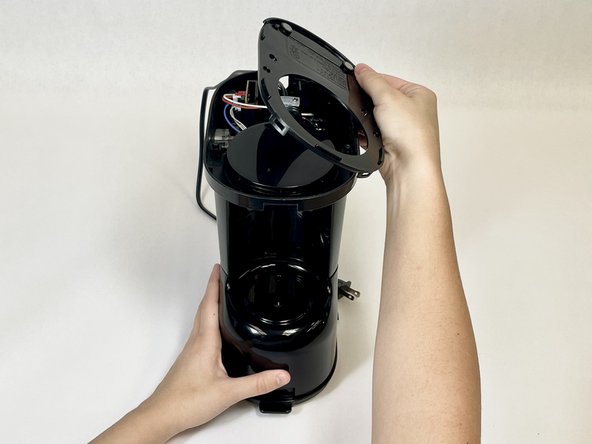
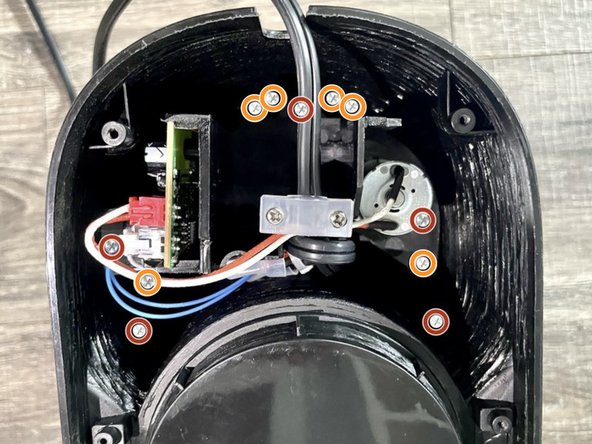
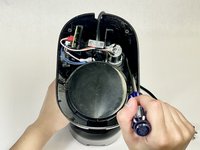
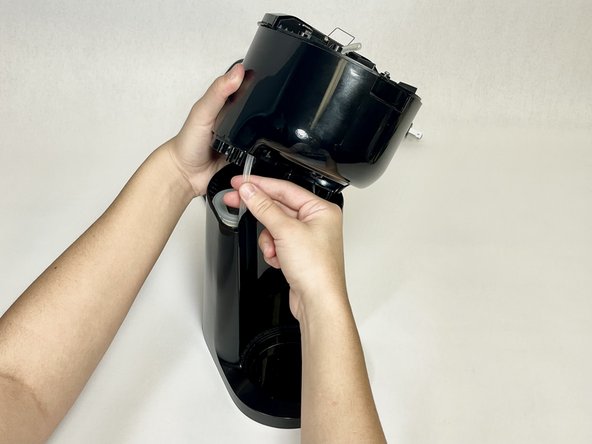
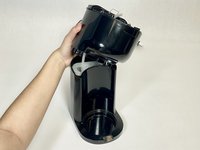
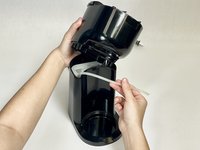
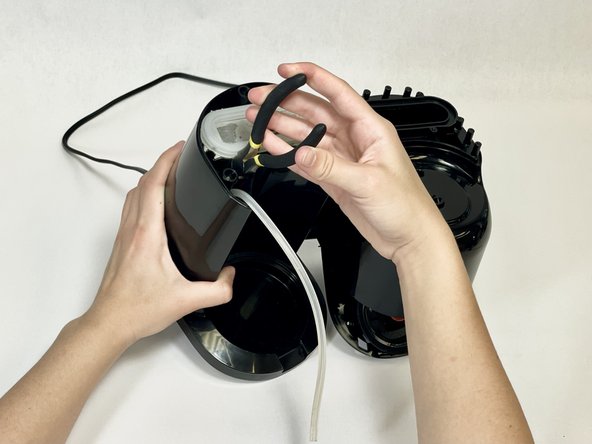
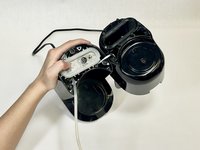
These issues can be addressed by disassembling the coffee maker, removing the water tube, cleaning it out, and reassembling. By trying to fix your coffee maker yourself, regardless of whether or not you are successful, you are doing your part to keep plastic out of landfills and chemicals out of our atmosphere.
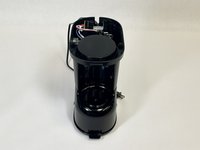
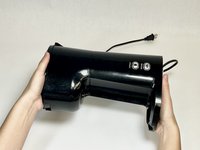
This specific guide is for the Mainstays (Walmart) Single Serve Dual Brew Coffee Maker (201963).
必要な工具と部品


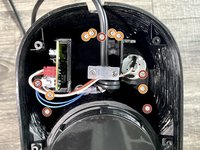


To reassemble your device, follow these instructions in reverse order.
ある他の人がこのガイドを完成しました。

チーム

UC Davis, Team 4-9, Andersen Winter 2024 UC Davis, Team 4-9, Andersen Winter 2024人のメンバー
UCD-ANDERSEN-W24S4G9
2 メンバー
1のガイドは作成済み