はじめに
When playing games on the PS4 the controller is one of the most important devices that need to be working properly for a smooth experience. Having broken or gummed up buttons can be very frustrating when trying to play games on the PS4.
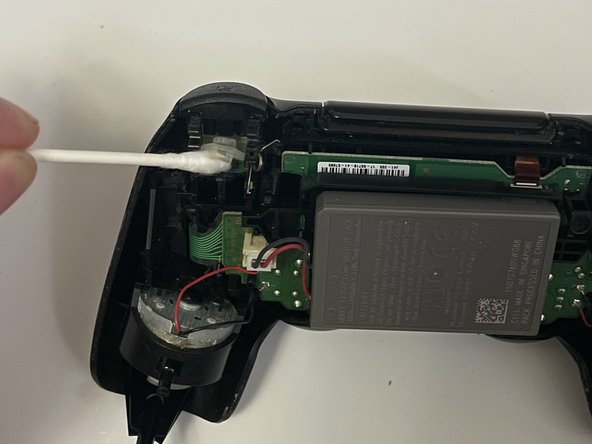
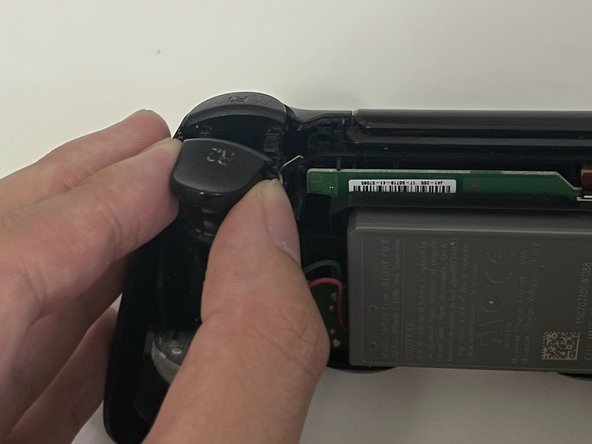
This is a guide on how to clean the R2 and L2 buttons on the DualShock 4 PS4 controller. If you are having issues with the L2 and R2 buttons not working properly, for example, the button trigger is not fully pressing down or it is not registering properly, this guide will solve that problem.
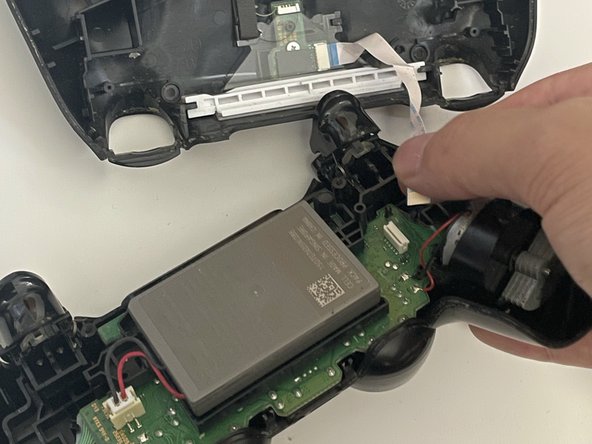
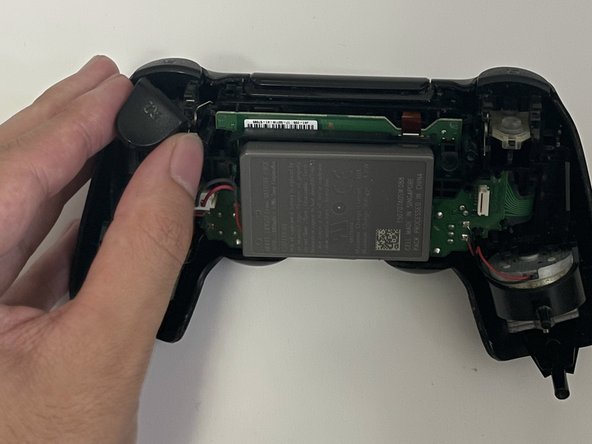
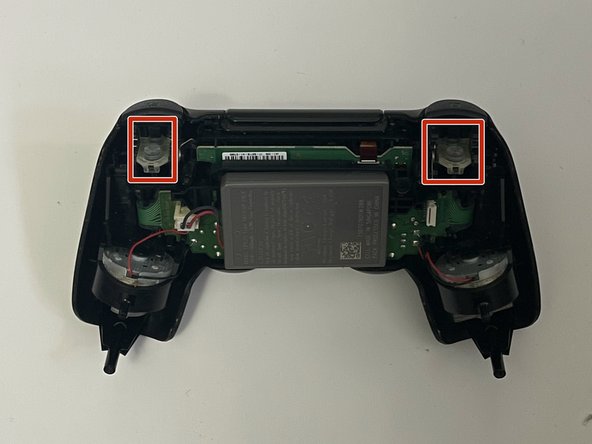
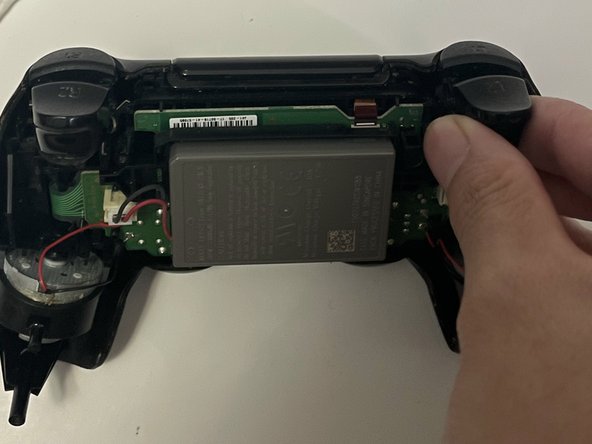
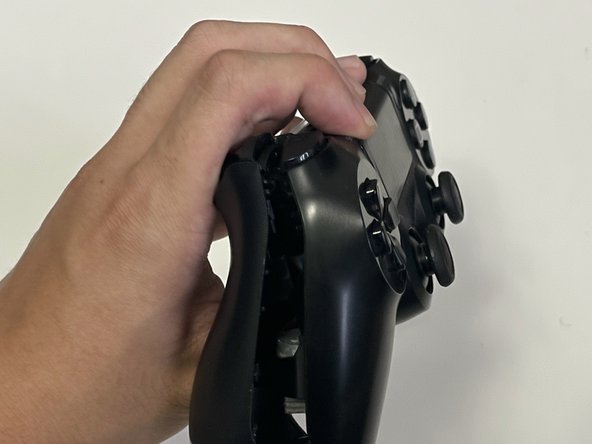
This guide will show the process of dissembling the controller and the removal of the L2 and R2 buttons and showing how to clean them.
必要な工具と部品
-
-
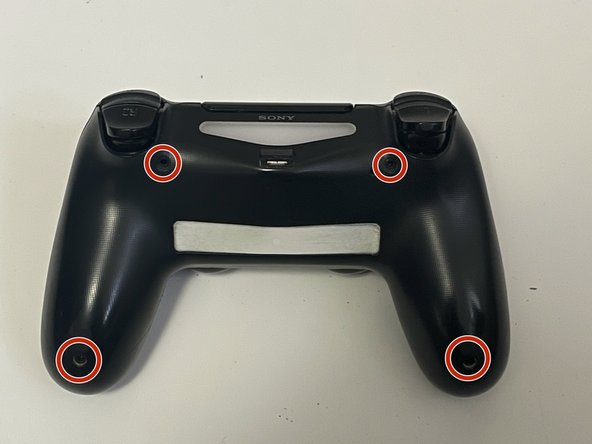
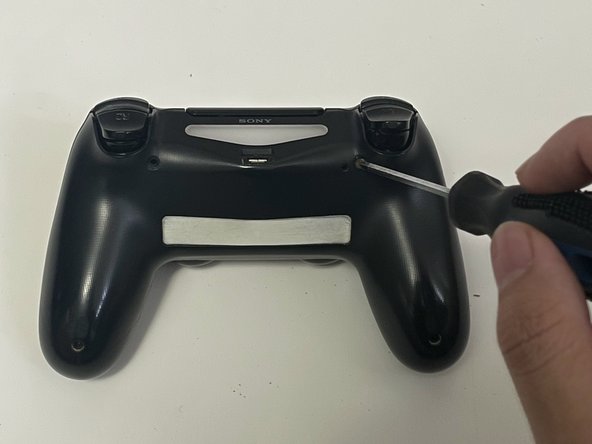
Use a Phillips #00 screwdriver to remove the four 6.0 mm screws located on the back of the controller.
-
-


ある他の人がこのガイドを完成しました。

チーム

York University, Team 2-5, O'Regan Fall 2023 York University, Team 2-5, O'Regan Fall 2023人のメンバー
YORK-O'REGAN-F23S2G5
1 メンバー
2のガイドは作成済み
コメント 1 件
سلام اون نظری که واستون گذاشتم رسید به دستتون گفتم اگر نشه درست نشه باید چیکار کنیم