はじめに
You may have just bought a new Lengha, or other traditional outfits with a blouse that is not properly stitched yet and is loose. Instead of struggling to find a tailor that can tighten your Lengha blouse, save time and money by following along this guide to do it yourself at home!
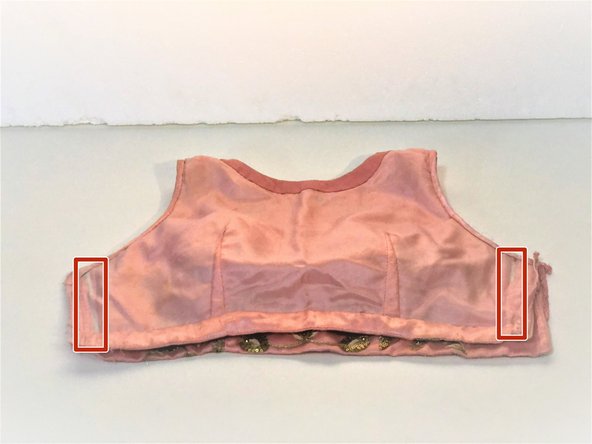
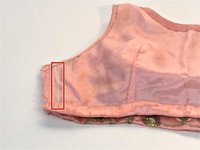
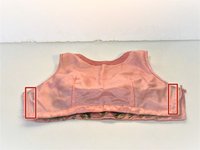
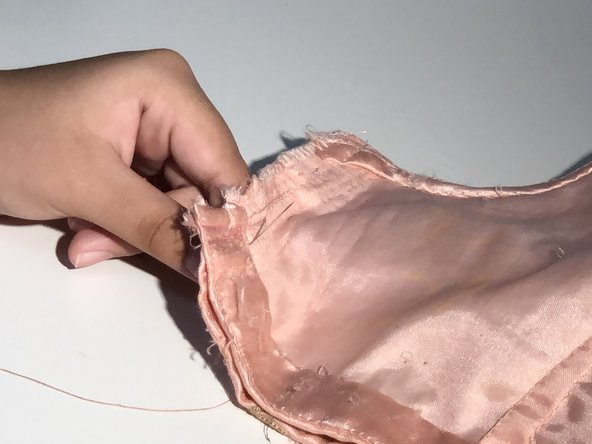
This guide shows you step by step how to take in the blouse of a Lengha or any other traditional Indian outfits that come with similar blouses.
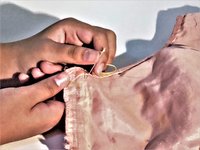
Special skills: A running stitch is required to take in the blouse, but this guide teaches you how to preform that task.
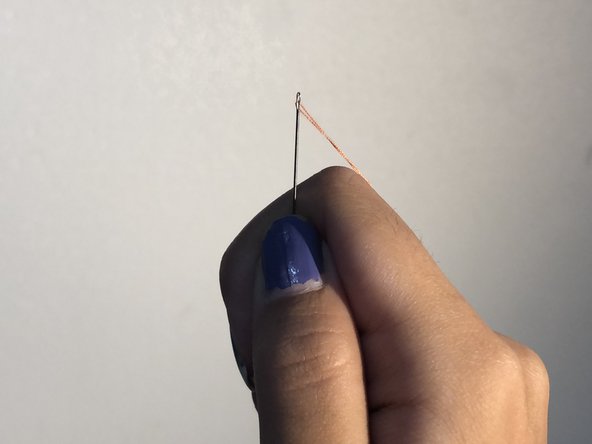
Warning: make sure to handle the needle with care, as it can easily be lost resulting in someone getting injured. It is suggested that you wear a guard on your fingers so you can protect yourself from being poked by the needle.
必要な工具と部品
-
-
Take the measuring tape and wrap it around under your bust. Take note of this measurement.
-
Divide the measurement by two and take note. This will be the measurement used to tighten the blouse in step 4.
-
-


Try the top on and check the fitting. If it seems too tight or loose, then you may have taken the wrong measurements. You may need to cut the stitches and try again. The fitting should ideally not be skin tight but rather allow a bit of room to breath since it is commonly a non-stretch material. Once you are done, you have now altered the blouse to your size and it is ready to be worn.

チーム

York University, Team R-5, Melo-Thaiss Winter 2022 York University, Team R-5, Melo-Thaiss Winter 2022人のメンバー
YORK-MELO-THAISS-W22SRG5
1 メンバー
1のガイドは作成済み