はじめに
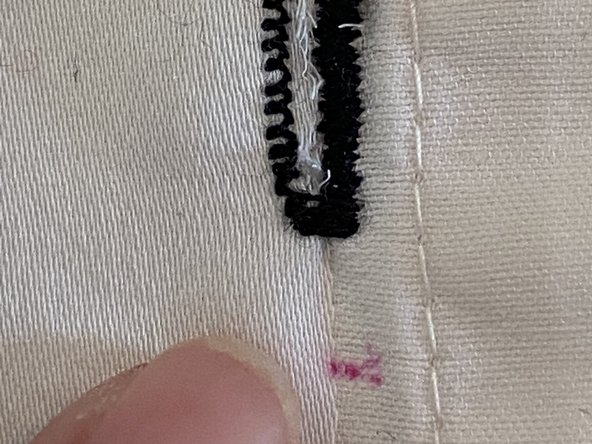
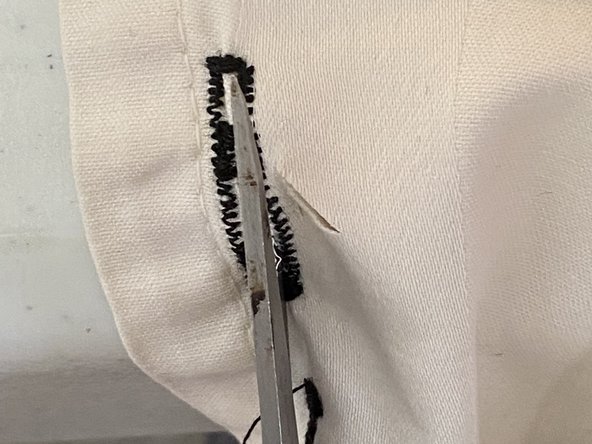
Do you have a shirt with one button that always comes unbuttoned? If so, you need to shorten that buttonhole.
Would you like to change the look of a garment by changing all the buttons to new ones? To do this, you may need to shorten or lengthen the buttonholes.
Adjusting buttonholes is not difficult. This guide will show you the steps to this useful skill.
必要な工具と部品
-
-
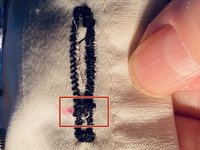
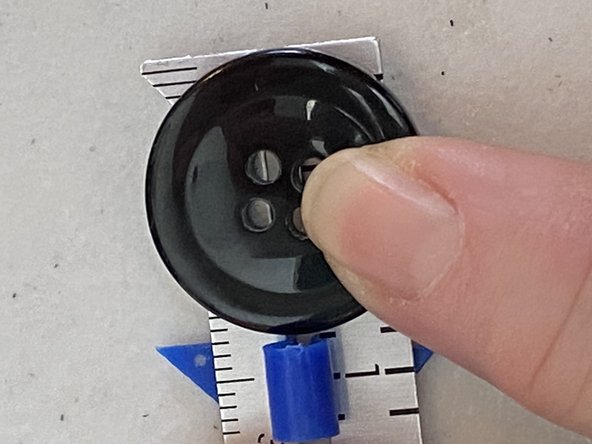
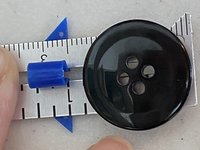
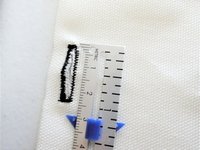
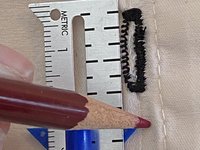
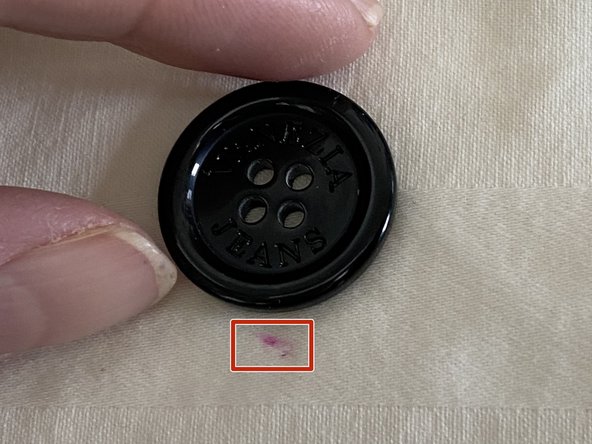
Using the ruler, measure the button you intend to use. Add 1/8” to this measurement for ease of buttoning.
-
-


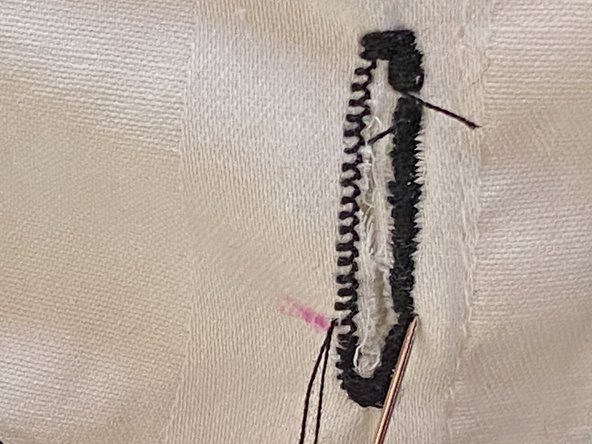

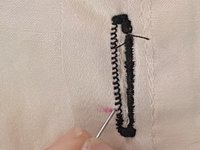
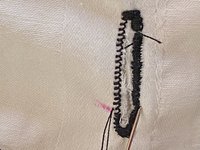


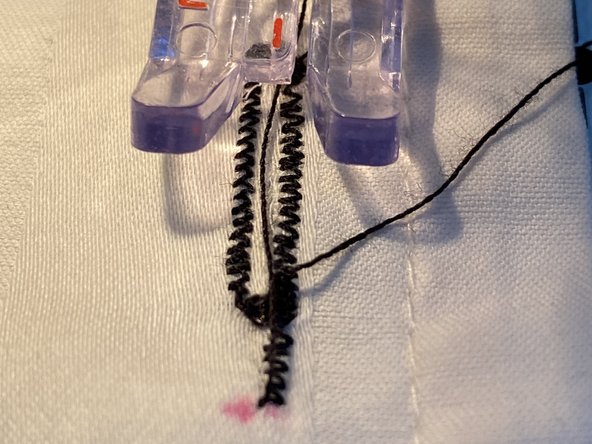
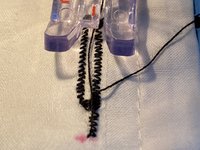

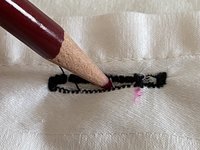
A sewing machine with a buttonhole presser foot is ideal, but this project can be completed with needle and thread.
3 の人々がこのガイドを完成させました。
チーム

Northern Arizona University, Team S1-G11, Konrad Spring 2021 Northern Arizona University, Team S1-G11, Konrad Spring 2021人のメンバー
NAU-KONRAD-S21S1G11
3 メンバー
2のガイドは作成済み