はじめに
The procedure to add multiple audio inputs to a set of powered monitor speakers will be given in this guide. Usually a set of powered monitor speakers only comes with one audio input, and with this procedure one can add as many audio inputs as one wishes to the set of speakers. The only limit on how many audio inputs one can put in is the size of the project box being used. I followed this procedure to get better sound from a kitchen tv, an Amazon Echo Dot, and an Apple Mac mini, all from one set of speakers.
It is very useful to already have a knowledge about how to solder. If you do not know how, here is a link to a very useful guide:
必要な工具と部品
-
-
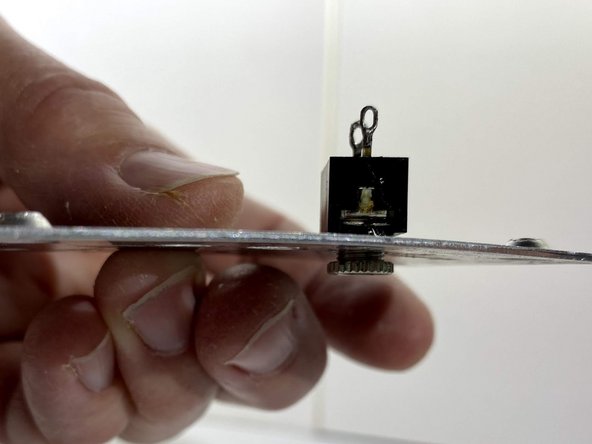
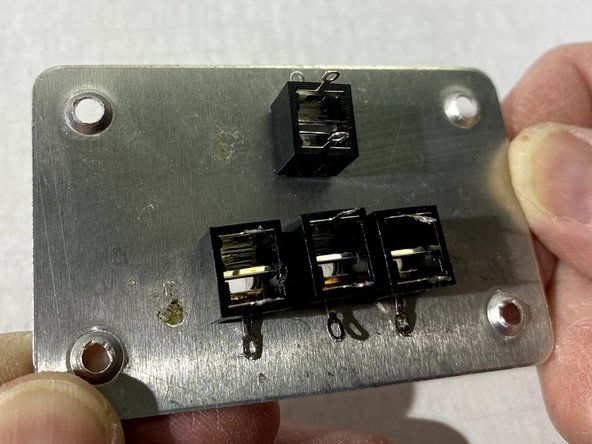
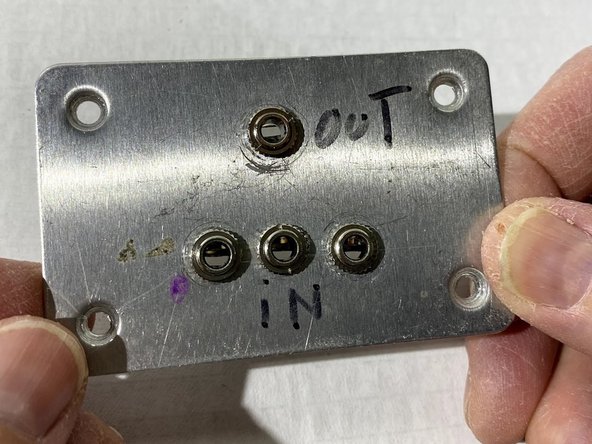
Drill as many 3/16 inch holes, at least ½ inch apart, as wanted for audio inputs along the length of one side of the project box. These are the audio inputs.
-
-
-
-
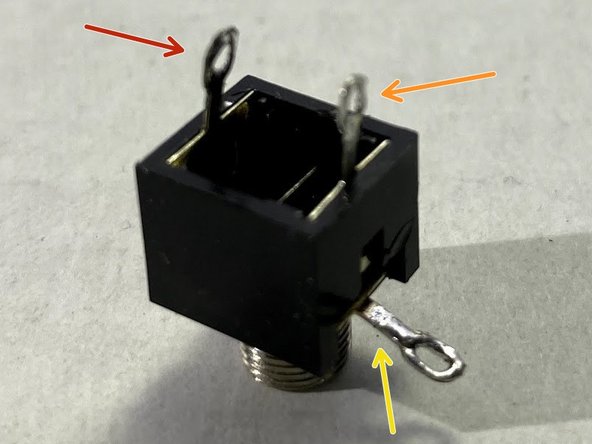
For this step it is important to note the orientation of the audio input jack tabs.
-
The yellow arrow points to the ground tab.
-
The orange arrow points to the right tab, the tab above the ground tab.
-
The red arrow points to the left tab, the tab not above the ground tab.
-
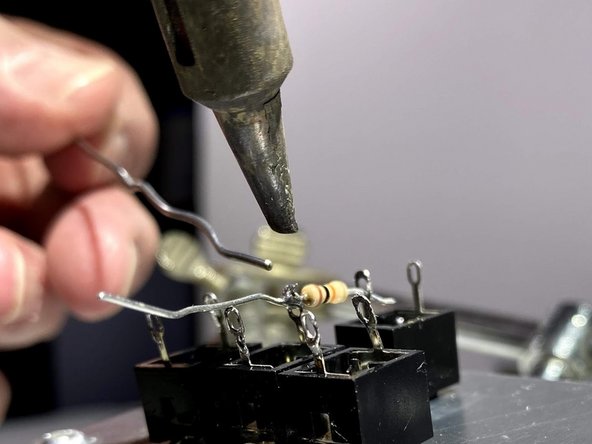
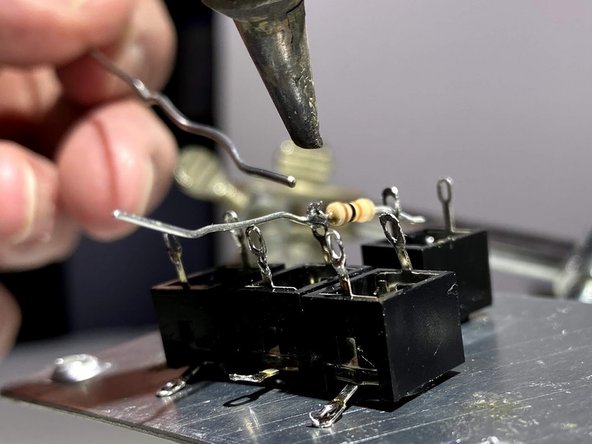
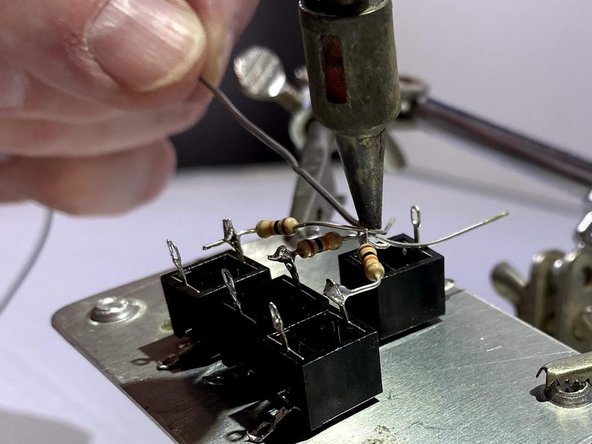
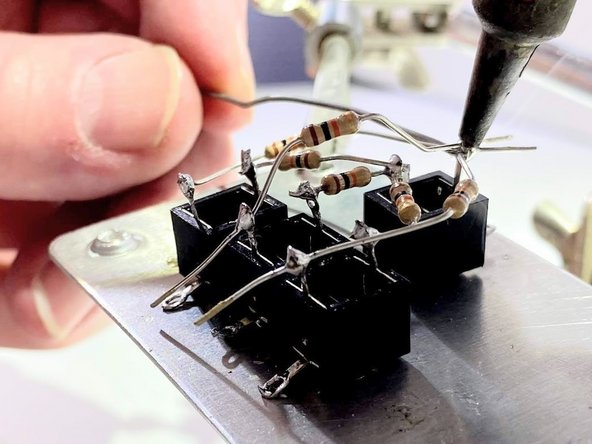
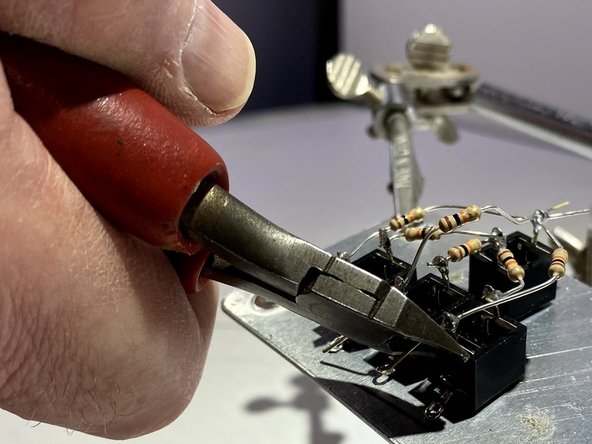
When soldering the 10 kΩ resistors into the input and output tabs, it is imperative this process be done: using the 10 kΩ resistor, connect the right tab of the audio input jack to the right tab of the audio output jack.
-
Similarly, the left tab of the audio input jack is connected by the 10 kΩ to the left tab of the audio output jack. If this process is not done, the speakers may not work correctly.
-
Also, when soldering the resistors, it is important to remember the resistors cannot touch. If the resistors touch, it will produce sound feedback, creating an unpleasant listening experience.
-
-
-
To solder the resistors in place the following equipment will be needed: a soldering iron and solder. To solder the resistor to the tab of the audio jack, the soldering iron must be set to around 800 ºF.
-
Once the soldering iron is sufficiently hot, pick it up in one hand and in the other hand pick up the solder. To solder the resistor in place, touch the solder and the soldering iron together. This action will melt the solder, securing the resistor in place.
-


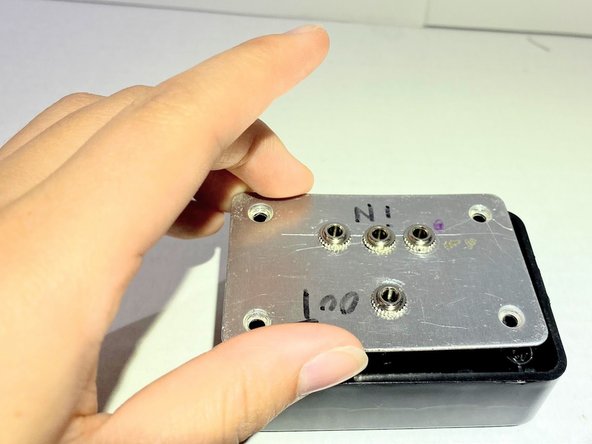
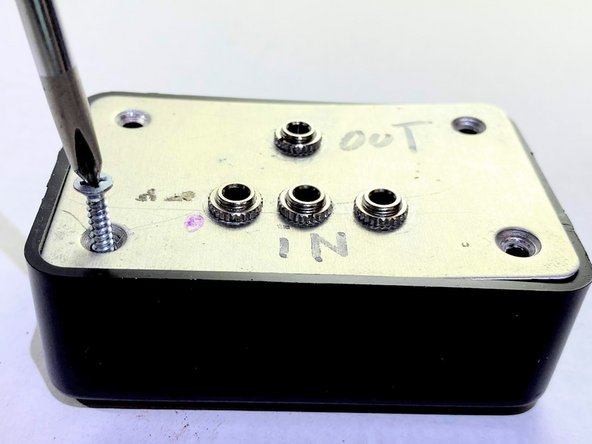
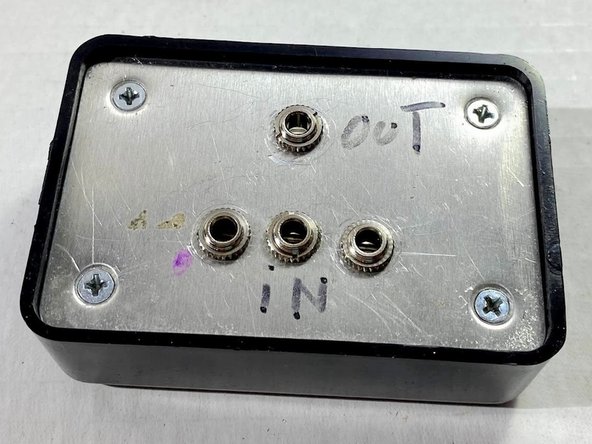
To reassemble your device, follow these instructions in reverse order.
To reassemble your device, follow these instructions in reverse order.
ある他の人がこのガイドを完成しました。
チーム

University of Memphis, Team S5-G18, Willis Spring 2020 University of Memphis, Team S5-G18, Willis Spring 2020人のメンバー
UM-WILLIS-S20S5G18
1 メンバー
2のガイドは作成済み