メインコンテンツにスキップ

Hover-1 Maverick Motor Wheel Replacement

必要な工具と部品

  1. Hover-1 Maverick Motor Wheel Replacement, Motherboard: 手順 1、 3の画像 1 Hover-1 Maverick Motor Wheel Replacement, Motherboard: 手順 1、 3の画像 2 Hover-1 Maverick Motor Wheel Replacement, Motherboard: 手順 1、 3の画像 3
    • Remove the twenty 15mm Phillips #1 screws from the shell of the hoverboard.

    • Open the shell.

    • There is one motherboard on each side of the device located near the wheels.

  2. Hover-1 Maverick Motor Wheel Replacement: 手順 2、 2の画像 1 Hover-1 Maverick Motor Wheel Replacement: 手順 2、 2の画像 2
    • Disconnect the battery to prevent any electrical currents from coming through the wires.

  3. Hover-1 Maverick Motor Wheel Replacement: 手順 3、 2の画像 1 Hover-1 Maverick Motor Wheel Replacement: 手順 3、 2の画像 2
    • Squeeze and pull on the wires to detach them from the motherboard.

  4. Hover-1 Maverick Motor Wheel Replacement: 手順 4、 2の画像 1 Hover-1 Maverick Motor Wheel Replacement: 手順 4、 2の画像 2
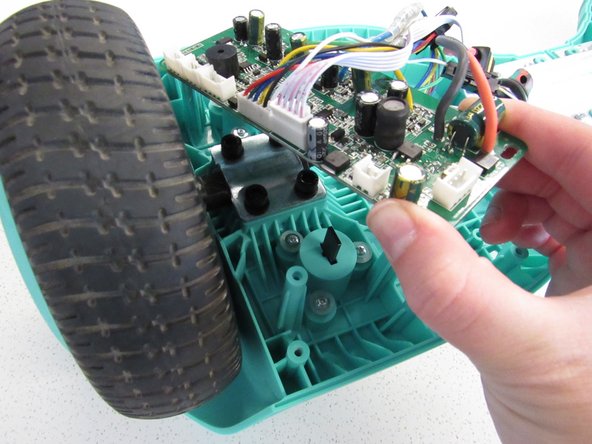
    • Remove the four 8mm Phillips #1 screws.

    • Remove the motherboard from the device.

    • Repeat for the other motherboard.

  5. Hover-1 Maverick Motor Wheel Replacement, Motor: 手順 5、 2の画像 1 Hover-1 Maverick Motor Wheel Replacement, Motor: 手順 5、 2の画像 2
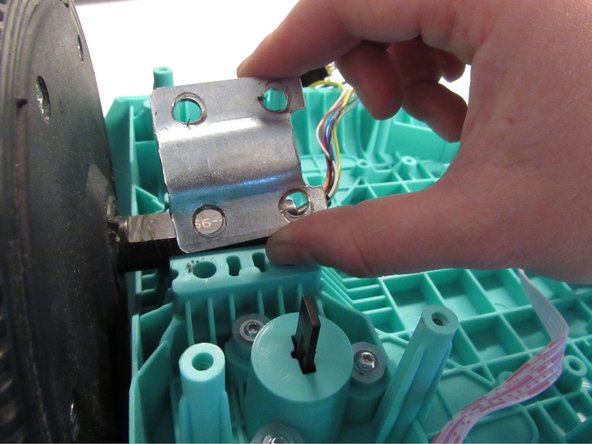
    • After the motherboard is removed from either side, remove the four 15 mm hex screws with a 5mm Allen wrench.

    • Remove the metal covering from over the motor.

  6. Hover-1 Maverick Motor Wheel Replacement: 手順 6、 1の画像 1
    • The motor is attached to the wheel, so in order to remove the motor, you must take out the entire wheel.

終わりに

To reassemble your device, follow these instructions in reverse order.

作成者

4人の作成者と共同で作成されました。

Piper Feldman

メンバー登録日: 01/23/20

409 ポイント

4のガイドは作成済み

チーム

Cal Poly, Team S2-G2, White Winter 2020 Cal Poly, Team S2-G2, White Winter 2020人のメンバー

CPSU-WHITE-W20S2G2

2 メンバー

4のガイドは作成済み

0 件のコメント

コメントを追加

統計データ:

過去 24時間: 0

過去 7 日: 2

過去 30 日: 7

今までの合計 458