メインコンテンツにスキップ

Hover-1 Eagle LED Headlight Replacement

必要な工具と部品

  1. Hover-1 Eagle LED Headlight Replacement, LED Headlight: 手順 1、 3の画像 1 Hover-1 Eagle LED Headlight Replacement, LED Headlight: 手順 1、 3の画像 2 Hover-1 Eagle LED Headlight Replacement, LED Headlight: 手順 1、 3の画像 3
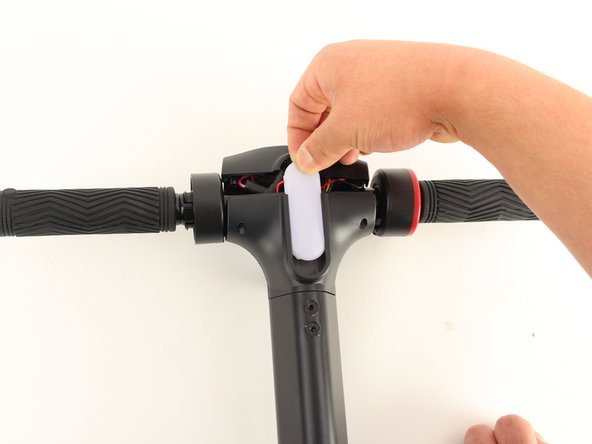
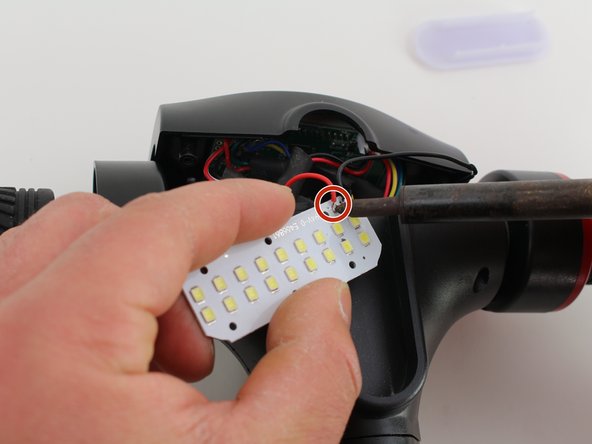
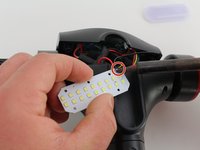
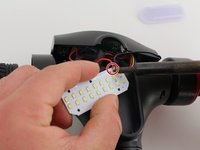
    • Remove the four screws from the bottom side of the display housing using a Phillips #2 screwdriver.

  2. Hover-1 Eagle LED Headlight Replacement: 手順 2、 3の画像 1 Hover-1 Eagle LED Headlight Replacement: 手順 2、 3の画像 2 Hover-1 Eagle LED Headlight Replacement: 手順 2、 3の画像 3
    • Carefully remove the top of the housing containing the display screen.

    • Remove the top of the housing slowly to avoid damaging the wires.

  3. Hover-1 Eagle LED Headlight Replacement: 手順 3、 2の画像 1 Hover-1 Eagle LED Headlight Replacement: 手順 3、 2の画像 2
    • Slide the LED light cover upwards out of the display housing

    • Be gentle when removing the LED light cover to avoid damaging the LED's connecting wires.

    • The LED circuit board should slide out with the LED light cover.

    • To reassemble, align the prongs of the LED cover with the holes in the LED circuit board.

  4. Hover-1 Eagle LED Headlight Replacement: 手順 4、 3の画像 1 Hover-1 Eagle LED Headlight Replacement: 手順 4、 3の画像 2 Hover-1 Eagle LED Headlight Replacement: 手順 4、 3の画像 3
    • Using a soldering iron, desolder the black and red wires from the LED circuit board.

    • To reassemble, solder the same black and red wires onto the new LED circuit board.

終わりに

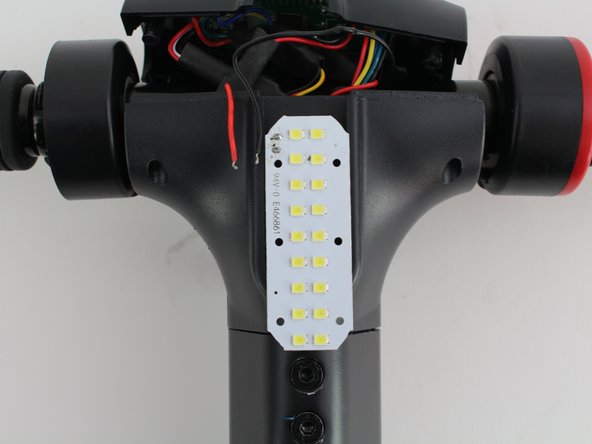
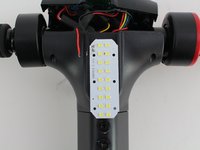
To reassemble your device, follow these instructions in reverse order.

4 の人々がこのガイドを完成させました。

作成者

1人の作成者と共同作成されました。

Andrew Gaskell

メンバー登録日: 01/23/20

1,008 ポイント

5のガイドは作成済み

チーム

Cal Poly, Team S1-G2, White Winter 2020 Cal Poly, Team S1-G2, White Winter 2020人のメンバー

CPSU-WHITE-W20S1G2

4 メンバー

6のガイドは作成済み

0 件のコメント

コメントを追加

統計データ:

過去 24時間: 0

過去 7 日: 0

過去 30 日: 9

今までの合計 1,023