メインコンテンツにスキップ

Hot Tools HPK12 Heating Plate Replacement

必要な工具と部品

  1. Hot Tools HPK12 Heating Plate Replacement, Prerequisite Only: 手順 1、 3の画像 1 Hot Tools HPK12 Heating Plate Replacement, Prerequisite Only: 手順 1、 3の画像 2 Hot Tools HPK12 Heating Plate Replacement, Prerequisite Only: 手順 1、 3の画像 3
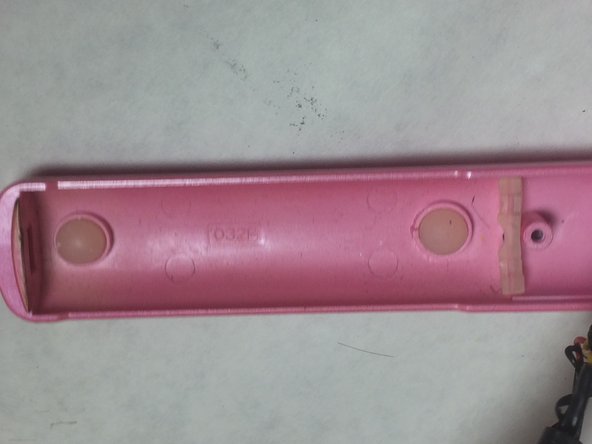
    • Remove round plastic cover near cord base by prying under the side with the metal spudger.

    • Flip the device and remove the other round plastic cover near the base of the cord.

    • Use the Phillips #1 screwdriver to remove the 5.5mm PH1 screw and washer under the plastic cover and set both aside.

  2. Hot Tools HPK12 Heating Plate Replacement: 手順 2、 1の画像 1
    • Use the metal spudger to push the center pin through to the other side.

  3. Hot Tools HPK12 Heating Plate Replacement: 手順 3、 2の画像 1 Hot Tools HPK12 Heating Plate Replacement: 手順 3、 2の画像 2
    • Lift back plastic cover to expose spring assembly.

    • Be careful not to damage the power cord by bending or twisting it too much while performing this step.

    • Grip the exposed end of the spring assembly and remove it.

    • The side with the two ends of the spring goes into the recessed area of the iron

  4. Hot Tools HPK12 Heating Plate Replacement: 手順 4、 1の画像 1
    • Use the JIS #0 screwdriver to remove the two 3.5mm “J0” screws that attach the control assembly cover to the flat iron base.

  5. Hot Tools HPK12 Heating Plate Replacement: 手順 5、 3の画像 1 Hot Tools HPK12 Heating Plate Replacement: 手順 5、 3の画像 2 Hot Tools HPK12 Heating Plate Replacement: 手順 5、 3の画像 3
    • Lift upward on the control assembly cover to remove it from the flat iron base.

    • Remove dial and switch cover and set aside.

  6. Hot Tools HPK12 Heating Plate Replacement: 手順 6、 3の画像 1 Hot Tools HPK12 Heating Plate Replacement: 手順 6、 3の画像 2 Hot Tools HPK12 Heating Plate Replacement: 手順 6、 3の画像 3
    • Use your JIS #0 screw driver to remove the two 6mm “J0” screws that are attached to the flat iron base and set them aside.

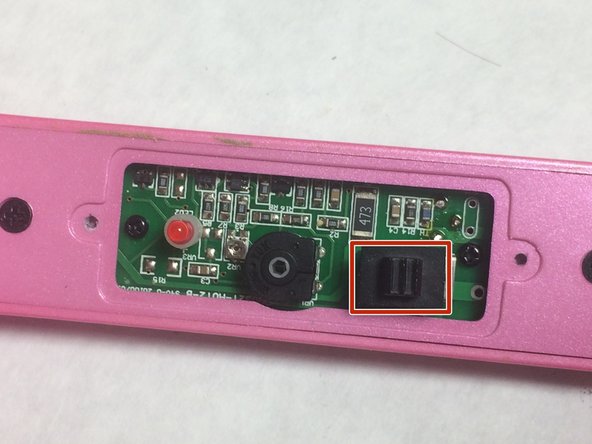
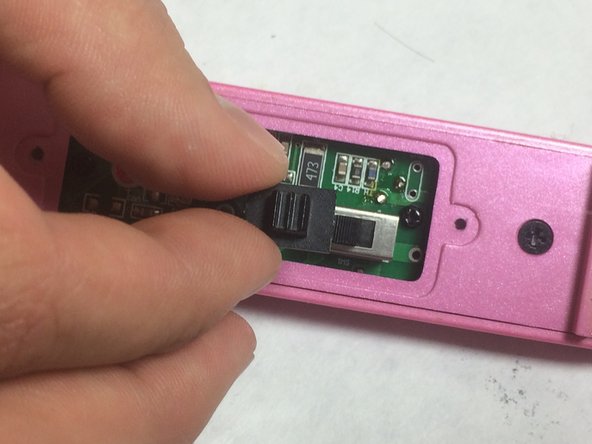
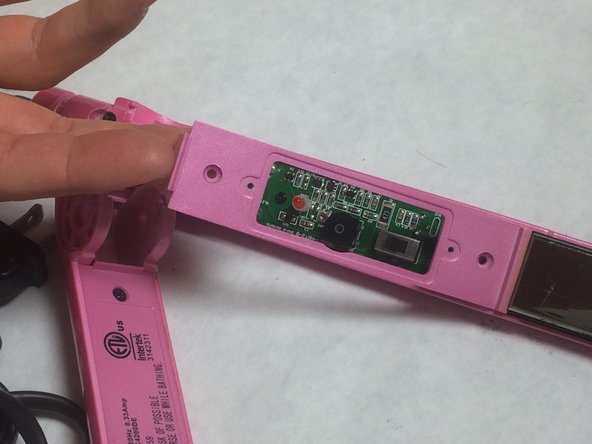
    • Lift the backing plate upwards to remove it from the flat iron.

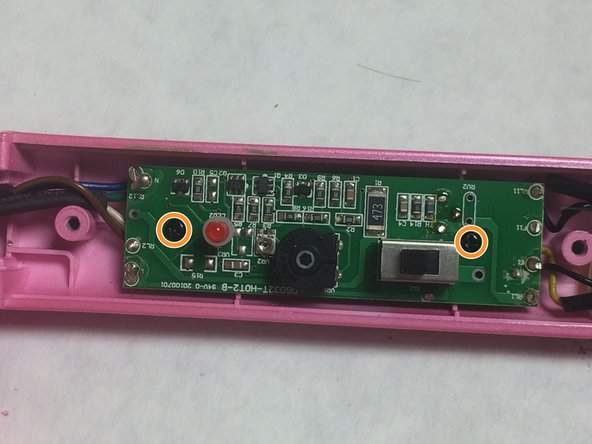
    • Use the Phillips #0 screwdriver to remove two 4mm “PH0” screws that attach the circuit assembly to the flat iron base.

  7. Hot Tools HPK12 Heating Plate Replacement, Heating Plates: 手順 7、 1の画像 1
    • Lift plate and circuit assembly away from flat iron case.

  8. Hot Tools HPK12 Heating Plate Replacement: 手順 8、 1の画像 1
    • Flip device to access the non-control assembly flat iron arm and remove two 3.5mm “J0” screws that attaches cover to flat iron base.

  9. Hot Tools HPK12 Heating Plate Replacement: 手順 9、 1の画像 1
    • Lift cover from flat iron case.

  10. Hot Tools HPK12 Heating Plate Replacement: 手順 10、 2の画像 1 Hot Tools HPK12 Heating Plate Replacement: 手順 10、 2の画像 2
    • Lift heating plate away from flat iron case.

終わりに

To reassemble your device, follow these instructions in reverse order.

ある他の人がこのガイドを完成しました。

作成者

4人の作成者と共同で作成されました。

Nathan Schwartz

メンバー登録日: 10/24/16

318 ポイント

2のガイドは作成済み

チーム

IUPUI, Team 3-4, Baechle Fall 2016 IUPUI, Team 3-4, Baechle Fall 2016人のメンバー

IUPUI-BAECHLE-F16S3G4

4 メンバー

5のガイドは作成済み

0 件のコメント

コメントを追加

統計データ:

過去 24時間: 0

過去 7 日: 3

過去 30 日: 5

今までの合計 850