メインコンテンツにスキップ

Honda FC600 Tiller Tine Replacement

必要な工具と部品

  1. Honda FC600 Tiller Tine Replacement, Remove the Spark Plug Cap: 手順 1、 3の画像 1 Honda FC600 Tiller Tine Replacement, Remove the Spark Plug Cap: 手順 1、 3の画像 2 Honda FC600 Tiller Tine Replacement, Remove the Spark Plug Cap: 手順 1、 3の画像 3
    • Before you begin, it's important that you completely cut power to the tiller by disconnecting the spark plug. This will prevent the engine from accidentally starting up while you're working on the tiller.

    • Grab the spark plug cap and pull it straight out to disconnect the spark plug from the engine.

  2. Honda FC600 Tiller Tine Replacement, Prop Up the Tiller: 手順 2、 1の画像 1
    • The next two steps demonstrate how to prop up the tiller to work on the tines.

    • Set down a block (or blocks) of wood onto your work surface.

    • Make sure the wood blocks are narrow enough to fit in between the left- and right-side tines.

  3. Honda FC600 Tiller Tine Replacement: 手順 3、 3の画像 1 Honda FC600 Tiller Tine Replacement: 手順 3、 3の画像 2 Honda FC600 Tiller Tine Replacement: 手順 3、 3の画像 3
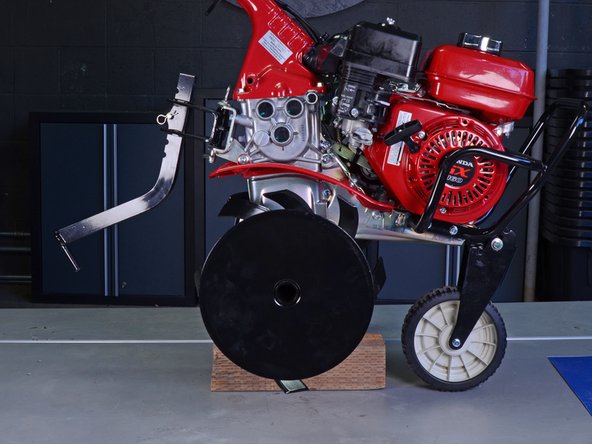
    • Lift and roll the tiller over the wood block until the center of the tine axle is hovering over the wood block.

    • Gently set the tiller down so that the center of the tine axle rests on the wood block.

    • You may need to lean the tiller to one side to make sure the tines on the other side are completely off the work surface.

  4. Honda FC600 Tiller Tine Replacement: 手順 4、 1の画像 1
    • Place a block (or blocks) of wood under the tiller's drag bar to prevent the tiller from leaning back.

  5. Honda FC600 Tiller Tine Replacement, Remove the Tine: 手順 5、 3の画像 1 Honda FC600 Tiller Tine Replacement, Remove the Tine: 手順 5、 3の画像 2 Honda FC600 Tiller Tine Replacement, Remove the Tine: 手順 5、 3の画像 3
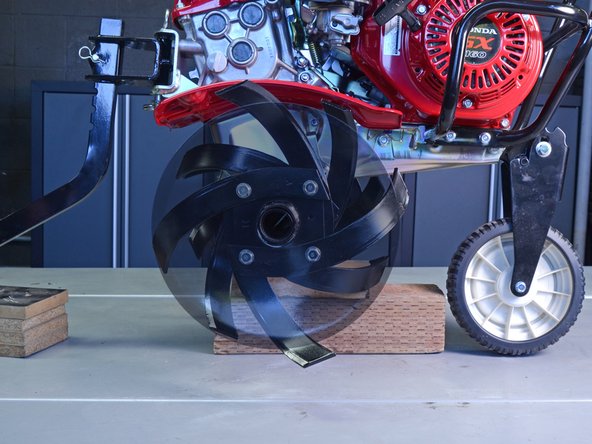
    • Remove the two 14 mm nuts securing the tine to the mounting bracket.

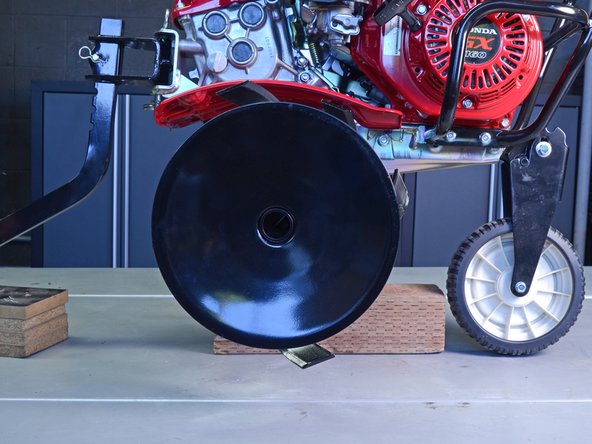
    • It is not required to remove the side disc.

    • Depending on which tine you're replacing, you may need to remove different nuts.

  6. Honda FC600 Tiller Tine Replacement: 手順 6、 2の画像 1 Honda FC600 Tiller Tine Replacement: 手順 6、 2の画像 2
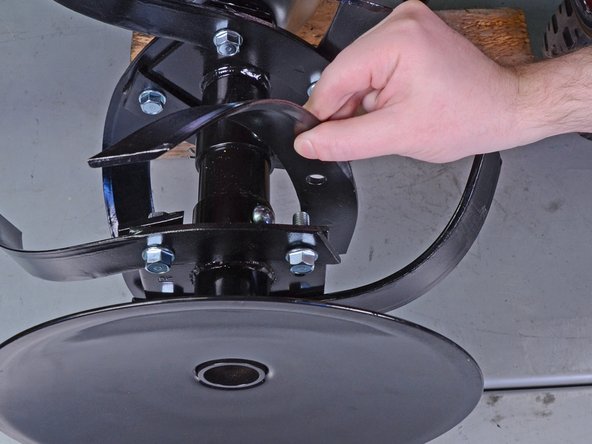
    • Grab the tine and pull it straight off of the mounting bracket.

    • Removing the bolts is not required.

終わりに

To reassemble your device, follow these instructions in reverse order.

作成者

3人の作成者と共同で作成されました。

Craig Lloyd

メンバー登録日: 02/10/16

35,423 ポイント

82のガイドは作成済み

0 件のコメント

コメントを追加

統計データ:

過去 24時間: 2

過去 7 日: 14

過去 30 日: 54

今までの合計 1,734