メインコンテンツにスキップ

Honda CRF250L Exhaust Replacement

必要な工具と部品

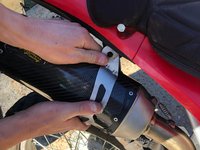
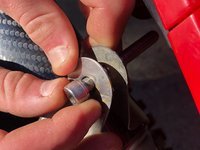
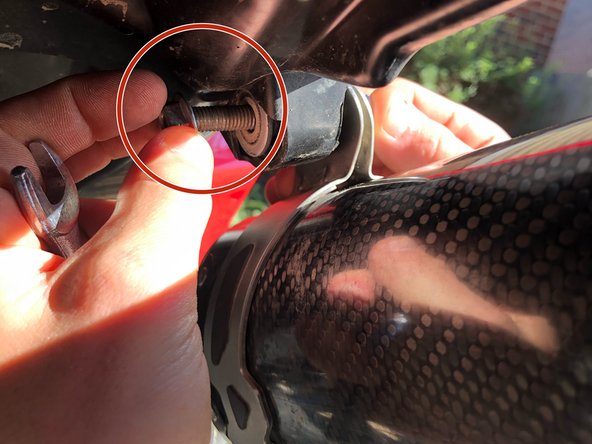
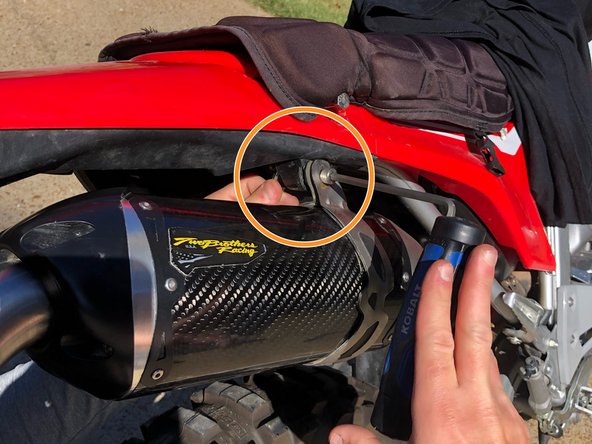
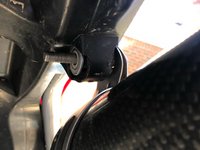
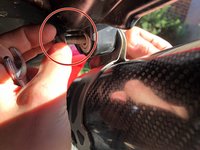
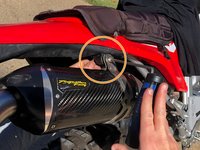
  1. Honda CRF250L Exhaust Replacement, Honda CRF250L Exhaust: 手順 1、 3の画像 1 Honda CRF250L Exhaust Replacement, Honda CRF250L Exhaust: 手順 1、 3の画像 2 Honda CRF250L Exhaust Replacement, Honda CRF250L Exhaust: 手順 1、 3の画像 3
    • Take off the existing exhaust.

    • Remove the external hex bolt by the header with the 1/2" socket.

    • Then, remove the internal hex socket bolt by the exhaust with the 6mm Allen wrench.

    • When unscrewing the bolt by the exhaust, make sure to hold the nut stationary with the 1/2" open-ended wrench.

  2. Honda CRF250L Exhaust Replacement: 手順 2、 1の画像 1
    • Slide the pipe into the the exhaust.

    • The pipe should curve downward.

  3. Honda CRF250L Exhaust Replacement: 手順 3、 2の画像 1 Honda CRF250L Exhaust Replacement: 手順 3、 2の画像 2
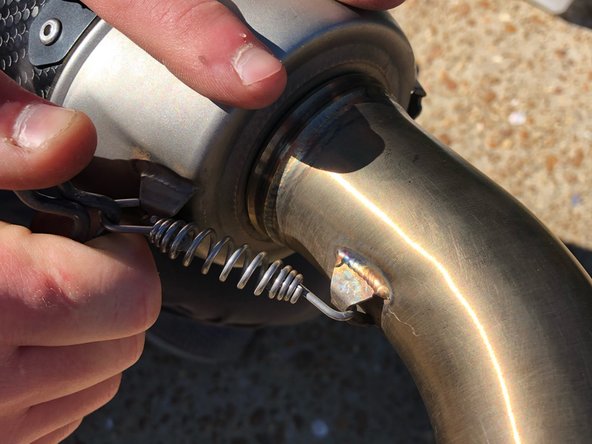
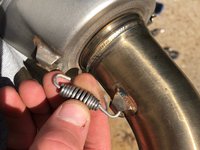
    • Hook the spring on to one of the slots that is welded on the pipe and exhaust.

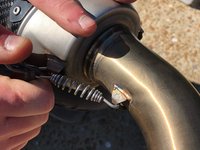
    • Then, expand the spring to hook around the opposing slot using the spring hook.

  4. Honda CRF250L Exhaust Replacement: 手順 4、 1の画像 1
    • Slide the clamp over the end of the pipe.

    • Make sure the bolt is stationed on top to tighten later.

  5. Honda CRF250L Exhaust Replacement: 手順 5、 1の画像 1
    • Slide the mount over the exhaust.

  6. Honda CRF250L Exhaust Replacement: 手順 6、 1の画像 1
    • Slide the new exhaust onto the header.

    • The exhaust should curve upward.

  7. Honda CRF250L Exhaust Replacement: 手順 7、 2の画像 1 Honda CRF250L Exhaust Replacement: 手順 7、 2の画像 2
    • Make sure that the mount is positioned to allow all holes to line up.

    • Insert the internal hex socket bolt.

  8. Honda CRF250L Exhaust Replacement: 手順 8、 3の画像 1 Honda CRF250L Exhaust Replacement: 手順 8、 3の画像 2 Honda CRF250L Exhaust Replacement: 手順 8、 3の画像 3
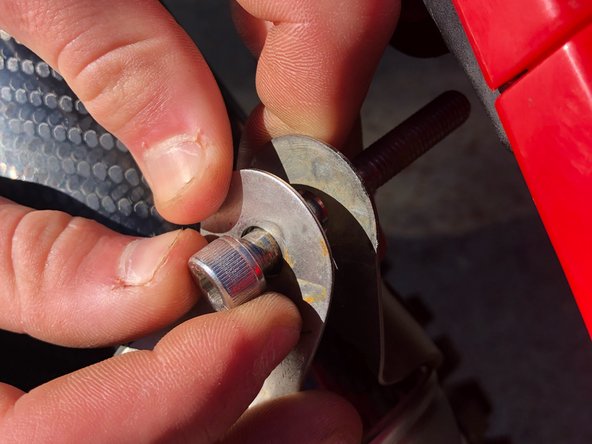
    • Insert the bolt attached to the mount.

    • Install the nut to the backside of the internal hex socket bolt.

    • Tighten the internal hex socket bolt using the 6mm Allen wrench.

    • Keep the nut stationary using the 1/2" open-ended wrench.

  9. Honda CRF250L Exhaust Replacement: 手順 9、 1の画像 1
    • Tighten the clamp.

    • Tighten the internal hex socket bolt on the clamp using the 6mm Allen wrench.

終わりに

To reassemble your stock exhaust, follow these instructions in reverse order.

ある他の人がこのガイドを完成しました。

作成者

1人の作成者と共同作成されました。

Brennen Ashford

メンバー登録日: 09/15/20

196 ポイント

1ガイドが承認済み

チーム

University of Memphis, Team S2-G8, Willis Fall 2020 University of Memphis, Team S2-G8, Willis Fall 2020人のメンバー

UM-WILLIS-F20S2G8

1 メンバー

1のガイドは作成済み

0 件のコメント

コメントを追加

統計データ:

過去 24時間: 4

過去 7 日: 16

過去 30 日: 72

今までの合計 1,301