-
-
Using the PH#00 screwdriver, remove the two 0.145 inch Phillips head screws.
-
The screws are located on the bottom face of the device, near the power and volume controls.
-
-
Place the small suction cup on your screen.
-
Moisturize the bottom of the suction cup to ensure a proper seal.
-
If the screen is cracked, the suction cup may not seal correctly; too much pressure may crack or damage the screen.
-
-
-
Slide the plastic opening tool along device edge to separate the screen cover from the rear cover.
-
Pull upward on the small suction cup handle while sliding the opening tool.
-
When sliding the plastic opening tool, avoid sliding the tool too far into the cover. This could damage the speaker connector on the back cover.
-
-
-
Use the plastic opening tool to remove the speaker from the rear cover.
-
The speaker is held in place with adhesive and is easily removed.
-
Do not pull on the speaker wires. This could damage the soldering connections.
-
-
-
-
-
-
-
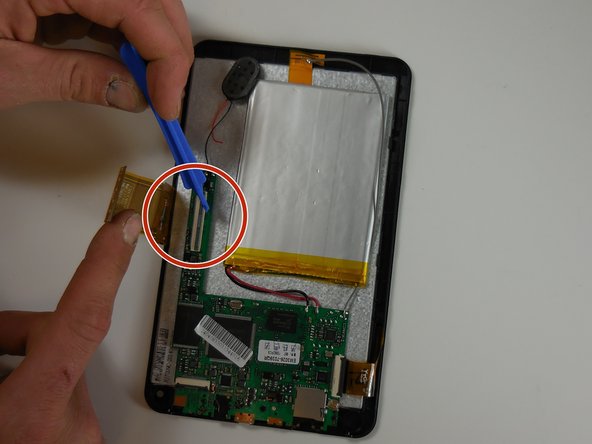
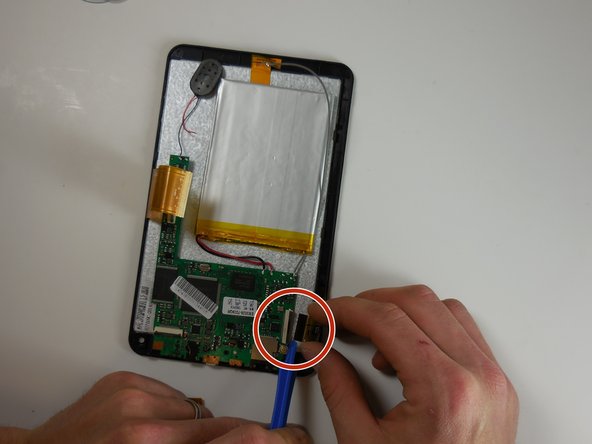
Using a solder removal tool, remove the speaker soldered connectors.
-
Solder the new speaker wire connections to circuit board.
-
First solder the red wire on the left, then the black wire on the right.
-
Solder can burn you. Use caution.
このガイドを埋め込む
サイズを選択し、以下のコードをコピーして、このガイドを小さなウィジェットとしてサイト/フォーラムに埋め込みます。
プレビュー