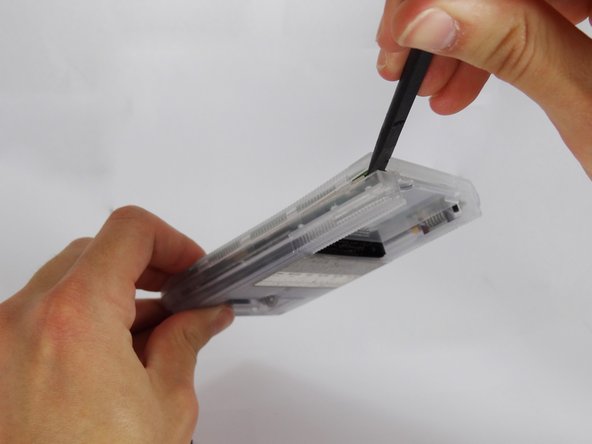
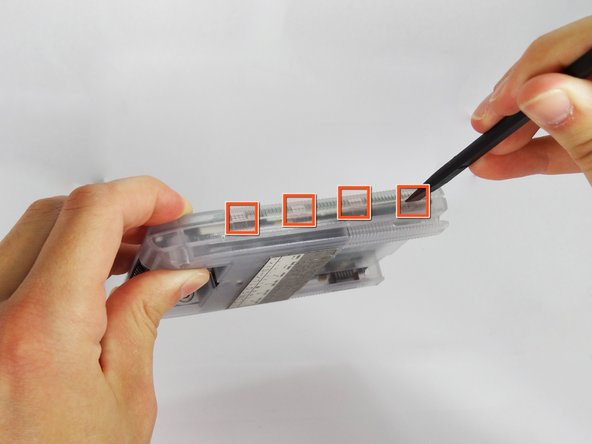
メインコンテンツにスキップ

Handspring Visor Deluxe PDA Back Cover Replacement

必要な工具と部品

  1. Handspring Visor Deluxe PDA Back Cover Replacement, Outside cover and stylus: 手順 1、 2の画像 1 Handspring Visor Deluxe PDA Back Cover Replacement, Outside cover and stylus: 手順 1、 2の画像 2
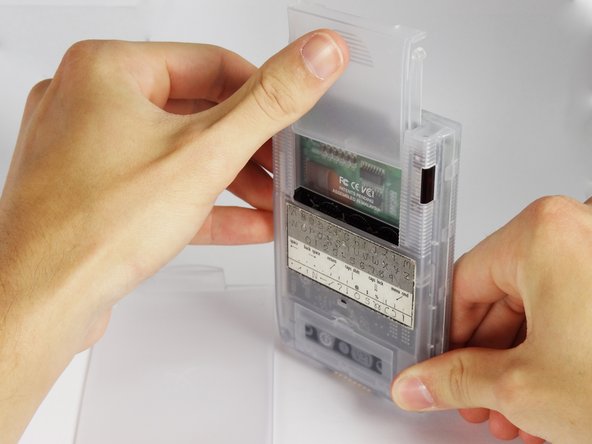
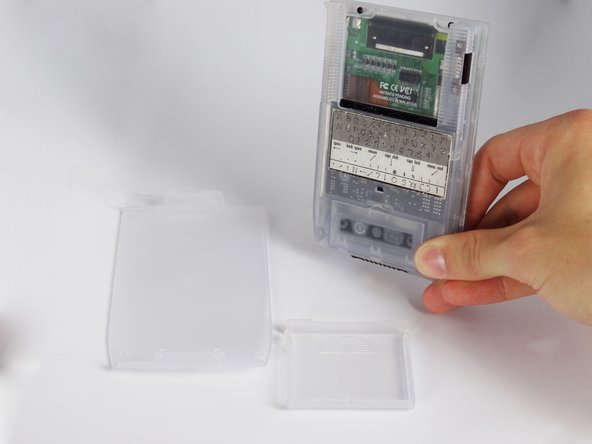
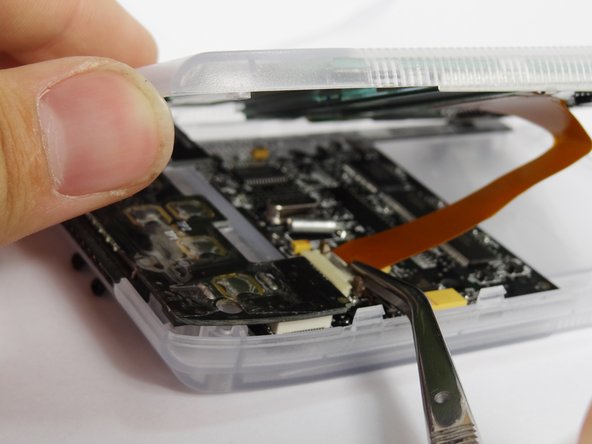
    • Remove the outer screen cover by releasing the top clip from the main body of the device.

  2. Handspring Visor Deluxe PDA Back Cover Replacement: 手順 2、 3の画像 1 Handspring Visor Deluxe PDA Back Cover Replacement: 手順 2、 3の画像 2 Handspring Visor Deluxe PDA Back Cover Replacement: 手順 2、 3の画像 3
    • Pull out the stylus from the top right corner of the device.

  3. Handspring Visor Deluxe PDA Back Cover Replacement: 手順 3、 3の画像 1 Handspring Visor Deluxe PDA Back Cover Replacement: 手順 3、 3の画像 2 Handspring Visor Deluxe PDA Back Cover Replacement: 手順 3、 3の画像 3
    • Slide the memory cartridge cover up and off the device.

  4. Handspring Visor Deluxe PDA Back Cover Replacement, Batteries: 手順 4、 2の画像 1 Handspring Visor Deluxe PDA Back Cover Replacement, Batteries: 手順 4、 2の画像 2
    • Remove the battery cover by releasing the clip from the main body of the device.

  5. Handspring Visor Deluxe PDA Back Cover Replacement: 手順 5、 1の画像 1
    • Remove the batteries from the device.

  6. Handspring Visor Deluxe PDA Back Cover Replacement, Back Cover: 手順 6、 1の画像 1
    • Unscrew the four 2.94mm screws with a #00 Phillips screwdriver.

    • One end of the OEM stylus can unscrew and contains a mini #00 Phillips screwdriver.

  7. Handspring Visor Deluxe PDA Back Cover Replacement: 手順 7、 3の画像 1 Handspring Visor Deluxe PDA Back Cover Replacement: 手順 7、 3の画像 2 Handspring Visor Deluxe PDA Back Cover Replacement: 手順 7、 3の画像 3
    • Use the spudger to pry open the casing by applying pressure at 4 clips on both sides of the device.

    • Be careful while opening the casing as there is a flex strip connecting the two halves.

  8. Handspring Visor Deluxe PDA Back Cover Replacement: 手順 8、 3の画像 1 Handspring Visor Deluxe PDA Back Cover Replacement: 手順 8、 3の画像 2 Handspring Visor Deluxe PDA Back Cover Replacement: 手順 8、 3の画像 3
    • Disconnect the flex strip from the motherboard with tweezers.

終わりに

To reassemble your device, follow these instructions in reverse order.

ある他の人がこのガイドを完成しました。

作成者

4人の作成者と共同で作成されました。

Robert

メンバー登録日: 07/07/12

23 ポイント

1ガイドが承認済み

チーム

Cal Poly, Team 1-2, Regan SU 2012 Cal Poly, Team 1-2, Regan SU 2012人のメンバー

CPSU-REGAN-SU12S1G2

4 メンバー

6のガイドは作成済み

0 件のコメント

コメントを追加

統計データ:

過去 24時間: 2

過去 7 日: 5

過去 30 日: 7

今までの合計 575