メインコンテンツにスキップ

Hair Scrunchie Elastic Replacement

必要な工具と部品

  1. Hair Scrunchie Elastic Replacement, Hair Scrunchie Elastic: 手順 1、 1の画像 1
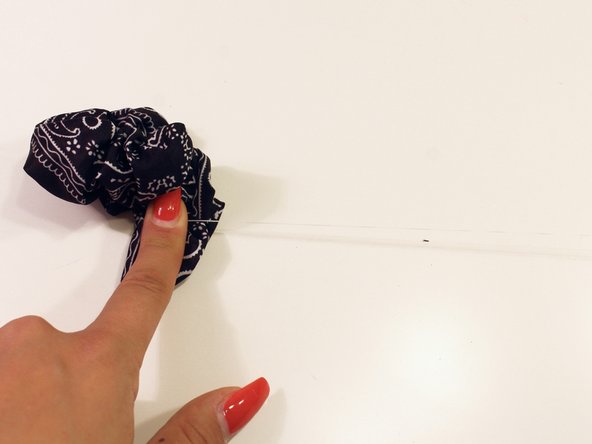
    • There are two seams that hold the fabric outer tube of the scrunchie together. The long seam runs along the entire circumference of the tube. The short seam goes around just one part of the tube.

  2. Hair Scrunchie Elastic Replacement: 手順 2、 2の画像 1 Hair Scrunchie Elastic Replacement: 手順 2、 2の画像 2
    • Locate the short seam and use the hem ripper to carefully cut through each stitch without damaging the fabric.

    • Do not cut through the stitches where the long seam intersect with he short seam.

  3. Hair Scrunchie Elastic Replacement: 手順 3、 1の画像 1
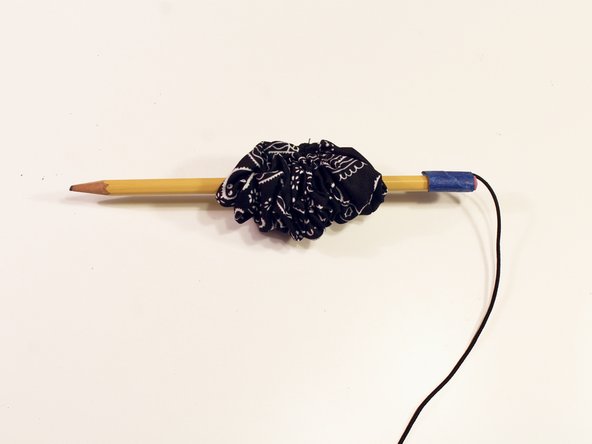
    • Attach the elastic band to the end of a pencil with a piece of tape.

  4. Hair Scrunchie Elastic Replacement: 手順 4、 2の画像 1 Hair Scrunchie Elastic Replacement: 手順 4、 2の画像 2
    • Insert the pencil tip into one end of the fabric tube.

    • As you push the pencil through, scrunch the fabric together until the tip comes out the other side.

  5. Hair Scrunchie Elastic Replacement: 手順 5、 2の画像 1 Hair Scrunchie Elastic Replacement: 手順 5、 2の画像 2
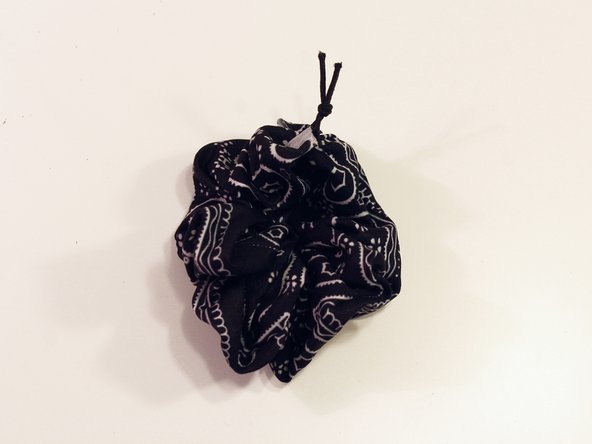
    • Tie a secure knot with the newly replaced elastic.

  6. Hair Scrunchie Elastic Replacement: 手順 6、 1の画像 1
    • Prepare your needle and thread by tying a knot at the end.

  7. Hair Scrunchie Elastic Replacement: 手順 7、 1の画像 1
    • Insert the needle at the spot holding each end of the tube together.

  8. Hair Scrunchie Elastic Replacement: 手順 8、 3の画像 1 Hair Scrunchie Elastic Replacement: 手順 8、 3の画像 2 Hair Scrunchie Elastic Replacement: 手順 8、 3の画像 3
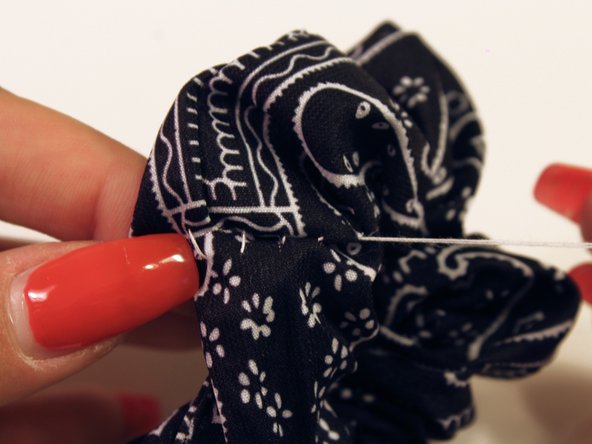
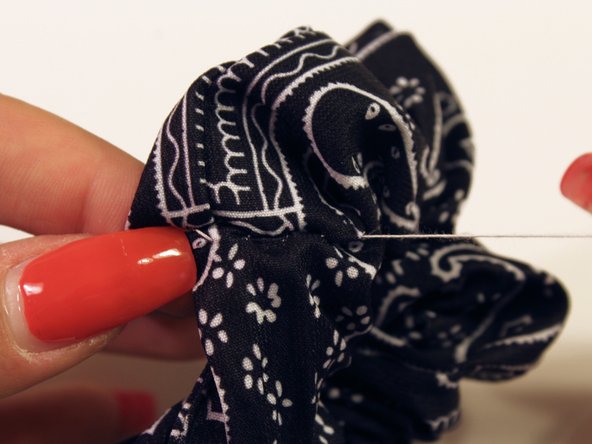
    • Use the ladder stitch technique to sew each end of the tube back together.

    • Use this guide for assistance.

  9. Hair Scrunchie Elastic Replacement: 手順 9、 3の画像 1 Hair Scrunchie Elastic Replacement: 手順 9、 3の画像 2 Hair Scrunchie Elastic Replacement: 手順 9、 3の画像 3
    • Tie a knot and use your finger to keep the knot close as close to the fabric as possible.

    • Repeat this process until the thread is secure.

  10. Hair Scrunchie Elastic Replacement: 手順 10、 1の画像 1
    • Trim the thread as close to the knot as possible.

終わりに

This is a simple and effective way to replace the elastic so that you can continue to use the hair accessory.

9 の人々がこのガイドを完成させました。

作成者

5人の作成者と共同で作成されました。

Malena Hansen

メンバー登録日: 10/24/18

239 ポイント

1ガイドが承認済み

チーム

UC Davis, Team S2-G2, Bender Fall 2018 UC Davis, Team S2-G2, Bender Fall 2018人のメンバー

UCD-BENDER-F18S2G2

3 メンバー

2のガイドは作成済み

コメント 1 件

Amazing

Been looking for a way to fix my scrunchie

Thanks!

Mollytheduck1 - 返信

コメントを追加

統計データ:

過去 24時間: 2

過去 7 日: 32

過去 30 日: 109

今までの合計 23,369