メインコンテンツにスキップ
リペアコミュニティに参加 - アカウントの作成

HTC Wizard 100 Screen Replacement

必要な工具と部品

  1. HTC Wizard 100 Screen Replacement, Battery: 手順 1、 2の画像 1 HTC Wizard 100 Screen Replacement, Battery: 手順 1、 2の画像 2
    • Power the phone off.

    • Use your thumb to gently press downward and away from the camera to remove the battery cover.

    FixBotに聞いてみる
  2. HTC Wizard 100 Screen Replacement: 手順 2、 2の画像 1 HTC Wizard 100 Screen Replacement: 手順 2、 2の画像 2
    • Pull on the plastic tab to release the battery.

    FixBotに聞いてみる
  3. HTC Wizard 100 Screen Replacement, Back Case: 手順 3、 2の画像 1 HTC Wizard 100 Screen Replacement, Back Case: 手順 3、 2の画像 2
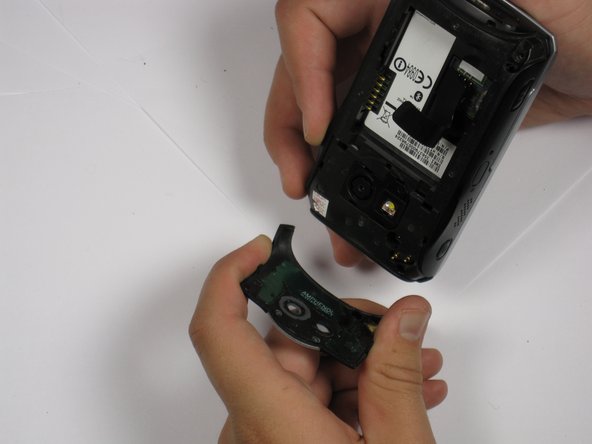
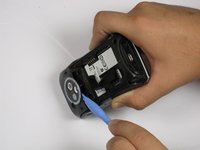
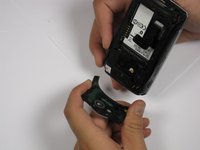
    • Use a plastic opening tool to remove the camera cover.

    • Work around the corners to avoid breaking the plastic clips that hold the camera cover on.

    • Lift the camera cover off of the phone.

    FixBotに聞いてみる
  4. HTC Wizard 100 Screen Replacement: 手順 4、 1の画像 1
    • Remove the stylus from the phone.

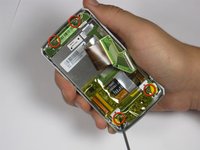
    • Remove the four 5.5 mm screws with the T6 Torx Screwdriver.

    • One of the screws might be under a sticker, which will void your warranty.

    FixBotに聞いてみる
  5. HTC Wizard 100 Screen Replacement: 手順 5、 3の画像 1 HTC Wizard 100 Screen Replacement: 手順 5、 3の画像 2 HTC Wizard 100 Screen Replacement: 手順 5、 3の画像 3
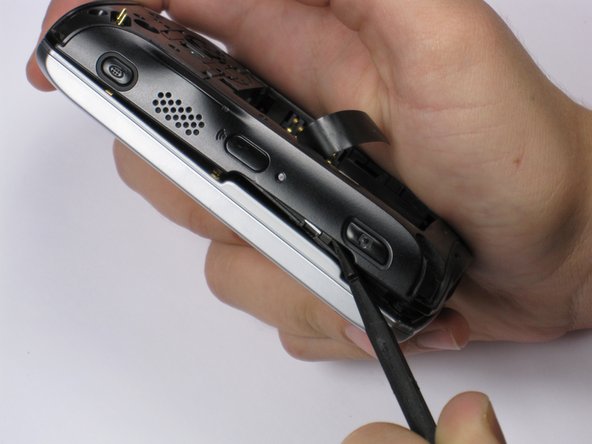
    • Be Careful! Do not insert the spudger in between the keyboard and screen. This could break the keyboard off the phone.

    • If your phone contains a memory card, you may want to remove it before proceeding with this step.

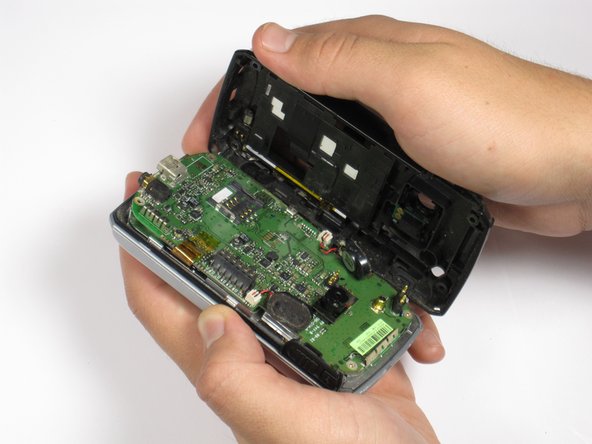
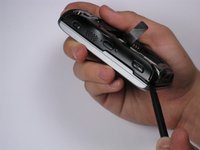
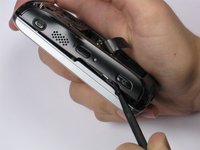
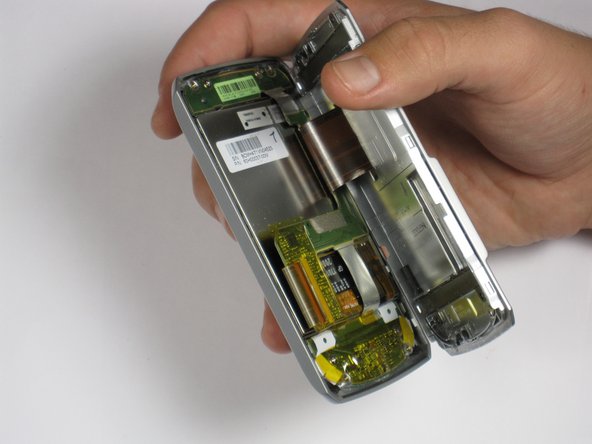
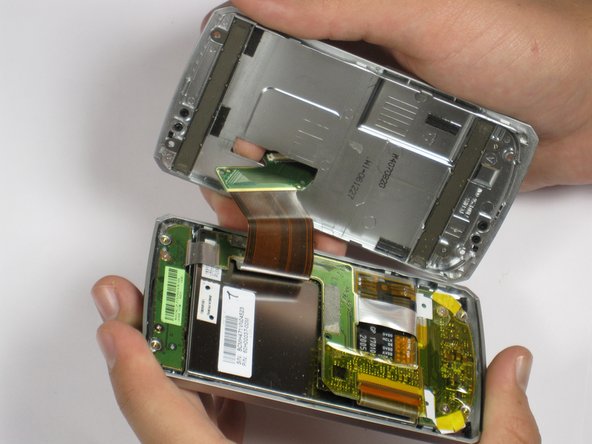
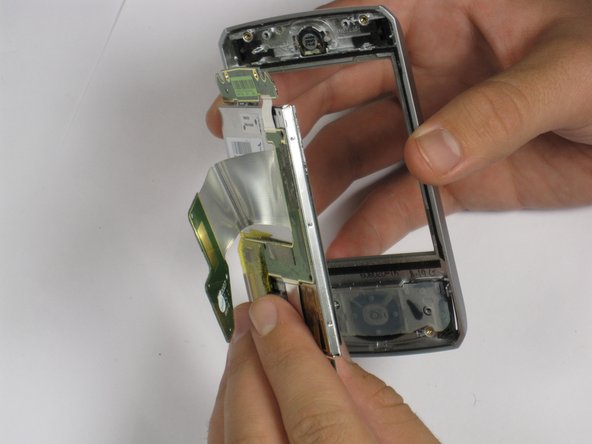
    • Insert spudger in the bottom corner as seen in the picture. Carefully slide the spudger from the bottom towards the top as seen in the second picture.

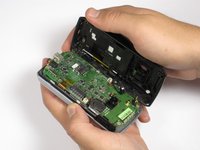
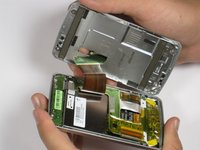
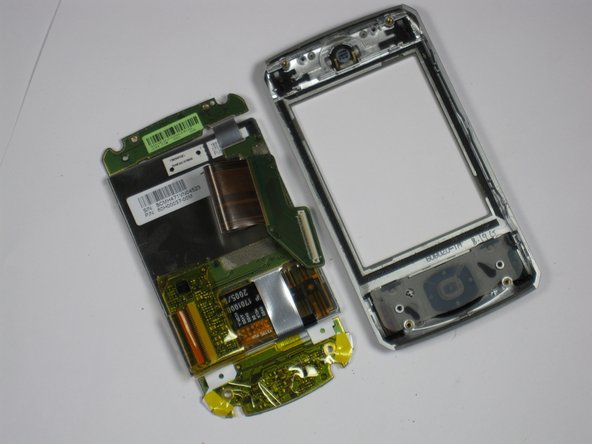
    • Lift the back case off completely.

    • The speakers might be dangling and unsecured.

    FixBotに聞いてみる
  6. HTC Wizard 100 Screen Replacement, Speakers: 手順 6、 2の画像 1 HTC Wizard 100 Screen Replacement, Speakers: 手順 6、 2の画像 2
    • Grip the speaker connector with your thumb and finger and gently pull up.

    • Repeat for 2nd speaker.

    FixBotに聞いてみる
  7. HTC Wizard 100 Screen Replacement, Camera: 手順 7、 1の画像 1
    • Locate the camera and pry off with the plastic opening tool or spudger.

    FixBotに聞いてみる
  8. HTC Wizard 100 Screen Replacement, Motherboard: 手順 8、 1の画像 1
    • Remove the 3.4 mm black screw with the Phillips #000 screwdriver.

    FixBotに聞いてみる
  9. HTC Wizard 100 Screen Replacement: 手順 9、 2の画像 1 HTC Wizard 100 Screen Replacement: 手順 9、 2の画像 2
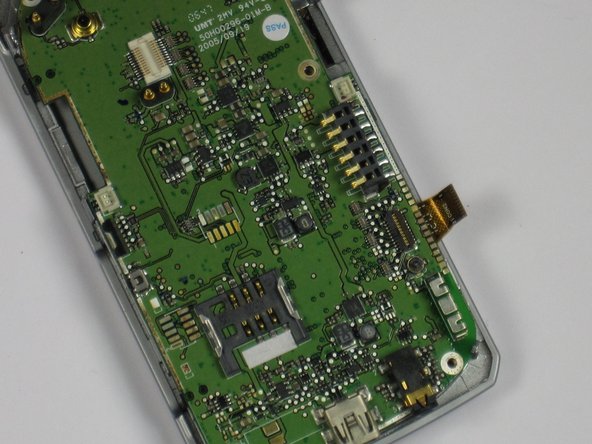
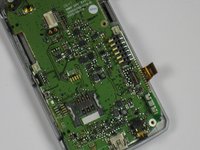
    • Remove the plastic tape to reveal the connector.

    • Use your finger or plastic opening tool to flip the connector and release the cable.

    FixBotに聞いてみる
  10. HTC Wizard 100 Screen Replacement: 手順 10、 2の画像 1 HTC Wizard 100 Screen Replacement: 手順 10、 2の画像 2
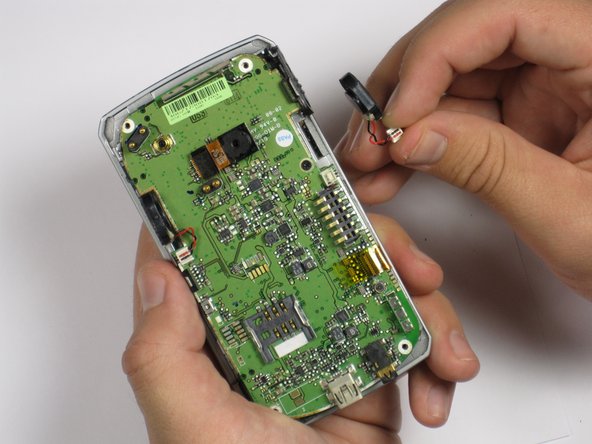
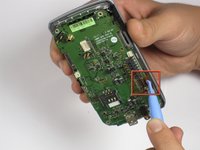
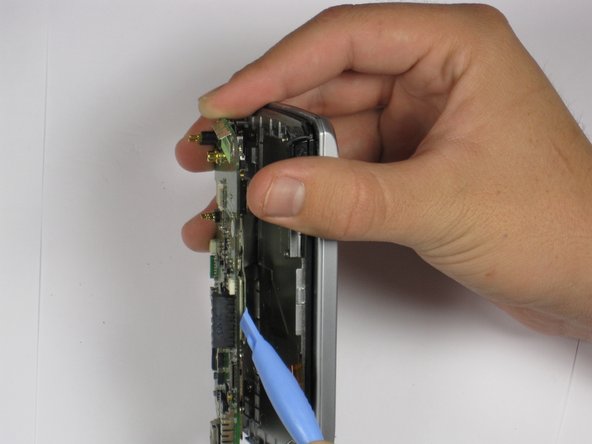
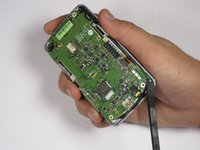
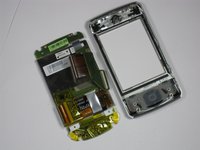
    • Use the plastic opening tool to carefully lift the motherboard off one corner at a time.

    • Lift the motherboard slowly away from the keyboard because there is a cable attached to bottom of the motherboard.

    • If the motherboard is not easily removed by pulling, then lift one side of the motherboard until you can see the attached cable. Then use the plastic opening tool to detach the cable from the motherboard.

    FixBotに聞いてみる
  11. HTC Wizard 100 Screen Replacement, Screen: 手順 11、 2の画像 1 HTC Wizard 100 Screen Replacement, Screen: 手順 11、 2の画像 2
    • Using the Phillips Screwdriver #000 remove the four 3.3 mm screws.

    • Carefully lift the keyboard from the plastic plate by allowing the ribbon cable to slip through the opening of the plastic plate.

    FixBotに聞いてみる
  12. HTC Wizard 100 Screen Replacement: 手順 12、 1の画像 1
    • Use the Phillips Screwdriver #000 to remove the four 3.8 mm screws from the back of the screen.

    FixBotに聞いてみる
  13. HTC Wizard 100 Screen Replacement: 手順 13、 3の画像 1 HTC Wizard 100 Screen Replacement: 手順 13、 3の画像 2 HTC Wizard 100 Screen Replacement: 手順 13、 3の画像 3
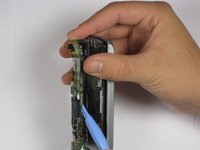
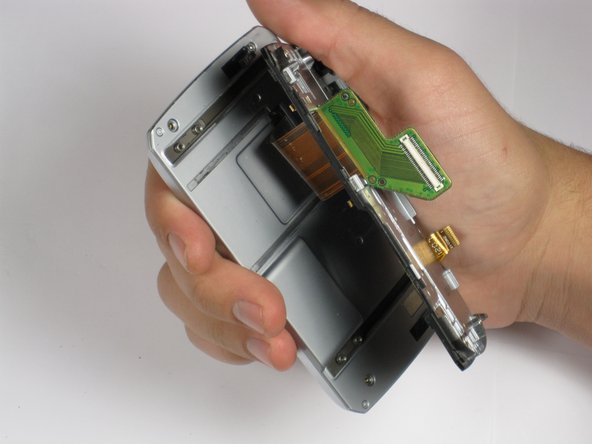
    • Insert the spudger between the panel and the case.

    • Gently pry off the panel by rotating or wiggling the spudger back and forth.

    • Lift the panel off while allowing the ribbon to slip through the opening.

    FixBotに聞いてみる
  14. HTC Wizard 100 Screen Replacement: 手順 14、 3の画像 1 HTC Wizard 100 Screen Replacement: 手順 14、 3の画像 2 HTC Wizard 100 Screen Replacement: 手順 14、 3の画像 3
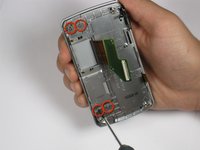
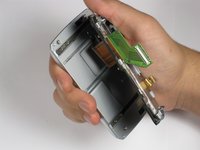
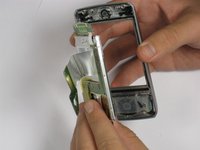
    • Remove the four 2.9 mm screws with the Phillips Screwdriver #000.

    • Use your fingers to separate the screen assembly from the front panel.

    FixBotに聞いてみる
  15. HTC Wizard 100 Screen Replacement: 手順 15、 2の画像 1 HTC Wizard 100 Screen Replacement: 手順 15、 2の画像 2
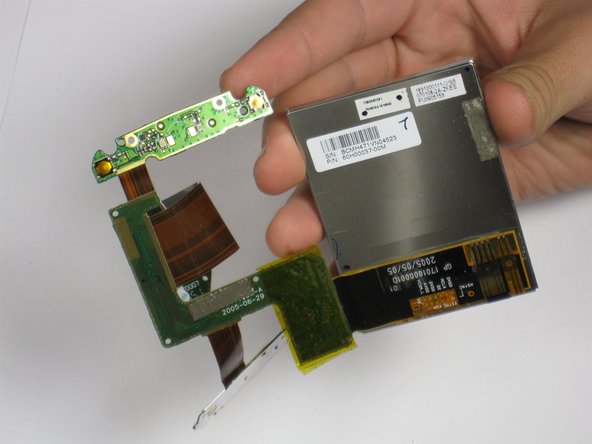
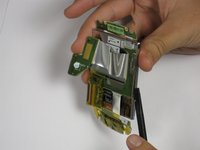
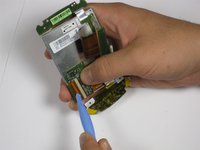
    • Insert the spudger between the green panel and the screen itself.

    • Gently wiggle the spudger to pry them apart.

    FixBotに聞いてみる
  16. HTC Wizard 100 Screen Replacement: 手順 16、 3の画像 1 HTC Wizard 100 Screen Replacement: 手順 16、 3の画像 2 HTC Wizard 100 Screen Replacement: 手順 16、 3の画像 3
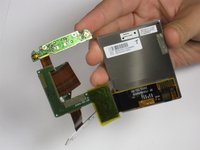
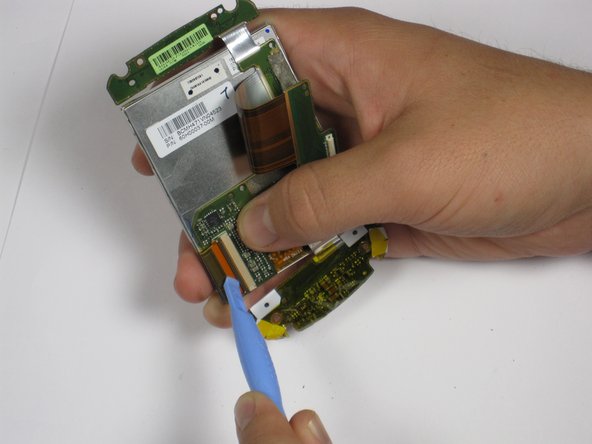
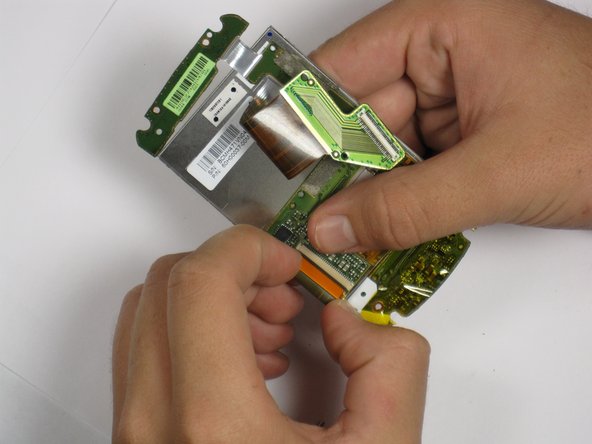
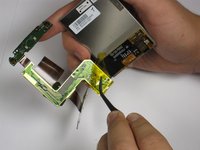
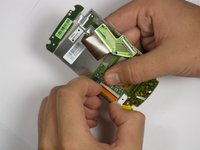
    • Remove the tape.

    • Locate the connecting ribbon.

    • Using the spudger or your thumb and finger, flip the switch up and disconnect the ribbon.

    • Lift off the panel from the screen.

    FixBotに聞いてみる
終わりに

To reassemble your device, follow these instructions in reverse order.

ある他の人がこのガイドを完成しました。

作成者

6人の作成者と共同で作成されました。

Taylor Stone

メンバー登録日: 10/06/11

45 ポイント

2のガイドは作成済み

チーム

Cal Poly, Team 20-28, Maness Fall 2011 Cal Poly, Team 20-28, Maness Fall 2011人のメンバー

CPSU-MANESS-F11S20G28

4 メンバー

15のガイドは作成済み

0件のガイドコメント

コメントを追加

統計データ:

過去 24時間: 1

過去 7 日: 11

過去 30 日: 78

今までの合計 1,290