メインコンテンツにスキップ

HTC Windows Phone 8S Logic Board Replacement

必要な工具と部品

ビデオの概要

  1. HTC Windows Phone 8S Logic Board Replacement, Loudspeaker: 手順 1、 3の画像 1 HTC Windows Phone 8S Logic Board Replacement, Loudspeaker: 手順 1、 3の画像 2 HTC Windows Phone 8S Logic Board Replacement, Loudspeaker: 手順 1、 3の画像 3
    • Switch off the phone.

    • Remove the SIM / memory card cover.

    • Remove any SIM and memory cards.

    • Use screwdriver torx T5 and unscrew the two screws at the bottom of the battery / back cover.

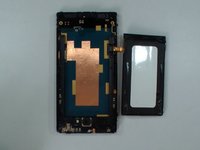
  2. HTC Windows Phone 8S Logic Board Replacement: 手順 2、 3の画像 1 HTC Windows Phone 8S Logic Board Replacement: 手順 2、 3の画像 2 HTC Windows Phone 8S Logic Board Replacement: 手順 2、 3の画像 3
    • Use a plastic tool and slowly separate the back cover.

    • The loudspeaker is inside on the back cover.

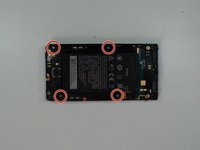
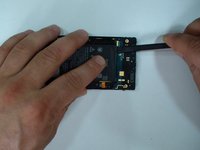
  3. HTC Windows Phone 8S Logic Board Replacement, Battery: 手順 3、 3の画像 1 HTC Windows Phone 8S Logic Board Replacement, Battery: 手順 3、 3の画像 2 HTC Windows Phone 8S Logic Board Replacement, Battery: 手順 3、 3の画像 3
    • Use a Phillips #0 screwdriver and remove the 4x silver screws.

    • With a plastic tool carefully separate the battery from the logic board.

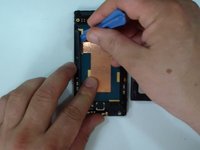
  4. HTC Windows Phone 8S Logic Board Replacement: 手順 4、 3の画像 1 HTC Windows Phone 8S Logic Board Replacement: 手順 4、 3の画像 2 HTC Windows Phone 8S Logic Board Replacement: 手順 4、 3の画像 3
    • The battery connector is under the middle frame. Remove it and disconnect the battery.

    • Model: BM59100 / 3,8VDC / 1700mAh

  5. HTC Windows Phone 8S Logic Board Replacement, Flex Cables: 手順 5、 3の画像 1 HTC Windows Phone 8S Logic Board Replacement, Flex Cables: 手順 5、 3の画像 2 HTC Windows Phone 8S Logic Board Replacement, Flex Cables: 手順 5、 3の画像 3
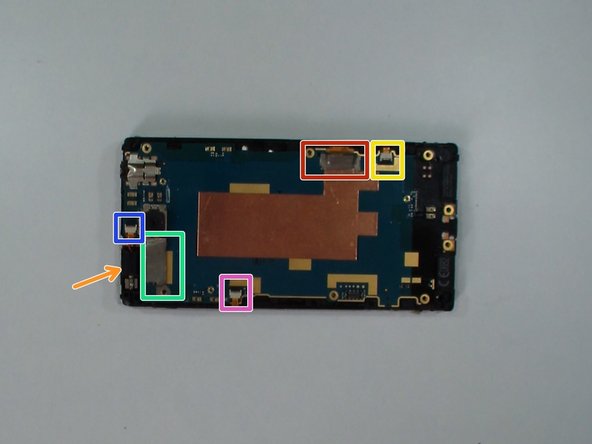
    • Remove the USB dock connector metal plate.

    • Open flex cable connectors:

    • LCD display flex cable

    • Menu buttons flex cable

    • Volume buttons flex cable

    • Touch screen flex cable

    • Power button flex cable

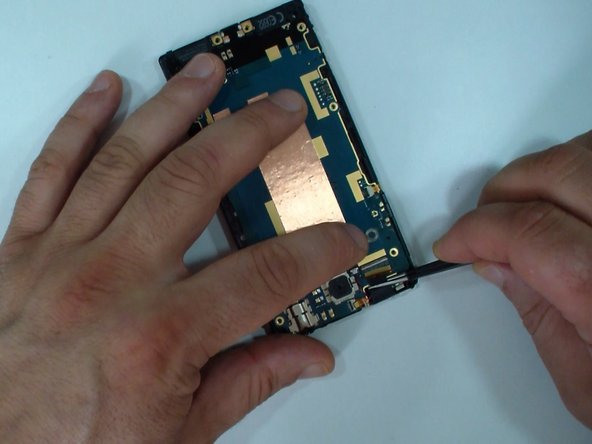
    • Pick up the vibrating motor and take out all flex cables except the LCD display flex cable.

  6. HTC Windows Phone 8S Logic Board Replacement, Logic Board Removal: 手順 6、 3の画像 1 HTC Windows Phone 8S Logic Board Replacement, Logic Board Removal: 手順 6、 3の画像 2 HTC Windows Phone 8S Logic Board Replacement, Logic Board Removal: 手順 6、 3の画像 3
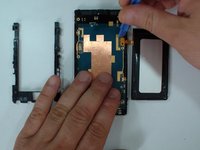
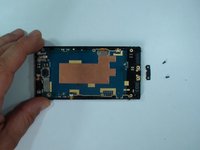
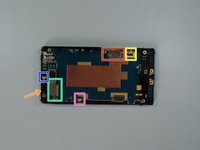
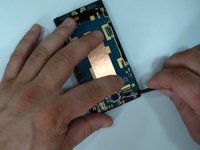
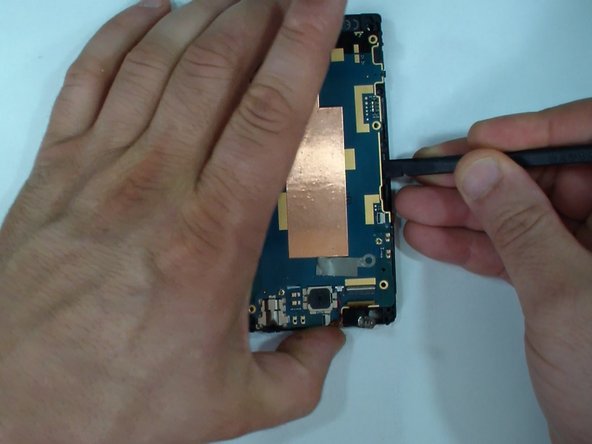
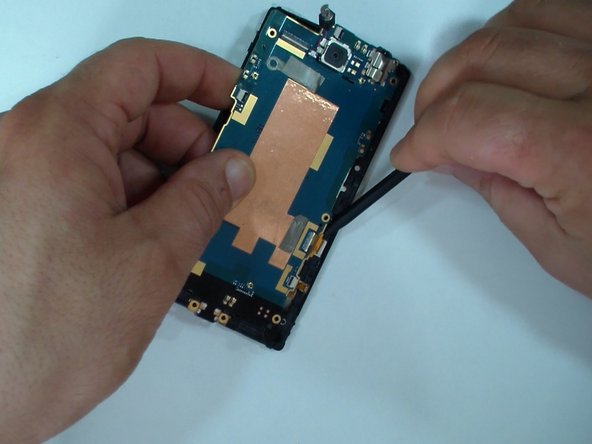
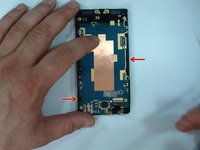
    • The logic board is secured to the display frame by two locking clips.

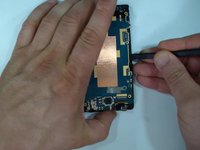
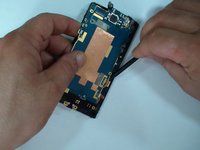
    • Use a plastic tool to release it.

    • Now remove the LCD display flex cable from its connector.

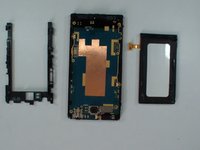
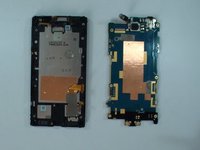
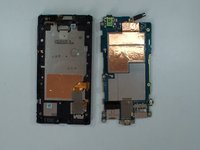
  7. HTC Windows Phone 8S Logic Board Replacement, Logic Board / Main Board: 手順 7、 2の画像 1 HTC Windows Phone 8S Logic Board Replacement, Logic Board / Main Board: 手順 7、 2の画像 2
    • HTC Windows Phone 8S Logic Board.

終わりに

To reassemble your device, follow these instructions in reverse order.

ある他の人がこのガイドを完成しました。

ZFix

メンバー登録日: 12/09/13

191,182 ポイント

330のガイドは作成済み

チーム

Master Techs Master Techs人のメンバー

Community

322 メンバー

2,521のガイドは作成済み

0 件のコメント

コメントを追加

統計データ:

過去 24時間: 0

過去 7 日: 1

過去 30 日: 3

今までの合計 1,025