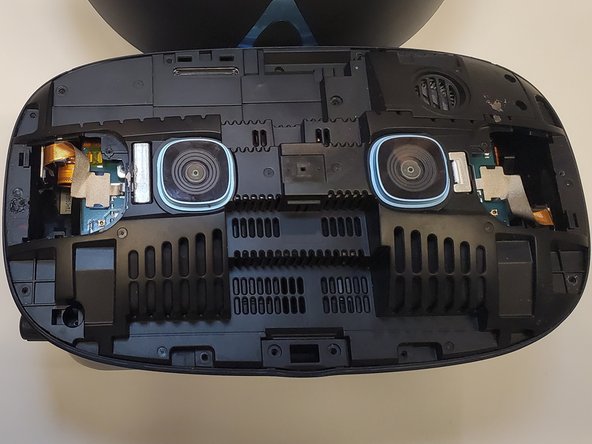
メインコンテンツにスキップ

HTC Vive Cosmos Disassembly

必要な工具と部品

  1. HTC Vive Cosmos Disassembly, Remove Faceplate: 手順 1、 1の画像 1
    • Peel back the interchangeable foam velcroed to the headset.

  2. HTC Vive Cosmos Disassembly, Remove Frontplate: 手順 2、 1の画像 1
    • Hold the button on the inside of the headset.

    • Pull back the frontplate away from the Vive.

  3. HTC Vive Cosmos Disassembly, Remove Warranty Stickers: 手順 3、 1の画像 1
    • Peel the two warranty stickers using a driver.

    • Covers may be peeled back using other tools like a spudger.

  4. HTC Vive Cosmos Disassembly, Remove Camera Plate Screws: 手順 4、 1の画像 1
    • Unscrew nineteen screws using the T5 Torx driver.

  5. HTC Vive Cosmos Disassembly, Remove Covers: 手順 5、 2の画像 1 HTC Vive Cosmos Disassembly, Remove Covers: 手順 5、 2の画像 2
    • Remove the covers beneath the warranty stickers.

  6. HTC Vive Cosmos Disassembly, Remove Plate: 手順 6、 1の画像 1
    • Insert card between plate and camera plate to separate and remove.

    • May use card or other soft flat surfaces like a spudger.

  7. HTC Vive Cosmos Disassembly, Detach Headband: 手順 7、 1の画像 1
    • Unscrew the three torx screws using the T5 X 50 mm screwdriver.

    • Unscrew the one Philips screw using the 10 mm screwdriver.

    • Detach headband from headset.

  8. HTC Vive Cosmos Disassembly, Remove Camera Plate: 手順 8、 1の画像 1
    • Insert card between camera plate and the headset to separate.

    • May use card or other soft flat surfaces like a spudger.

  9. HTC Vive Cosmos Disassembly, Remove Focus Knob: 手順 9、 1の画像 1
    • Slide the focus knob out of the plastic holding and off the focus rod.

  10. HTC Vive Cosmos Disassembly, Unplug Jumper Cables: 手順 10、 2の画像 1 HTC Vive Cosmos Disassembly, Unplug Jumper Cables: 手順 10、 2の画像 2
    • Static Warning for circuit board interaction. When dealing with jumper cables and circuit boards touch metal not located on Vive for 15 seconds before removing component. Keep in mind for remaining steps.

    • Unplug the jumper cables from the circuit boards to detach.

  11. HTC Vive Cosmos Disassembly, Detach Jumper Cables: 手順 11、 1の画像 1
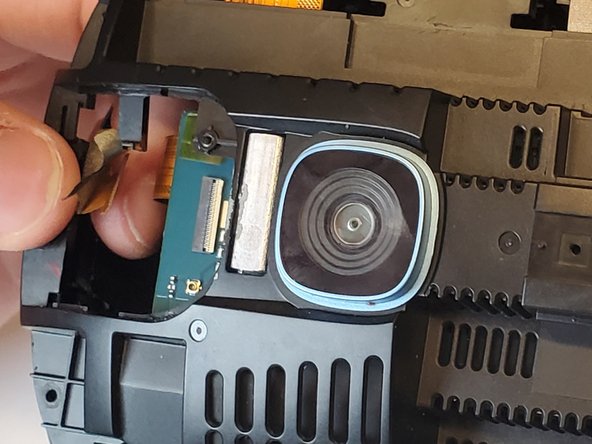
    • Unscrew the four silver Torx screws on the jumper cables using the T5 driver.

    • Keep note of the silver Torx screws which are different than the other screws.

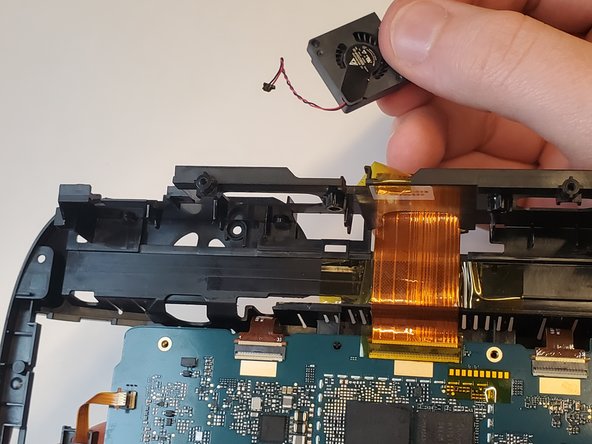
    • Pull the jumper cables away from the holding and remove.

  12. HTC Vive Cosmos Disassembly, Remove Cable Port Board Screws: 手順 12、 1の画像 1
    • Unscrew the nine Torx screws using the T5 driver on the circuit board.

  13. HTC Vive Cosmos Disassembly, Remove Strip Plugs: 手順 13、 1の画像 1
    • Remove the jumper cables to fully release the cable port board.

  14. HTC Vive Cosmos Disassembly, Unscrewing Camera Board: 手順 14、 1の画像 1
    • Unscrew the six Torx Screws on the camera board with the T5 driver.

  15. HTC Vive Cosmos Disassembly, Remove Fan Screws: 手順 15、 1の画像 1
    • Unscrew the one Torx Screw using the T5 driver.

  16. HTC Vive Cosmos Disassembly, Remove Heat Duct: 手順 16、 1の画像 1
    • Pull and maneuver the heat duct out of the holding.

    • Exercise caution to carefully remove component.

    • The thermal paste may scratch off in the process but that is okay.

  17. HTC Vive Cosmos Disassembly, Unplug Fan: 手順 17、 2の画像 1 HTC Vive Cosmos Disassembly, Unplug Fan: 手順 17、 2の画像 2
    • Unplug the fan from the camera board.

  18. HTC Vive Cosmos Disassembly, Remove Additional Strip Plugs: 手順 18、 1の画像 1
    • Insert screwdriver beneath strip plug to remove.

    • May use another tool that is able to fit beneath strip plug and gently remove.

  19. HTC Vive Cosmos Disassembly, Remove Camera Board: 手順 19、 1の画像 1
    • Lift camera board and remove.

終わりに

To reassemble your device, follow these instructions in reverse order.

作成者

1人の作成者と共同作成されました。

Jalyssa Smith

メンバー登録日: 04/11/23

289 ポイント

1ガイドが承認済み

0 件のコメント

コメントを追加

統計データ:

過去 24時間: 0

過去 7 日: 12

過去 30 日: 37

今までの合計 432