はじめに
Use this guide to replace the motherboard for the HTC Trophy Windows 7 device. The motherboard is your devices’ circuit board. Almost every piece within the device interacts with this circuit board. While repairing the motherboard can be done, this guide focuses on replacement when repair is not possible.
A motherboard may become faulty due to heat, water, or physical force. Some symptoms of a malfunctioning motherboard include:
- Burning odor
- Freezing/unresponsive device
- Physical damage to device
- Multiple components not working properly
Tip: In order to replace the motherboard almost all of the devices components will be removed, so if you have multiple issues, replace the other components during this guide.
必要な工具と部品
-
-
Power off the phone before starting.
-
Remove the back panel by inserting the IFixIt opening tool into gap at the top of the rear and prying upward.
-
-
-
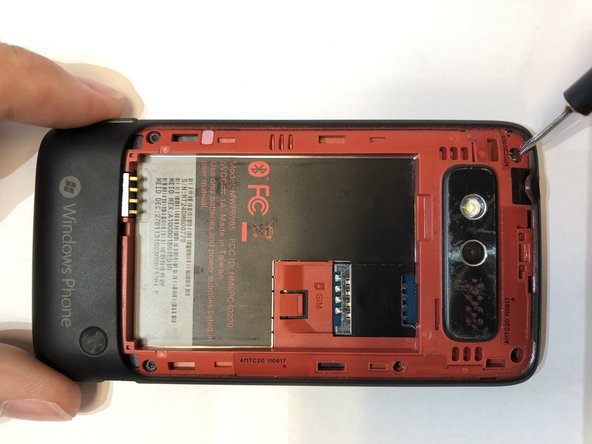
Remove the 5 screws holding the two phone halves together.
-
Three 4mm long T5 Torx screws.
-
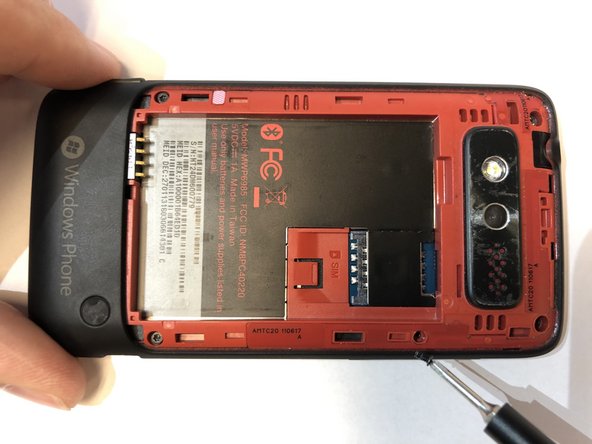
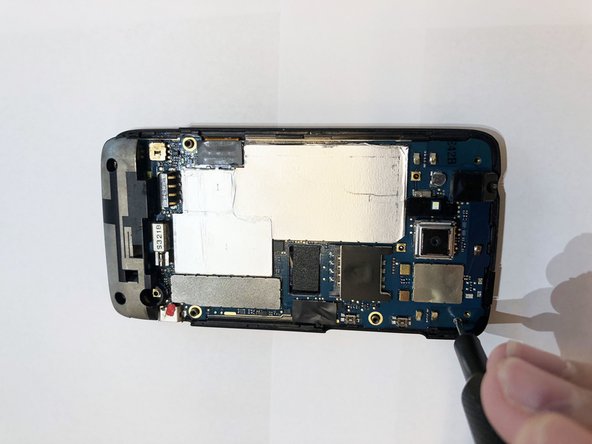
Press a T5 Torx screwdriver into the void sticker and remove the 4mm long T5 Torx screw.
-
One 4mm long Philips #000 screw.
-
-
-
-
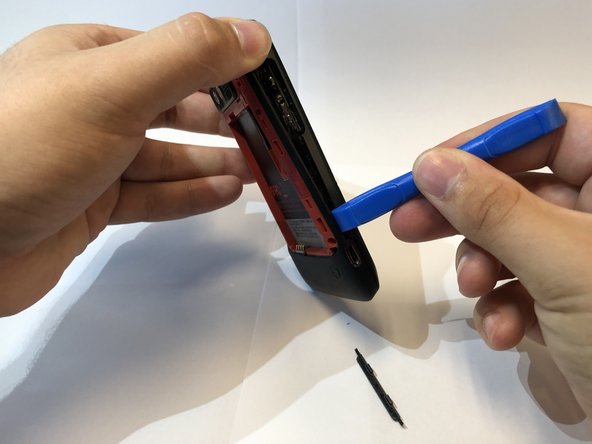
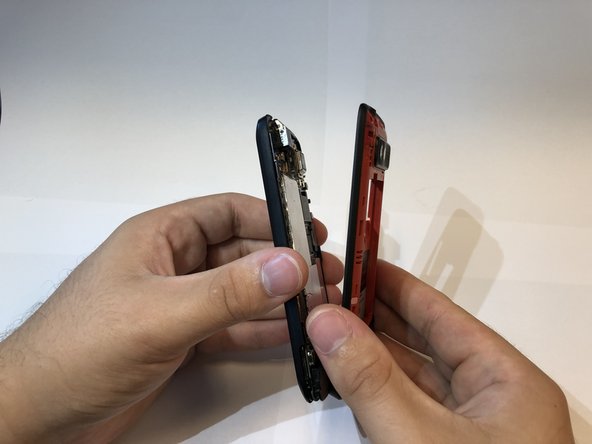
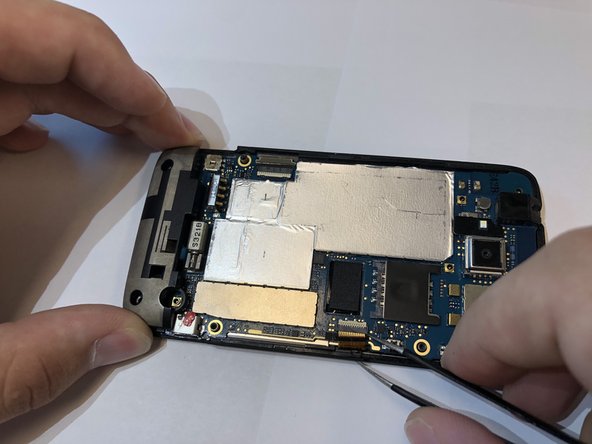
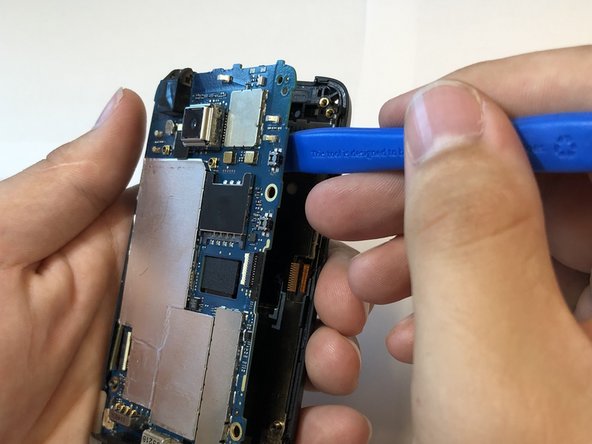
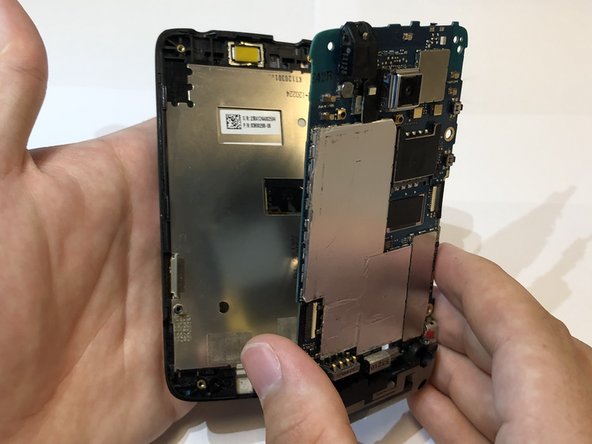
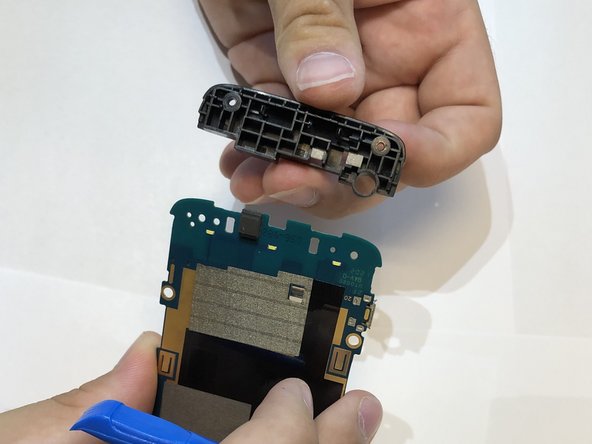
Remove the plastic piece off of the motherboard.
-
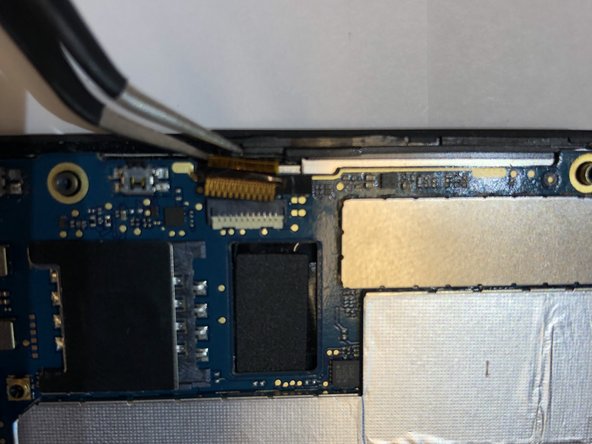
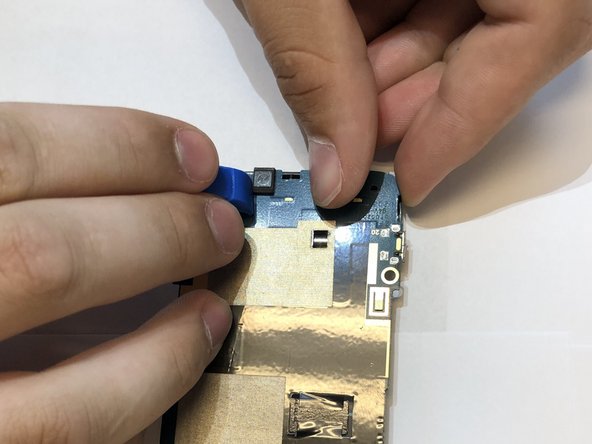
Put pressure outwards to release these clips with the iFixit opening tool and you fingers.
-


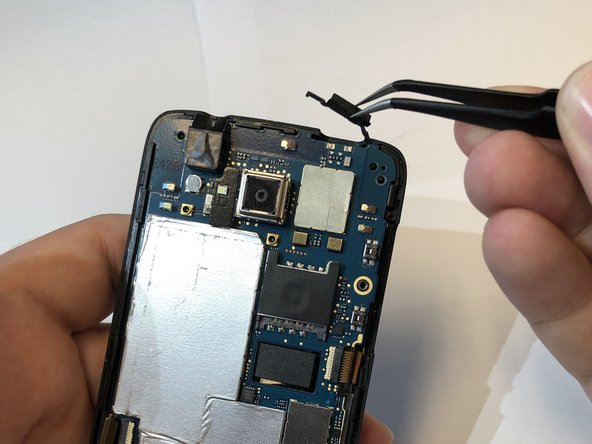


To reassemble your device, follow these instructions in reverse order.
Always dispose of e-waste properly. Follow this guide on how to dispose of the old motherboard.
To reassemble your device, follow these instructions in reverse order.
Always dispose of e-waste properly. Follow this guide on how to dispose of the old motherboard.
ある他の人がこのガイドを完成しました。
チーム

Embry-Riddle Aeronautical University, Team S13-G2, Lamothe Fall 2019 Embry-Riddle Aeronautical University, Team S13-G2, Lamothe Fall 2019人のメンバー
ERAU-LAMOTHE-F19S13G2
3 メンバー
12のガイドは作成済み