はじめに
This guide instructs readers on how to replace the LCD Screen of a HTC Touch MP6900 smartphone.
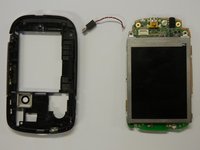
The screen of a smartphone is crucial as it allows the user to interact with the phone without touching the internal electrical parts of the device. An individual might replace the screen of a smartphone for aesthetics or because cracks and wear have appeared on the original screen. LCD stands for liquid-crystal display, in simpler terms an LCD screen is the front touchscreen of the smartphone that the user interacts with.
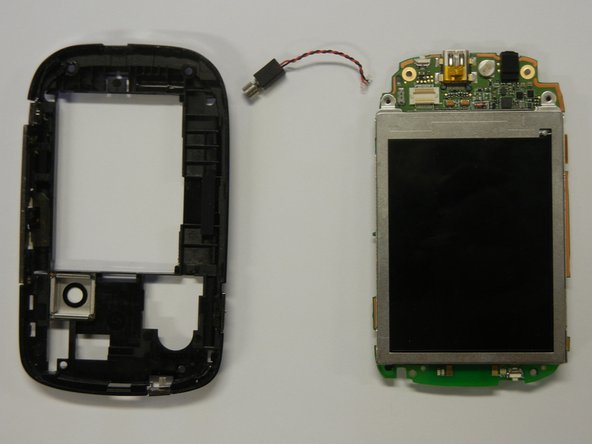
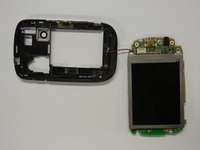
Included is a description of how to remove the previous LCD Screen and replace it with a new LCD Screen. Follow the steps in order, then repeat them in reverse to reassemble your device with the new LCD screen.
Warnings before you begin:
- Always be sure you are grounded whenever handling any of the circuit or logic boards. Find some advice on ways to ground yourself at this link. The internal areas of the smartphone include electrical circuits, so it is crucial to be grounded before beginning the replacement.
- Also ensure that the device is not plugged in while you are working on it.
必要な工具と部品


To reassemble your device, follow these instructions in reverse order.
ある他の人がこのガイドを完成しました。
チーム

Cal Poly, Team 15-12, Regan Spring 2011 Cal Poly, Team 15-12, Regan Spring 2011人のメンバー
CPSU-REGAN-S11S15G12
4 メンバー
10のガイドは作成済み