-
-
Using the plastic opening tool, lift up the battery from the bottom near the kickstand.
-
Remove the battery from the inner frame.
-
-
Remove the six Phillips screws from the perimeter of the rear frame.
-
By removing the screw with the "void" sticker on it, your Thunderbolt will no longer be covered under warranty.
-
-
Insert the plastic opening tool into the bottom of the phone underneath the soft keys.
-
Gently pry up on the plastic cover by sliding the plastic opening tool across the bottom of the phone.
-
Remove the plastic cover.
-
The plastic cover will have adhesive on it making it difficult to remove.
-
-
-
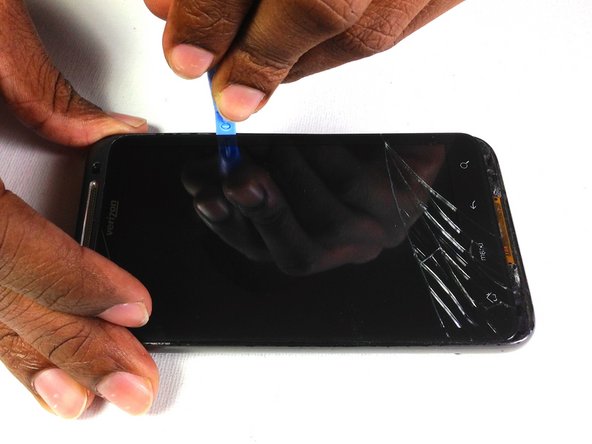
Insert the plastic opening tool in between the screen and the frame on the side of the phone.
-
Slowly slide the the plastic opening tool along the side of the phone until the screen begins to separate from the frame.
-
Do the same for the opposite side of the phone.
-
-
-
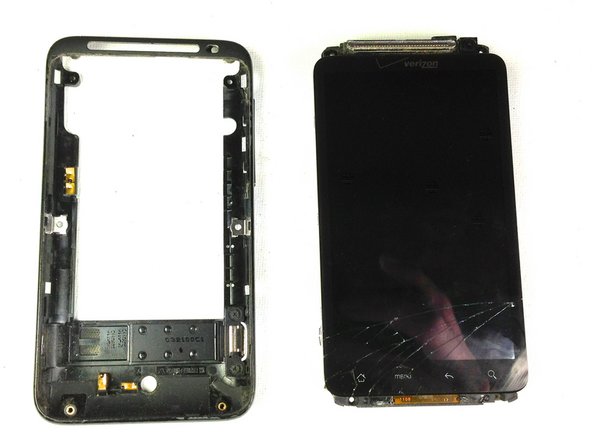
Carefully separate the screen and phone from the rear frame, starting from the bottom.
-
Gently pull down on the phone and screen to fully separate it from the rear frame.
-
![: 手順 12、 2の画像 1]()
![: 手順 12、 2の画像 2]()

この手順で使用する道具:
Tweezers
$4.99
購入する
-
Using the tip of an plastic opening tool flip up the tab holding the capacitive button ribbon cable.
-
Be careful opening these tabs as they are very easy to break.
-
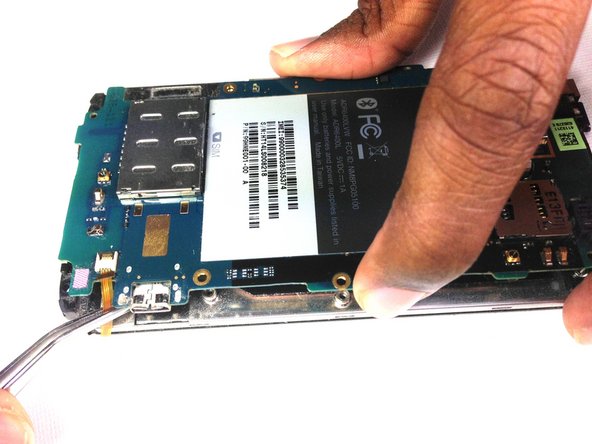
Use a pair of tweezers to pull the capacitive button cable out of its socket.
-
-
Lifting from the side where the ribbon was disconnected, flip over the motherboard.
-
Remove the black tape covering the tabs connecting the motherboard and LCD.
-
-
-
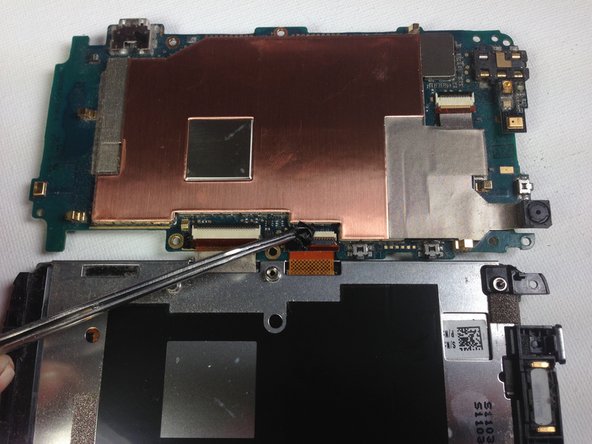
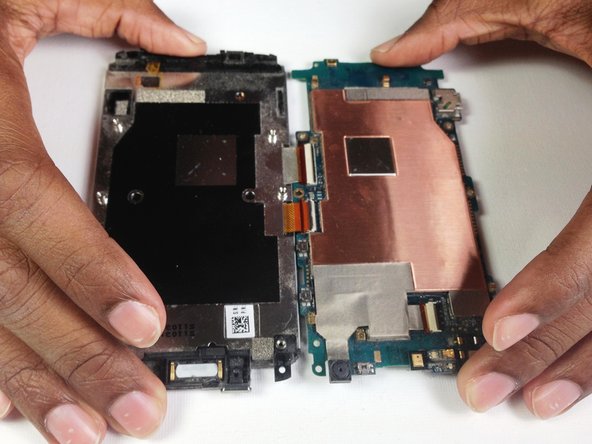
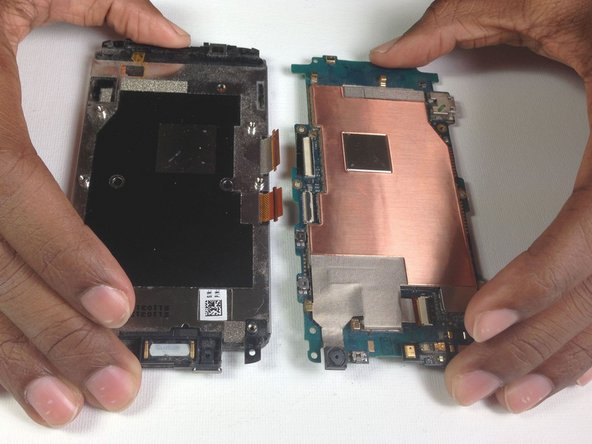
Once the tabs have been popped up, slowly pull the two pieces away from each other.
-
If there is resistance pulling apart the phone then a ribbon or tab has not been disconnected properly/completely.
-
-
-
![: 手順 19、 1の画像 1]()
この手順で使用する道具:
Tweezers
$4.99
購入する
このガイドを埋め込む
サイズを選択し、以下のコードをコピーして、このガイドを小さなウィジェットとしてサイト/フォーラムに埋め込みます。
プレビュー