この修理ガイドは変更されています。最新の未承認バージョンに切り替えます。
はじめに
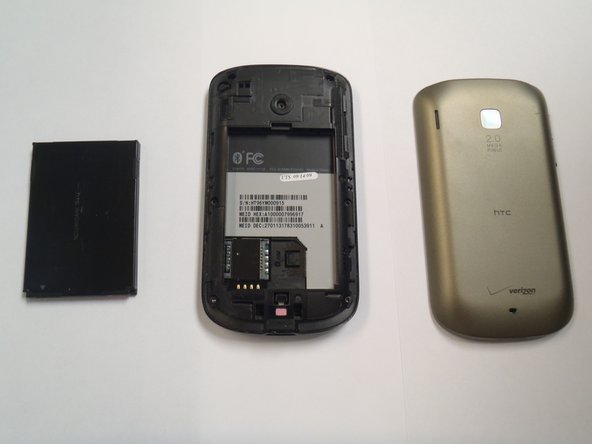
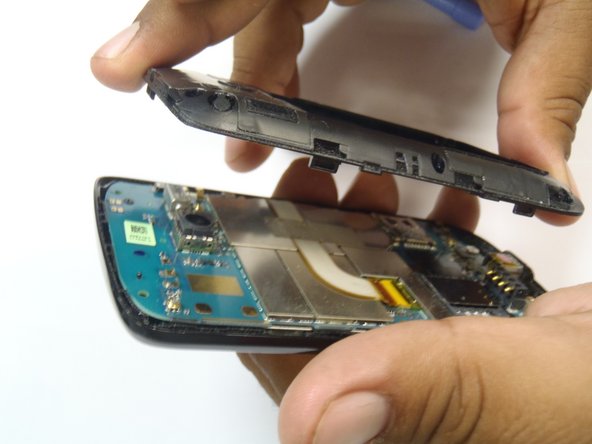
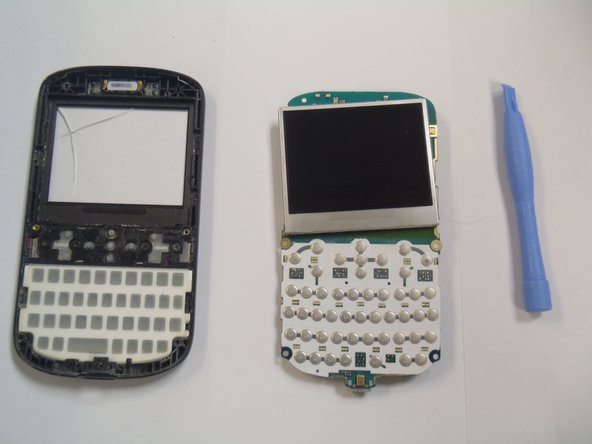
The motherboard is the main internal component which integrates all the other internal components (i.e. led display, processor, keyboard, etc.)
必要な工具と部品
-
-
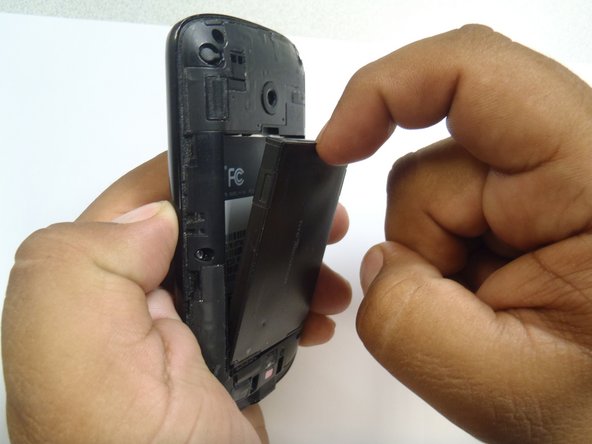
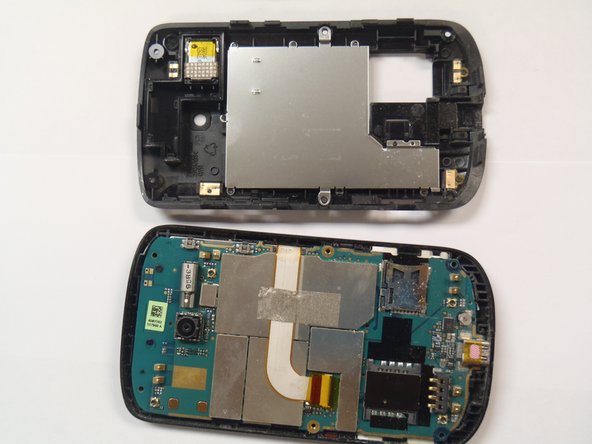
Flip the phone over to have the rear cover facing up.
-
The camera lens should be towards the top of the phone.
-
-
-
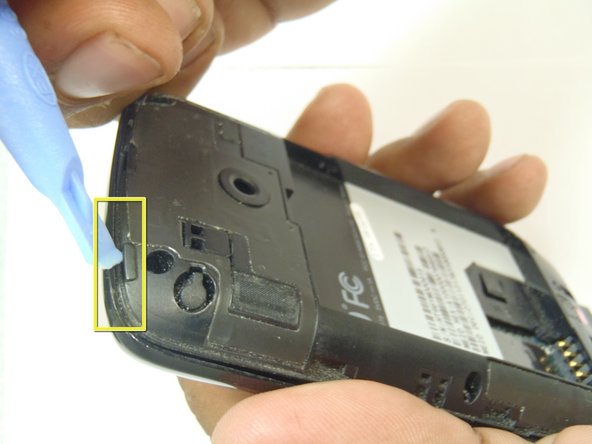
Use your finger to push the top of the battery downwards and lift the battery out of the phone.
-
-
-
-
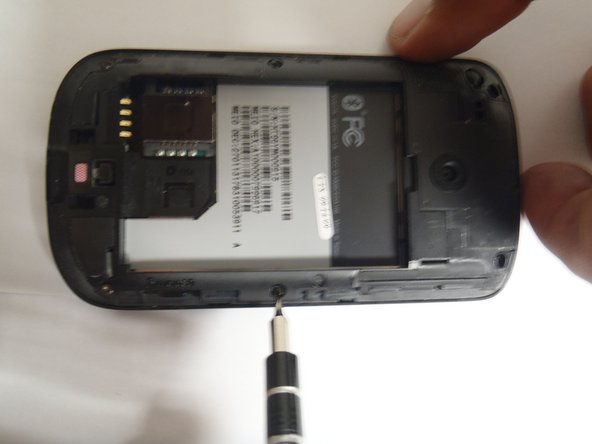
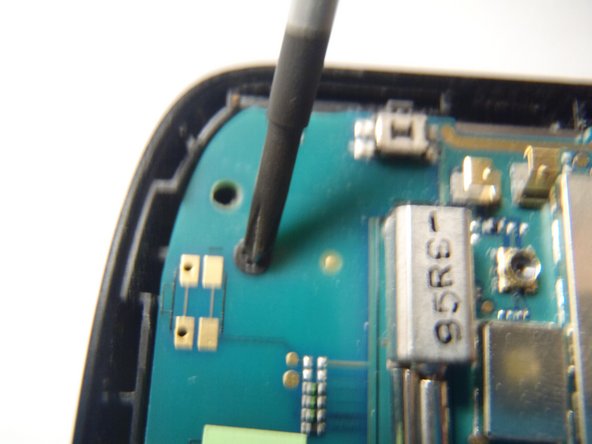
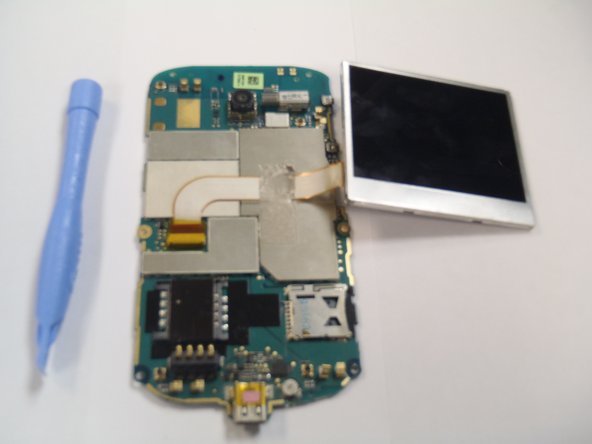
Remove the single Phillips #0 screw that is securing the motherboard to the front case of the phone.
-


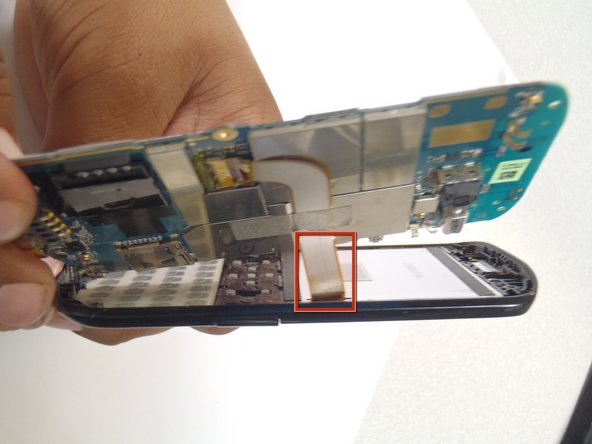

To reassemble your device, follow these instructions in reverse order.
To reassemble your device, follow these instructions in reverse order.
ある他の人がこのガイドを完成しました。
チーム

CSU Los Angeles, Team 1-2, Nelson Spring 2011 CSU Los Angeles, Team 1-2, Nelson Spring 2011人のメンバー
CSULA-NELSON-S11S1G2
5 メンバー
12のガイドは作成済み