この修理ガイドは変更されています。最新の未承認バージョンに切り替えます。
はじめに
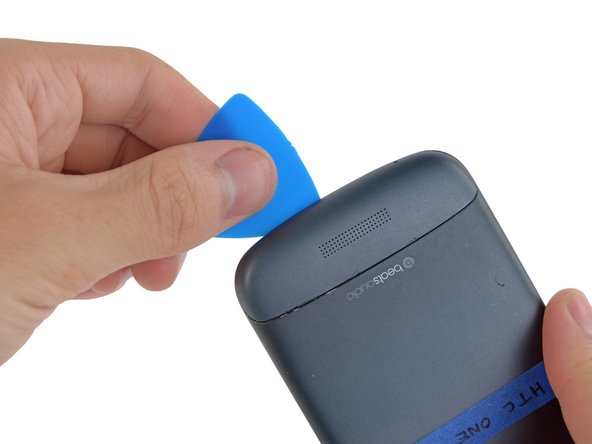
Give your phone a battery boost by replacing the battery in your HTC One S.
必要な工具と部品
-
-
Fill a pot or pan with enough water to fully submerge an iOpener.
-
Heat the water to a boil. Turn off the heat.
-
Place an iOpener into the hot water for 2-3 minutes. Make sure the iOpener is fully submerged in the water.
-
Use tongs to extract the heated iOpener from the hot water.
-
Thoroughly dry the iOpener with a towel.
-
Your iOpener is ready for use! If you need to reheat the iOpener, heat the water to a boil, turn off the heat, and place the iOpener in the water for 2-3 minutes.
-
-
-
-
Using the pointed end of a spudger, lift the battery cable and release the connector.
-


To reassemble your device, follow these instructions in reverse order.
To reassemble your device, follow these instructions in reverse order.
12 の人々がこのガイドを完成させました。
チーム

Cal Poly, Team 10-55, Amido Spring 2014 Cal Poly, Team 10-55, Amido Spring 2014人のメンバー
CPSU-AMIDO-S14S10G55
4 メンバー
31のガイドは作成済み
4 件のコメント
Hello thank you for the guide. Getting the backplate off was tough. When assembling a little rubber block was loose. this goes next to the motor
J Shepherd - 返信