メインコンテンツにスキップ

この修理ガイドは変更されています。最新の未承認バージョンに切り替えます。

HTC Maple 100 LCD Screen Replacement

必要な工具と部品

  1. HTC Maple 100 LCD Screen Replacement, Battery: 手順 1、 1の画像 1
    • First remove the back cover of your phone to expose the battery.

  2. HTC Maple 100 LCD Screen Replacement: 手順 2、 1の画像 1
    • Turn the phone over.

    • Push forward on the battery with your thumb.

  3. HTC Maple 100 LCD Screen Replacement: 手順 3、 2の画像 1 HTC Maple 100 LCD Screen Replacement: 手順 3、 2の画像 2
    • Take the battery out by lifting it upwards.

    • When reassembling, make sure that the battery contacts match up.

  4. HTC Maple 100 LCD Screen Replacement, Back Panel: 手順 4、 2の画像 1 HTC Maple 100 LCD Screen Replacement, Back Panel: 手順 4、 2の画像 2
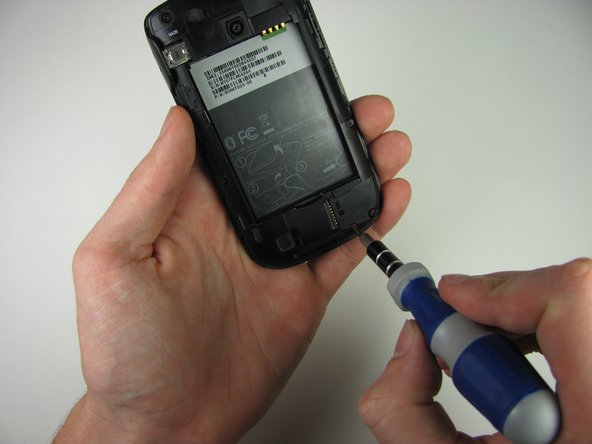
    • Remove the four 4.9mm T6 Torx screws that secure the back panel to the rest of the phone.

  5. HTC Maple 100 LCD Screen Replacement: 手順 5、 1の画像 1
    • Remove the two 4.3mm Phillips #00 screws that secure the back panel to the rest of the phone.

  6. HTC Maple 100 LCD Screen Replacement: 手順 6、 3の画像 1 HTC Maple 100 LCD Screen Replacement: 手順 6、 3の画像 2 HTC Maple 100 LCD Screen Replacement: 手順 6、 3の画像 3
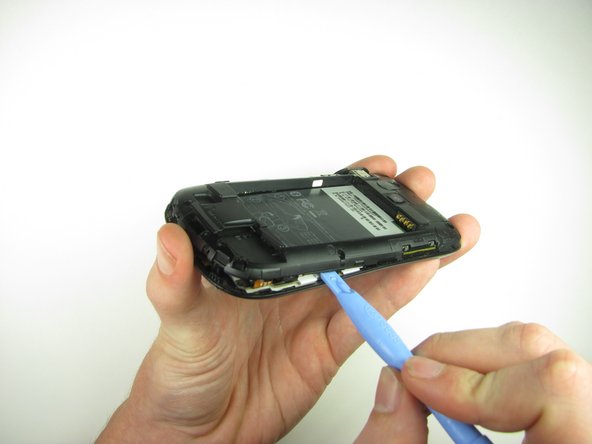
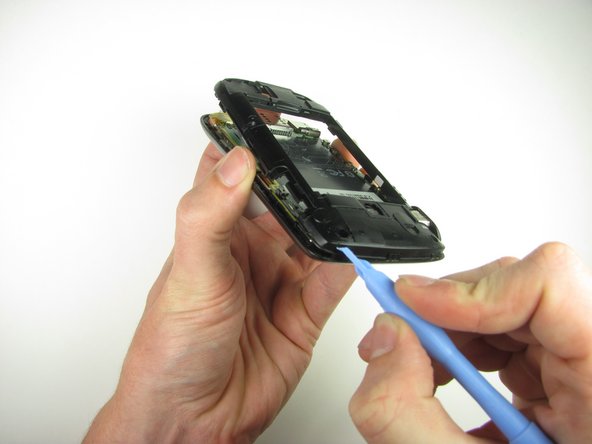
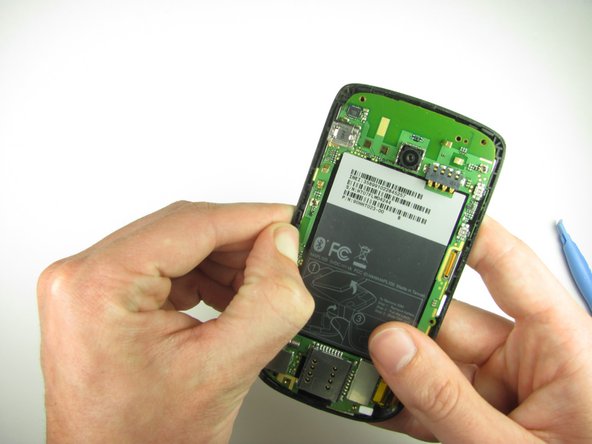
    • Insert the plastic opening tool along the seams at different points to it pry the clips off.

    • This may require a bit of force. The USB port cover may fall off in this step.

  7. HTC Maple 100 LCD Screen Replacement, Motherboard: 手順 7、 2の画像 1 HTC Maple 100 LCD Screen Replacement, Motherboard: 手順 7、 2の画像 2
    • Remove the one 3.3mm Phillips #00 screw.

  8. HTC Maple 100 LCD Screen Replacement: 手順 8、 2の画像 1 HTC Maple 100 LCD Screen Replacement: 手順 8、 2の画像 2
    • Use your finger or the plastic opening tool to unclip the board.

    • Be aware of the ribbon cable connected to the motherboard inside the phone.

  9. HTC Maple 100 LCD Screen Replacement: 手順 9、 2の画像 1 HTC Maple 100 LCD Screen Replacement: 手順 9、 2の画像 2
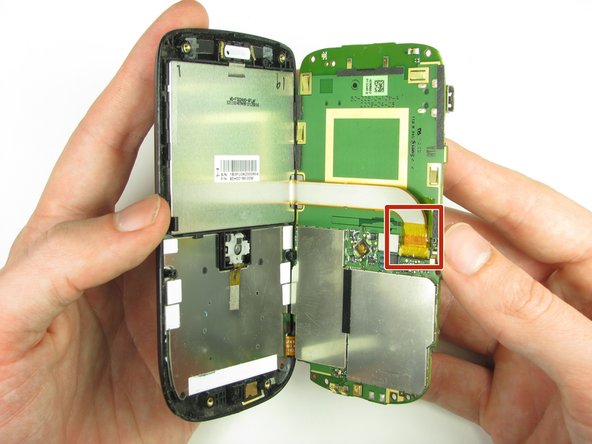
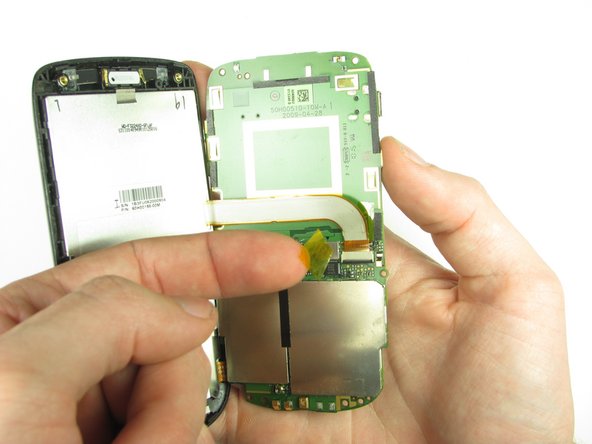
    • Peel off the yellow piece of tape from the phone.

  10. HTC Maple 100 LCD Screen Replacement: 手順 10、 3の画像 1 HTC Maple 100 LCD Screen Replacement: 手順 10、 3の画像 2 HTC Maple 100 LCD Screen Replacement: 手順 10、 3の画像 3
    • Flip up the retaining flap with your fingernail or a plastic opening tool.

    • Pull on the ribbon cable gently with your fingers.

  11. HTC Maple 100 LCD Screen Replacement: 手順 11、 2の画像 1 HTC Maple 100 LCD Screen Replacement: 手順 11、 2の画像 2
    • Split apart the motherboard and front panel.

    • Remove the other yellow piece of tape off of the end of the ribbon cable.

  12. HTC Maple 100 LCD Screen Replacement: 手順 12、 2の画像 1 HTC Maple 100 LCD Screen Replacement: 手順 12、 2の画像 2
    • Gently pull on the ribbon cable to separate the motherboard.

  13. HTC Maple 100 LCD Screen Replacement, LCD Screen: 手順 13、 3の画像 1 HTC Maple 100 LCD Screen Replacement, LCD Screen: 手順 13、 3の画像 2 HTC Maple 100 LCD Screen Replacement, LCD Screen: 手順 13、 3の画像 3
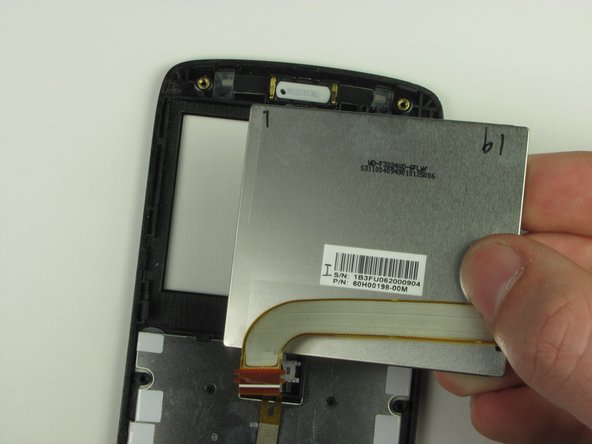
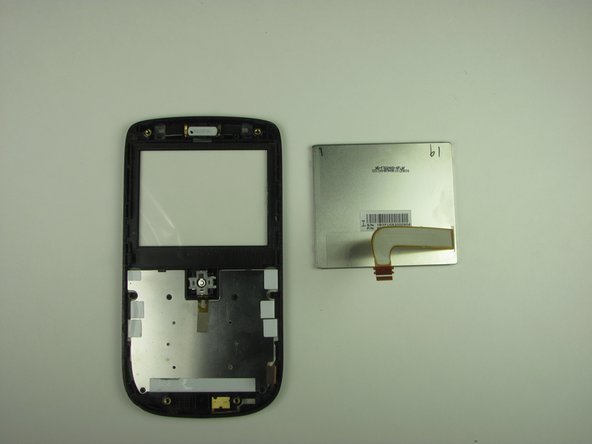
    • Pry the LCD screen out using the plastic opening tool and remove it using your fingers.

終わりに

To reassemble your device, follow these instructions in reverse order.

作成者

5人の作成者と共同で作成されました。

Nick

メンバー登録日: 10/28/11

6 ポイント

3のガイドは作成済み

チーム

Cal Poly, Team 20-29, Maness Fall 2011 Cal Poly, Team 20-29, Maness Fall 2011人のメンバー

CPSU-MANESS-F11S20G29

4 メンバー

18のガイドは作成済み

0 件のコメント

コメントを追加

統計データ:

過去 24時間: 0

過去 7 日: 0

過去 30 日: 1

今までの合計 1,065