メインコンテンツにスキップ

このバージョンは誤った内容を含んでいる可能性があります。最新の承認済みスナップショットに切り替えてください。

必要な工具と部品

  1. この手順は未翻訳です。 翻訳を手伝う。

    : 手順 1、 3の画像 1 : 手順 1、 3の画像 2 : 手順 1、 3の画像 3
    • Press your thumbnail into the slot between the rear panel and the front case located in the bottom of the phone.

    • Useful tip: a penny or dime works in a pinch if you can't use your thumbnail.

    • Gently pry the rear panel up and away from the phone. You may need to slide your thumb up the crack to separate the rear panel from the front case.

  2. この手順は未翻訳です。 翻訳を手伝う。

    : 手順 2、 1の画像 1
    • Remove the rear panel from the phone.

  3. この手順は未翻訳です。 翻訳を手伝う。

    : 手順 3、 3の画像 1 : 手順 3、 3の画像 2 : 手順 3、 3の画像 3
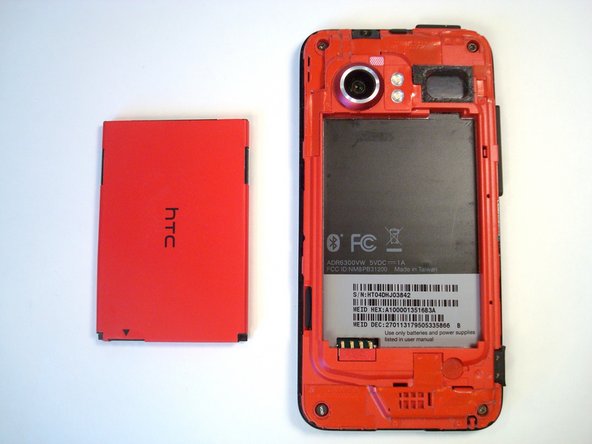
    • Insert a fingertip into the gap between the battery and the rear inner frame, located between the battery and the speaker. Slide the battery away from the speaker, widening the gap.

    • Lift the top of the battery up and remove the battery from the rear inner frame.

ゴール

ある他の人がこのガイドを完成しました。

作成者

2人の作成者と共同で作成されました。

Andrew Optimus Goldheart

メンバー登録日: 10/17/09

503,000 ポイント

407のガイドは作成済み

チーム

iFixit iFixit人のメンバー

Staff

135 メンバー

17,198のガイドは作成済み

0 件のコメント

コメントを追加

統計データ:

過去 24時間: 3

過去 7 日: 10

過去 30 日: 12

今までの合計 1,595