メインコンテンツにスキップ

HTC Droid Eris Digitizer or LCD Screen Replacement

必要な工具と部品

  1. HTC Droid Eris Digitizer or LCD Screen Replacement, Digitizer or LCD screen: 手順 1、 3の画像 1 HTC Droid Eris Digitizer or LCD Screen Replacement, Digitizer or LCD screen: 手順 1、 3の画像 2 HTC Droid Eris Digitizer or LCD Screen Replacement, Digitizer or LCD screen: 手順 1、 3の画像 3
    • Turn off your HTC Droid Eris.

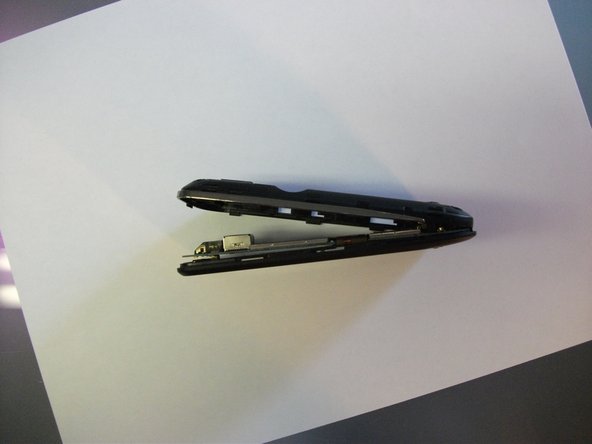
    • Remove the back cover, battery, and memory card (if installed).

  2. HTC Droid Eris Digitizer or LCD Screen Replacement: 手順 2、 1の画像 1
    • Use a T4 screwdriver to remove the T4 screws at the locations shown in red circles.

  3. HTC Droid Eris Digitizer or LCD Screen Replacement: 手順 3、 2の画像 1 HTC Droid Eris Digitizer or LCD Screen Replacement: 手順 3、 2の画像 2
    • Insert a spudger or a pry pick between the front cover and the chrome on the sides of the device. Work the tool from the bottom on one side, to the top, and then back around to the bottom on the other side.

    • Remove the back cover by lifting from the top.

  4. HTC Droid Eris Digitizer or LCD Screen Replacement: 手順 4、 1の画像 1
    • Remove the RF shield by carefully peeling off the 4 pieces of metallic tape.

    • Don't damage or discard the 4 pieces of tape and the RF shield. You will need to reuse these items in later steps.

  5. HTC Droid Eris Digitizer or LCD Screen Replacement: 手順 5、 2の画像 1 HTC Droid Eris Digitizer or LCD Screen Replacement: 手順 5、 2の画像 2
    • Use a spudger or a pry pick to release the 3 connectors marked in red in the photo. (The middle connector will be covered with a piece of tape.)

  6. HTC Droid Eris Digitizer or LCD Screen Replacement: 手順 6、 1の画像 1
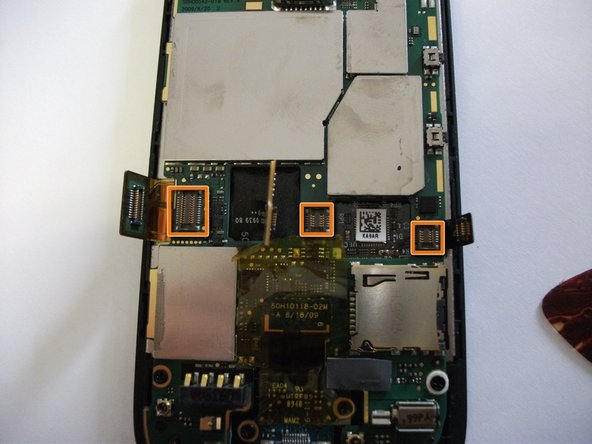
    • Remove the Philips screws circled in red. Be careful with the moisture indicator (indicated by the blue rectangle).

    • Be sure to move the connectors out of the way. (One connector extends across the main board, so be careful the connector does not snag.)

    • Carefully remove the mainboard and set it aside.

  7. HTC Droid Eris Digitizer or LCD Screen Replacement: 手順 7、 1の画像 1
    • Remove the trackball indicated by the orange square. (It should come out easily.)

  8. HTC Droid Eris Digitizer or LCD Screen Replacement: 手順 8、 1の画像 1
    • Carefully peel the cable (indicated by a large blue square) away from the back of the LCD screen.

    • There may be a piece of tape between the track ball and the back of the LCD screen (as indicated by the small blue square). Remove the tape if present.

  9. HTC Droid Eris Digitizer or LCD Screen Replacement: 手順 9、 3の画像 1 HTC Droid Eris Digitizer or LCD Screen Replacement: 手順 9、 3の画像 2 HTC Droid Eris Digitizer or LCD Screen Replacement: 手順 9、 3の画像 3
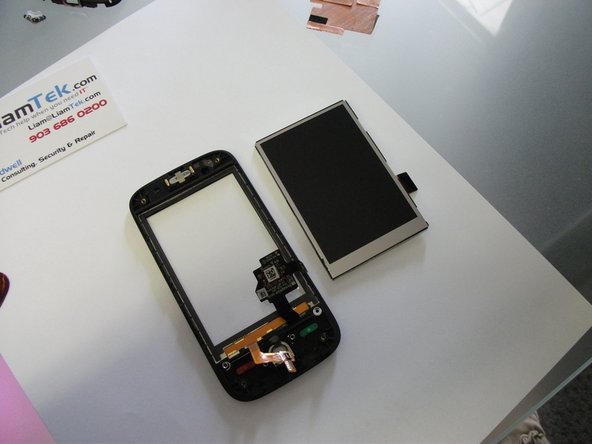
    • Carefully separate the face of the phone from the LCD screen by using a spudger or a pry pick.

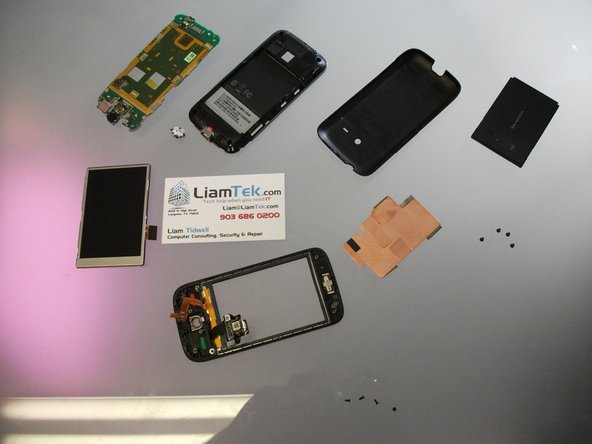
    • Replace the broken LCD or digitizer and reassemble in reverse.

    • If replacing the digitizer, you may either replace the entire front as part of an assembly or use a heat gun to separate and replace the glass only.

ゴール

ある他の人がこのガイドを完成しました。

作成者

7人の作成者と共同で作成されました。

Liam

メンバー登録日: 06/24/11

163 ポイント

1ガイドが承認済み

0 件のコメント

コメントを追加

統計データ:

過去 24時間: 0

過去 7 日: 2

過去 30 日: 3

今までの合計 2,767