-
-
Make sure the USB cover on the bottom of the phone is removed first.
-
Starting at a corner, slowly work your way around the edge of the sides with your prying tool to loosen the front panel.
-
Take your time. A lot of force is necessary to loosen the front panel.
-
-
-
Set the device down so that the bottom of the phone is facing to the right.
-
Gently take off the piece of black tape surrounding the motherboard.
-
Be careful not to rip the tape.
-
![: 手順 6、 1の画像 1]()

この手順で使用する道具:
Tweezers
$4.99
購入する
-
-
-
-
-
-
-
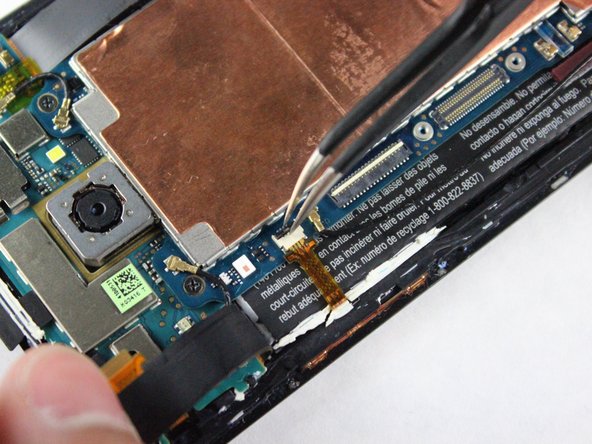
Use your pry tool to unfasten the connectors on both sides of the motherboard.
-
The connectors will still be attached to the green camera board at the top so DO NOT try to pull them off or bend them severely.
-
-
-
-
-
-
-
-
-
-
-
-
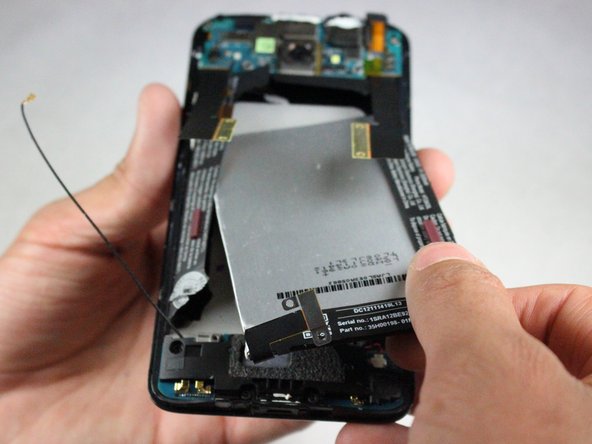
Reorient the phone so that the green camera board is farthest from you.
-
Use your tweezers to remove the two wires located at the top of the board. The wires snap off very easily so not much force is needed.
-
-
-
-
Use the pry tool to separate the housing of the phone from the battery.
-
Try not to damage the adhesive holding the battery.
-
The adhesive holding the battery in place is very strong. Use the pry tool in multiple spots around the battery to loosen the adhesive.
-
-
Slowly pull up the battery with the prying tool.
-
Remove the battery with your fingers.
-
Try to keep the black paper in place around the battery. However, should it rip, that is okay.
このガイドを埋め込む
サイズを選択し、以下のコードをコピーして、このガイドを小さなウィジェットとしてサイト/フォーラムに埋め込みます。
プレビュー