メインコンテンツにスキップ

HTC Desire 530 Speaker Replacement

必要な工具と部品

  1. HTC Desire 530 Speaker Replacement, Battery: 手順 1、 2の画像 1 HTC Desire 530 Speaker Replacement, Battery: 手順 1、 2の画像 2
    • Use the plastic opening tools to remove the plastic speaker covers that are attached through an adhesive layer.

    • They may be difficult to peel off and you might want to consider loosening the adhesive layer by running a hair dryer or a heat gun over it briefly to allow them to peel off easily.

  2. HTC Desire 530 Speaker Replacement: 手順 2、 3の画像 1 HTC Desire 530 Speaker Replacement: 手順 2、 3の画像 2 HTC Desire 530 Speaker Replacement: 手順 2、 3の画像 3
    • Use the T5 Torx screwdriver to remove the four screws in each corner.

    • Make sure to take out any SD cards, located on the left side of the phone before proceeding to the next step.

    • Use the plastic opening tool to pry the front of the device off. Fully go around the front with the plastic opening tool before attempting to pull it off.

  3. HTC Desire 530 Speaker Replacement: 手順 3、 3の画像 1 HTC Desire 530 Speaker Replacement: 手順 3、 3の画像 2 HTC Desire 530 Speaker Replacement: 手順 3、 3の画像 3
    • Dislocate the small piece with the wires connected using a nylon spudger.

    • Loosen the adhesive layer for the battery by running a hair dryer over it briefly. After the adhesive is loosened you can pry the battery out with a plastic opening tool.

  4. HTC Desire 530 Speaker Replacement: 手順 4、 2の画像 1 HTC Desire 530 Speaker Replacement: 手順 4、 2の画像 2
    • After prying, simply lift the battery up and out of the device.

  5. HTC Desire 530 Speaker Replacement, Speaker: 手順 5、 3の画像 1 HTC Desire 530 Speaker Replacement, Speaker: 手順 5、 3の画像 2 HTC Desire 530 Speaker Replacement, Speaker: 手順 5、 3の画像 3
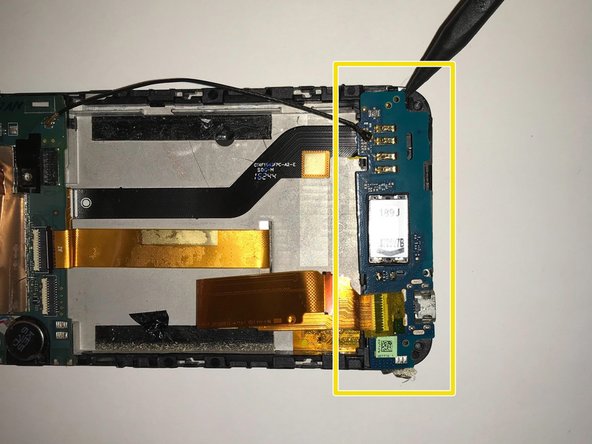
    • Use the T5 Torx screwdriver to remove the screw located on the left side.

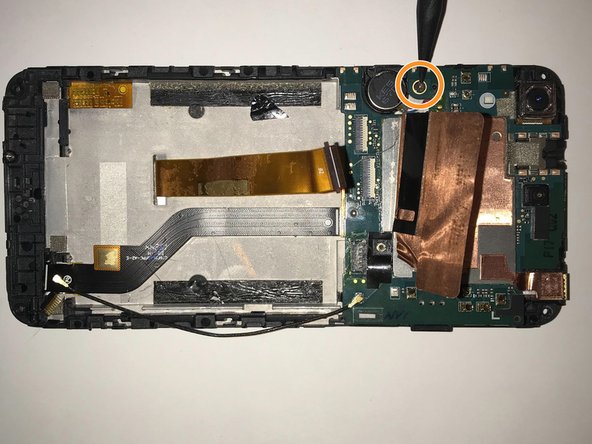
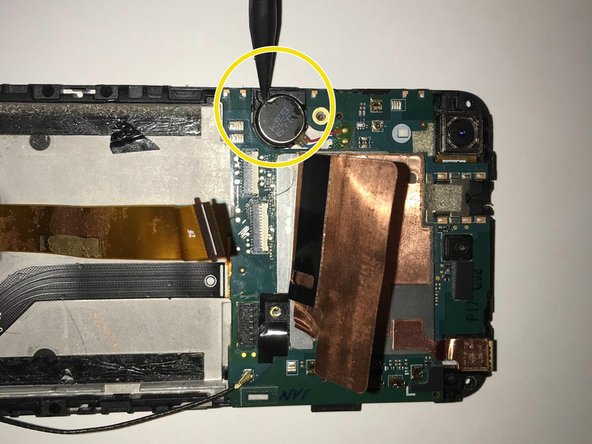
    • Use the spudger to slowly pry off the black cover.

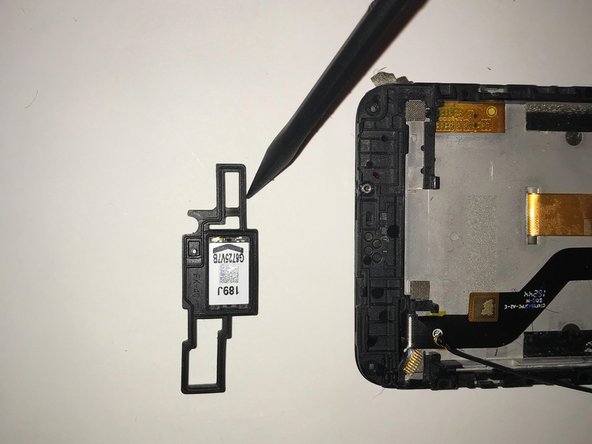
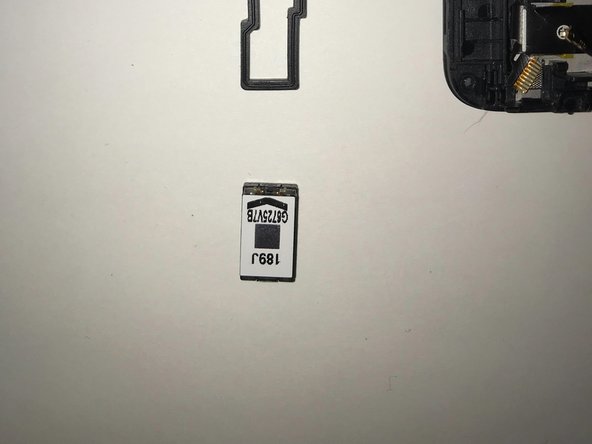
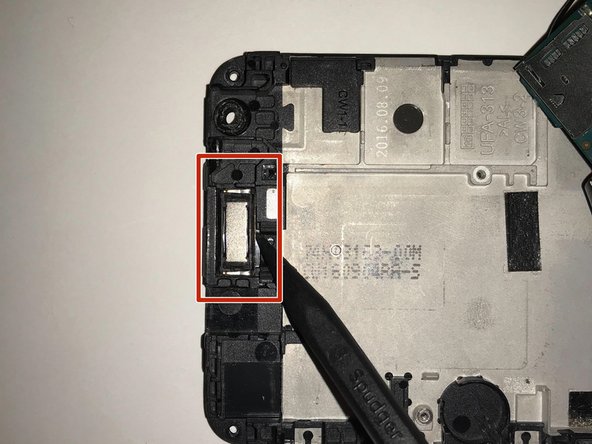
    • Slowly pry off the circuit board with the spudger in a very cautious manner.

  6. HTC Desire 530 Speaker Replacement: 手順 6、 3の画像 1 HTC Desire 530 Speaker Replacement: 手順 6、 3の画像 2 HTC Desire 530 Speaker Replacement: 手順 6、 3の画像 3
    • Remove the rubber object by pinching and pulling it out.

    • Take the speaker out of the holder.

  7. HTC Desire 530 Speaker Replacement: 手順 7、 3の画像 1 HTC Desire 530 Speaker Replacement: 手順 7、 3の画像 2 HTC Desire 530 Speaker Replacement: 手順 7、 3の画像 3
    • To access the top speaker, you must first detach the orange cable from its holder with your fingers.

    • Remove the T5 Torx screw.

    • Carefully pry off the circular object with the spudger.

    • Do not accidentally disconnect this object from the phone. It is connected by 2 short wires.

  8. HTC Desire 530 Speaker Replacement: 手順 8、 3の画像 1 HTC Desire 530 Speaker Replacement: 手順 8、 3の画像 2 HTC Desire 530 Speaker Replacement: 手順 8、 3の画像 3
    • Use the spudger to carefully work your way around the edge of the motherboard and slowly pry it off.

    • Use the spudger to pry off the speaker.

終わりに

To reassemble your device, follow these instructions in reverse order.

作成者

1人の作成者と共同作成されました。

Thomas Morin

メンバー登録日: 10/25/18

241 ポイント

2のガイドは作成済み

チーム

UMASSD-PEAK-F18S3G2 UMASSD-PEAK-F18S3G2人のメンバー

Community

3 メンバー

10のガイドは作成済み

0 件のコメント

コメントを追加

統計データ:

過去 24時間: 0

過去 7 日: 0

過去 30 日: 1

今までの合計 393