メインコンテンツにスキップ

HTC Amaze Front Facing Camera Replacement

必要な工具と部品

  1. HTC Amaze Front Facing Camera Replacement, Battery: 手順 1、 2の画像 1 HTC Amaze Front Facing Camera Replacement, Battery: 手順 1、 2の画像 2
    • Gently press the Release Button located at the bottom of the phone in order to remove the back panel of the device.

  2. HTC Amaze Front Facing Camera Replacement: 手順 2、 1の画像 1
    • Once you locate the battery, look for a notch below it.

    • Gently insert your fingernails into the notch.

    • Lift the battery out of its recess.

  3. HTC Amaze Front Facing Camera Replacement, HTC Amaze Back Panel Disassembly: 手順 3、 3の画像 1 HTC Amaze Front Facing Camera Replacement, HTC Amaze Back Panel Disassembly: 手順 3、 3の画像 2 HTC Amaze Front Facing Camera Replacement, HTC Amaze Back Panel Disassembly: 手順 3、 3の画像 3
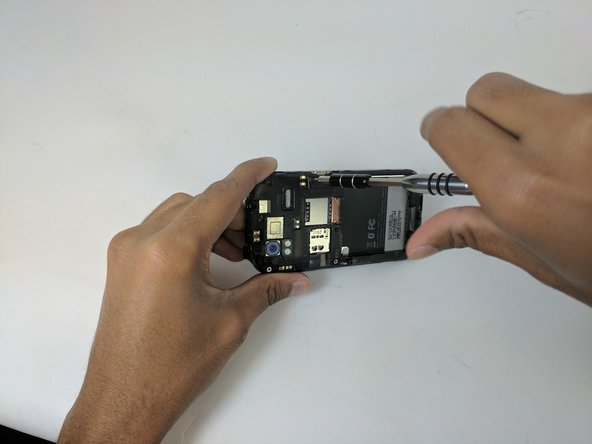
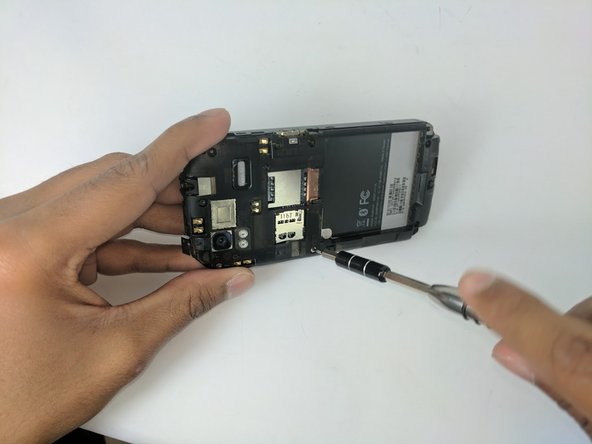
    • Use the Torx T5 screwdriver to remove the 7 Torx Screws (3mm) attached to the back housing of the device.

    • One of the Screws may have a tape attached to it that says void. Removing this screw will void the devices warranty.

  4. HTC Amaze Front Facing Camera Replacement: 手順 4、 3の画像 1 HTC Amaze Front Facing Camera Replacement: 手順 4、 3の画像 2 HTC Amaze Front Facing Camera Replacement: 手順 4、 3の画像 3
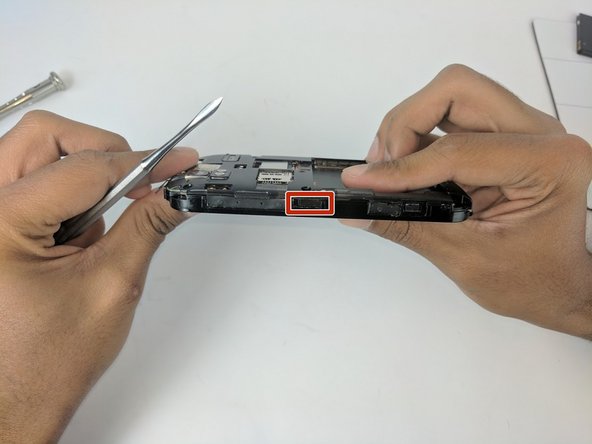
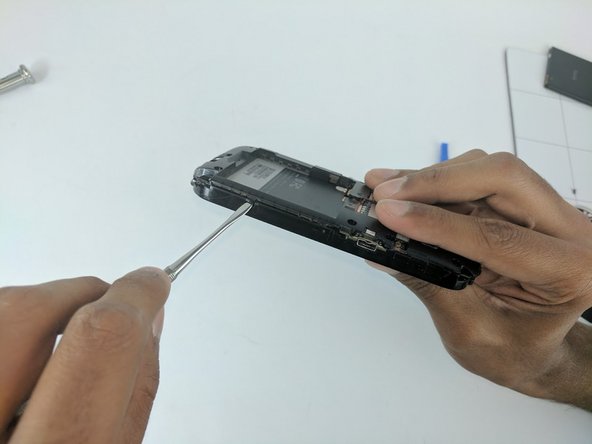
    • Proceed to remove the back housing by using the spudger to gently unclip each clip holding the back housing in place and then lift the outer edges of the back housing

    • If you're having trouble opening the back try using the spudger to gently pry all around the panel before you attempt to remove it.

  5. HTC Amaze Front Facing Camera Replacement: 手順 5、 2の画像 1 HTC Amaze Front Facing Camera Replacement: 手順 5、 2の画像 2
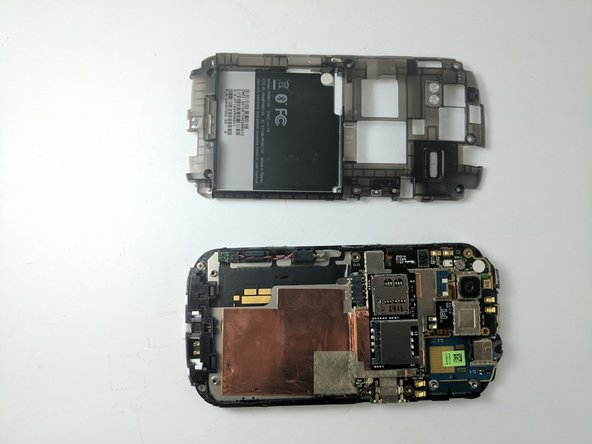
    • Now simply remove the back panel by gently pulling. This will make it easier to access the devices internal components.

  6. HTC Amaze Front Facing Camera Replacement, Motherboard: 手順 6、 3の画像 1 HTC Amaze Front Facing Camera Replacement, Motherboard: 手順 6、 3の画像 2 HTC Amaze Front Facing Camera Replacement, Motherboard: 手順 6、 3の画像 3
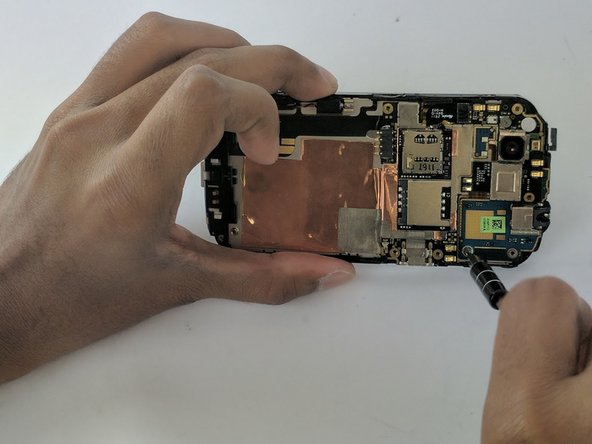
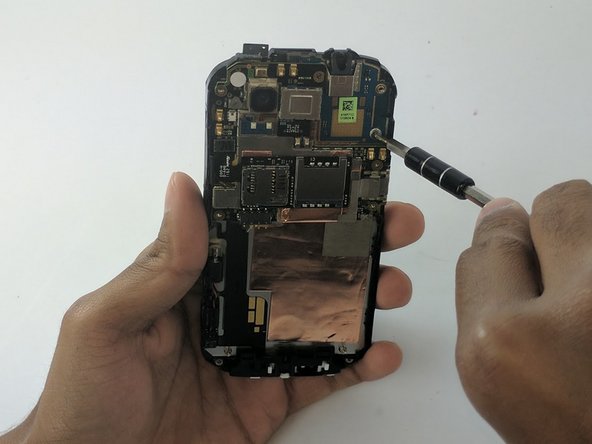
    • Locate and remove the Phillips J000 screw.

  7. HTC Amaze Front Facing Camera Replacement: 手順 7、 2の画像 1 HTC Amaze Front Facing Camera Replacement: 手順 7、 2の画像 2
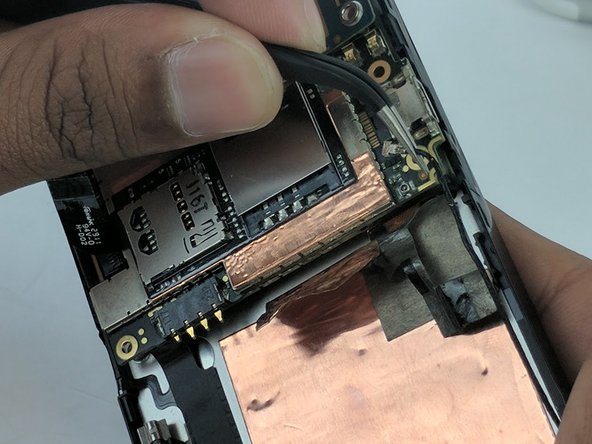
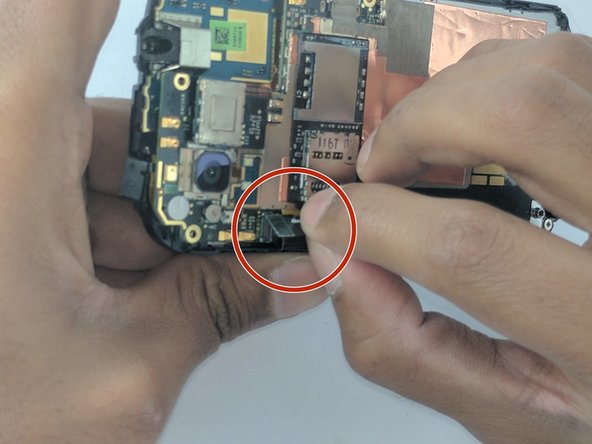
    • Remove the power supply from the motherboard by gently pulling the end of the black wire with the precision tweezers.

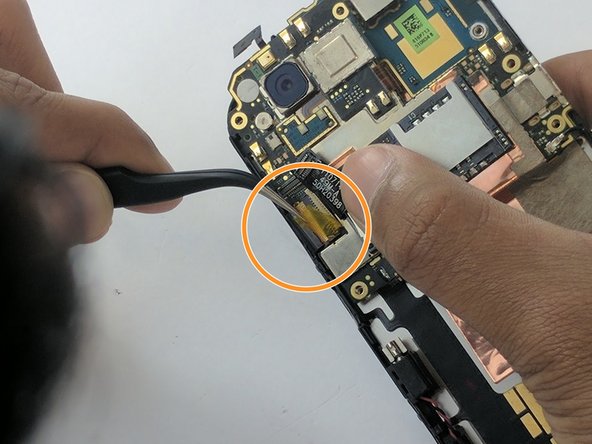
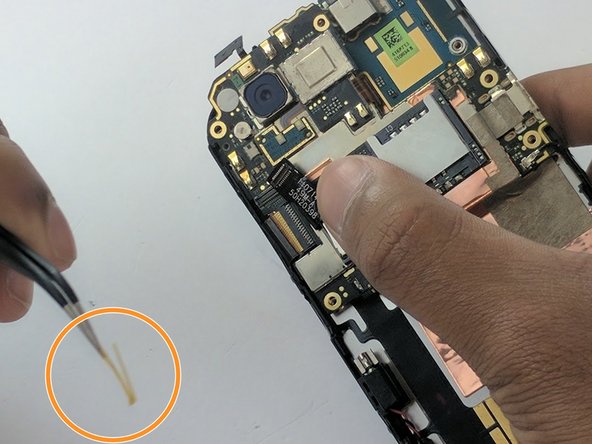
  8. HTC Amaze Front Facing Camera Replacement: 手順 8、 3の画像 1 HTC Amaze Front Facing Camera Replacement: 手順 8、 3の画像 2 HTC Amaze Front Facing Camera Replacement: 手順 8、 3の画像 3
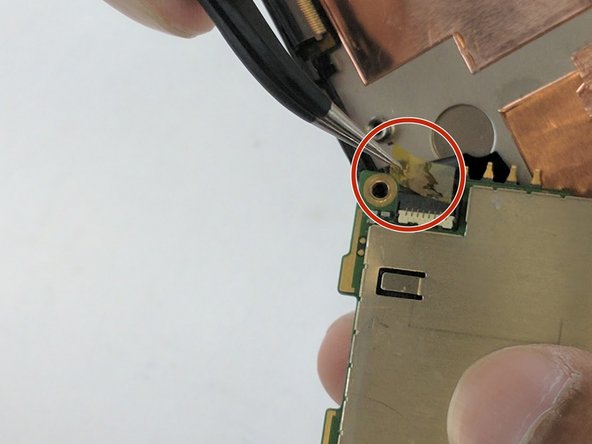
    • First, gently lift the black strip by pulling. It will take a little force and then it will disconnect.

    • Next remove the yellow mylar tape using the precision tweezers.

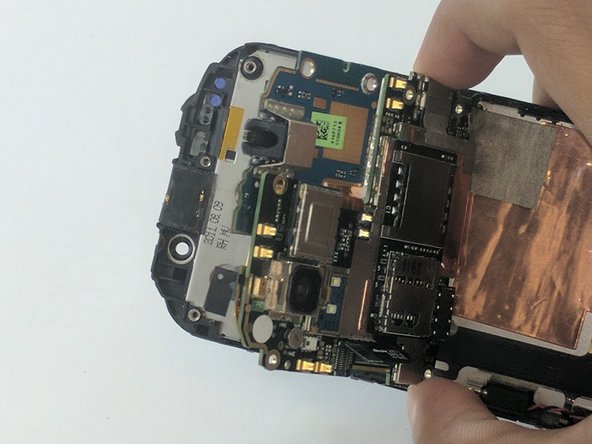
  9. HTC Amaze Front Facing Camera Replacement: 手順 9、 3の画像 1 HTC Amaze Front Facing Camera Replacement: 手順 9、 3の画像 2 HTC Amaze Front Facing Camera Replacement: 手順 9、 3の画像 3
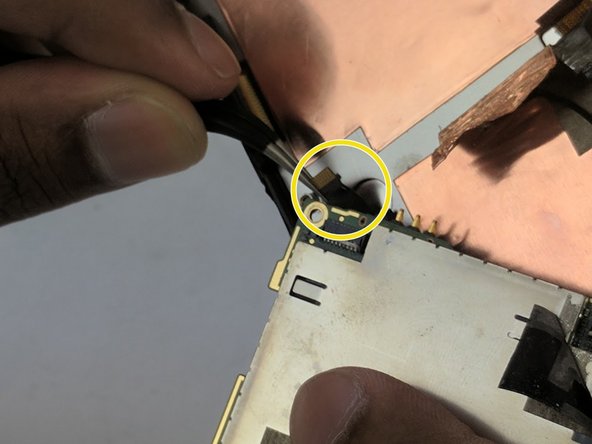
    • Remove the jawbone connector that was under the mylar tape by gently pulling with the precision tweezers.

    • Now gently pull the motherboard away from its housing. You'll now have access to the bottom side of the motherboard.

  10. HTC Amaze Front Facing Camera Replacement: 手順 10、 3の画像 1 HTC Amaze Front Facing Camera Replacement: 手順 10、 3の画像 2 HTC Amaze Front Facing Camera Replacement: 手順 10、 3の画像 3
    • Locate a second jawbone connector covered by mylar tape at the bottom of the back of the motherboard.

    • Remove the tape by pulling gently with the precision tweezers.

    • Remove the jawbone connector with the precision tweezers.

  11. HTC Amaze Front Facing Camera Replacement: 手順 11、 2の画像 1 HTC Amaze Front Facing Camera Replacement: 手順 11、 2の画像 2
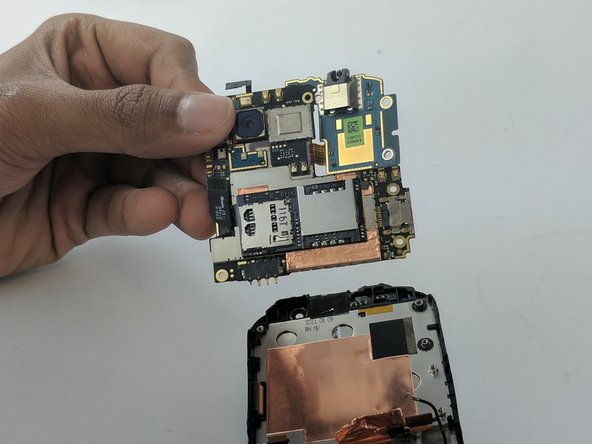
    • Carefully pull the motherboard out of its recess.

  12. HTC Amaze Front Facing Camera Replacement, Front Facing Camera: 手順 12、 2の画像 1 HTC Amaze Front Facing Camera Replacement, Front Facing Camera: 手順 12、 2の画像 2
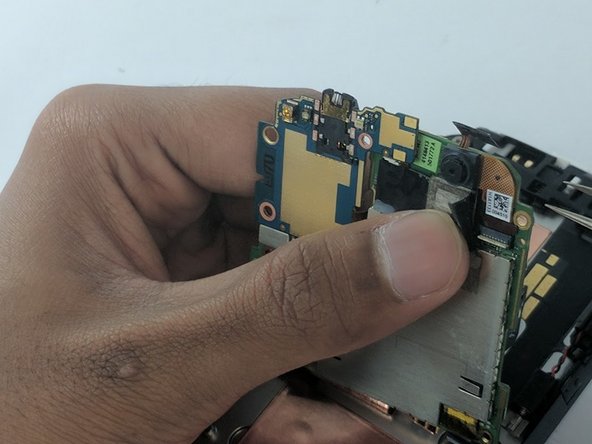
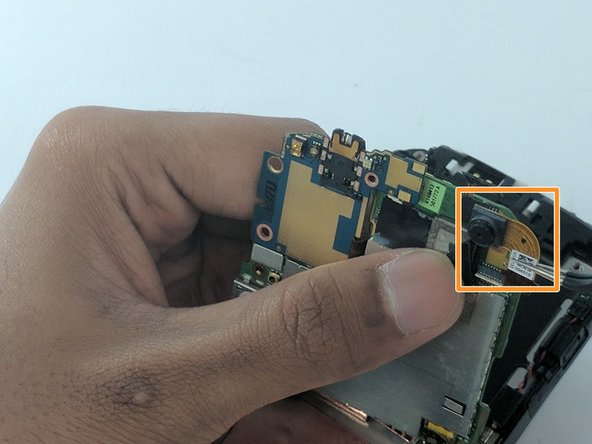
    • Locate the camera at the top right of the interior side of the motherboard, and remove the tape holding its connector in place. Peel back the tape using the precision tweezers

    • While holding the tape away, gently lift the camera up with the precision tweezers.

終わりに

To reassemble your device, follow these instructions in reverse order.

作成者

2人の作成者と共同で作成されました。

Jonah DIngle

メンバー登録日: 09/22/16

286 ポイント

2のガイドは作成済み

チーム

USF Tampa, Team 16-3, Eyestone Fall 2016 USF Tampa, Team 16-3, Eyestone Fall 2016人のメンバー

USFT-EYESTONE-F16S16G3

2 メンバー

10のガイドは作成済み

0 件のコメント

コメントを追加

統計データ:

過去 24時間: 0

過去 7 日: 0

過去 30 日: 2

今までの合計 157