はじめに
If the keys on your keyboard are sticky or broken, follow this replacement guide!
必要な工具と部品
-
-
Flip the laptop over.
-
Slide the lever with the battery symbol beside it firmly until the battery pops out.
-
Remove the battery from the laptop.
-
-
-
Slide the right lever firmly to the right.
-
Slide the cover towards yourself to remove it.
-
-
-
-
Flip the laptop over so the keyboard is visible.
-
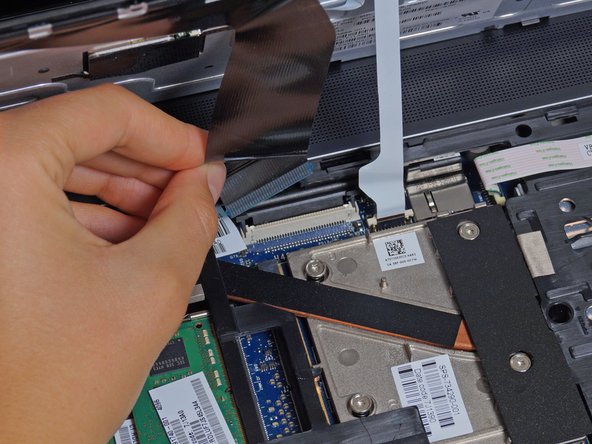
Insert the spudger under the left side of the keyboard.
-
Carefully raise the side of the keyboard and firmly pull the left corner of the keyboard until it pops up.
-
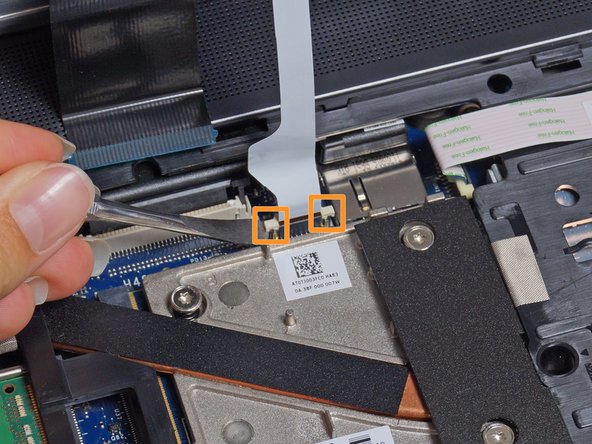
Run your fingers under the edges of the keyboard along the top edge of the keyboard, from the top left to the top right, to separate it from the remaining clips.
-
Carefully slide the keyboard up toward the screen and out of the case.
-


To reassemble your device, follow these instructions in reverse order.
To reassemble your device, follow these instructions in reverse order.
33 の人々がこのガイドを完成させました。
チーム

Cal Poly, Team 8-43, Amido Winter 2015 Cal Poly, Team 8-43, Amido Winter 2015人のメンバー
CPSU-AMIDO-W15S8G43
4 メンバー
15のガイドは作成済み
13 件のコメント
I found that if you remove the optical drive, you have access to push the keyboard form the back to disengage the side with the number pad.
In addition to the comments about pushing the keyboard out after removing the optical drive (which is actually the documented way of removing the keyboard) I'd add that the bit about "There are two sets of threads to get past. Once unscrewed from the first thread, lift the screw up until it hits the next set and begin unscrewing again." is incorrect. The screws are deliberately designed to be self retaining. You only need to unscrew it until the screw turns freely (i.e. not fully).
please, will they have the part number of this keyboard ?, it hurt me and I saw the steps that are followed to extract it, and replace it, but I can not find the part number of the keyboard replacement, if someone could have it tell me which is please?
cesar rios - 返信
Go to partsurfer.hp.com with the p/n of the machine and you'll get the exact part number of the keyboard you need
Johan Rios - 返信