このバージョンは誤った内容を含んでいる可能性があります。最新の承認済みスナップショットに切り替えてください。
必要な工具と部品
-
この手順は未翻訳です。 翻訳を手伝う。
-
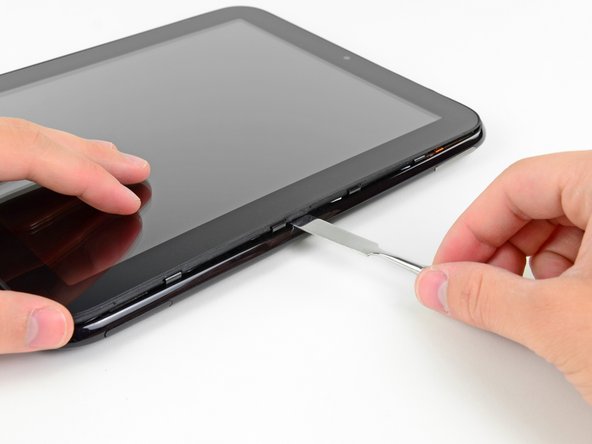
As in the previous step, use a spudger to pry the front panel up from the rear case along its long edge on the volume button side of the TouchPad.
-
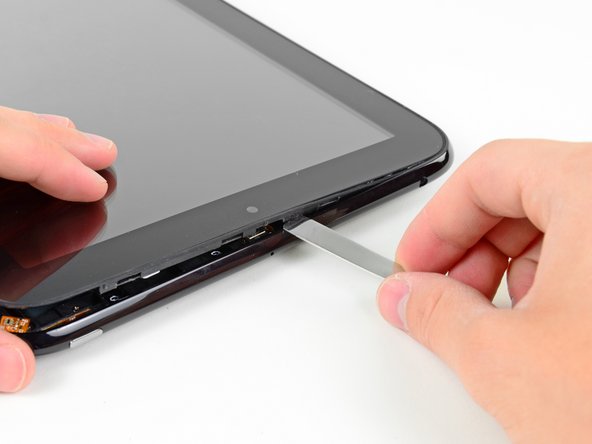
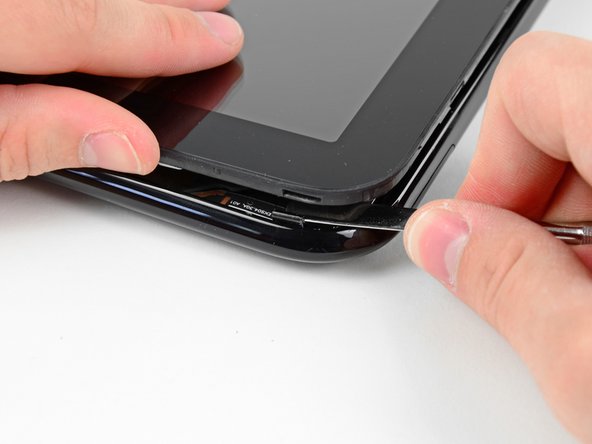
Continue to pry the front panel assembly up along the volume button side of the TouchPad until there is a gap between it and the rear case.
-
-
-
この手順は未翻訳です。 翻訳を手伝う。
-
Pull the vibrator motor connector straight away from its socket on the USB connector board.
-
Remove the USB connector board from the TouchPad.
-
NOTE: First verify that there is a connector before pulling! The vibrator motor may be soldered directly to the USB Board requiring the motor to be pried up and removed together with the board.
-


57 の人々がこのガイドを完成させました。

6 件のコメント
Removing the screen is easily the most difficult, time consuming and frustrating part of the whole process. Once removed, the rest, while tedious, is not particularly difficult.
Very well done! I could have used a little more “here is a clip that holds the screen frame to the body frame…” because I was gently prying the screen out of its own frame. But luckily never snapped it.
i have 2 units, 1 of which went below battery critical and is in that protective state now where it won’t take a charge. Going to take the battery from the other unit so I can power this one on and the flash the battery system firmware to reset and hopefully initiate the charging capabilities.
i honestly can’t believe this was built back in 2011 because they did a pretty good job.
And I just happened to see an original charging barrel at my friends house while visiting in another state. He was just charging his iPhone with it so I begged him to trade me for a wall wart that I had. Super lucky find.
thanks again for posting this guide.
And to anyone still reading, the newest nightly builds will crash your touchpad for sure.
Written 4/3/2019
james
The newest nightly builds? I thought HP had totally abandoned the TouchPad.