メインコンテンツにスキップ

HP Stream 11-r020nr Screen Replacement

必要な工具と部品

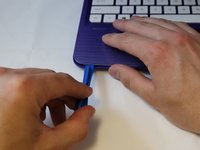
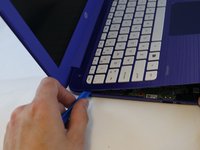
  1. HP Stream 11-r020nr Screen Replacement, Keyboard Panel: 手順 1、 2の画像 1 HP Stream 11-r020nr Screen Replacement, Keyboard Panel: 手順 1、 2の画像 2
    • Turn off your HP Stream 11-r020nr by holding the power button down for 10 seconds.

    • Turn the device top down so the rubber feet are facing up.

    • Use a metal spudger to remove all the rubber feet off of the bottom of the device, including the small ones. There will be a total of 11 screws to remove.

  2. HP Stream 11-r020nr Screen Replacement: 手順 2、 1の画像 1
    • Using the Phillips #1 screwdriver, remove all 11 of the the 5mm screws.

  3. HP Stream 11-r020nr Screen Replacement: 手順 3、 2の画像 1 HP Stream 11-r020nr Screen Replacement: 手順 3、 2の画像 2
    • Flip the laptop over and open the laptop.

    • Using the blue plastic opening tool, separate the keyboard plate from the main body by prying up starting around the bottom corners, prying the bottom up first and the sides second all the way around the whole keyboard plate.

    • Be gentle when lifting the keyboard up as there will be ribbon cables still attaching the keyboard to the base of the laptop.

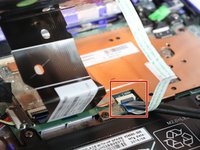
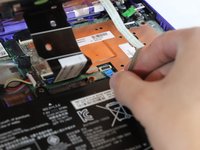
  4. HP Stream 11-r020nr Screen Replacement: 手順 4、 2の画像 1 HP Stream 11-r020nr Screen Replacement: 手順 4、 2の画像 2
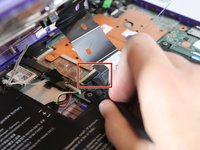
    • Use the black nylon spudger to flip the black tab up that holds the ribbon cable in place.

    • Lift the ribbon cable free.

  5. HP Stream 11-r020nr Screen Replacement: 手順 5、 2の画像 1 HP Stream 11-r020nr Screen Replacement: 手順 5、 2の画像 2
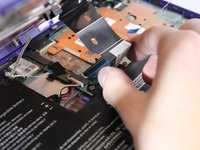
    • Use the black nylon spudger to flip the black tab up that holds the large ribbon cable in place.

    • Pull the ribbon cable free from the base of the keyboard.

  6. HP Stream 11-r020nr Screen Replacement: 手順 6、 2の画像 1 HP Stream 11-r020nr Screen Replacement: 手順 6、 2の画像 2
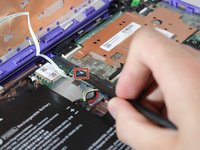
    • Remove the tape covering the ribbon cable.

    • Use the black nylon spudger to flip the black tab up that holds the ribbon cable in place.

    • Pull the ribbon cable away from the base of the laptop.

  7. HP Stream 11-r020nr Screen Replacement: 手順 7、 1の画像 1
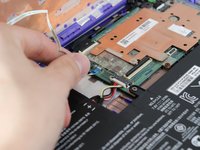
    • After detaching the two large ribbon cables, carefully lean the keyboard against the screen.

  8. HP Stream 11-r020nr Screen Replacement, Charging Port: 手順 8、 1の画像 1
    • Pull the power cable away with your fingers.

  9. HP Stream 11-r020nr Screen Replacement: 手順 9、 1の画像 1
    • Using the Phillips #1 screwdriver, remove the 4 mm screw.

  10. HP Stream 11-r020nr Screen Replacement: 手順 10、 1の画像 1
    • Lift and remove the charging port from the device.

  11. HP Stream 11-r020nr Screen Replacement, Screen: 手順 11、 3の画像 1 HP Stream 11-r020nr Screen Replacement, Screen: 手順 11、 3の画像 2 HP Stream 11-r020nr Screen Replacement, Screen: 手順 11、 3の画像 3
    • Remove the power port 4 mm screw.

    • Using the Phillips #1 screwdriver, remove a total four 5 mm hinge screws.

    • Lift the screen up and away from the device.

    • Be sure to take caution because there are two wires still attached to the base of the laptop.

  12. HP Stream 11-r020nr Screen Replacement: 手順 12、 3の画像 1 HP Stream 11-r020nr Screen Replacement: 手順 12、 3の画像 2 HP Stream 11-r020nr Screen Replacement: 手順 12、 3の画像 3
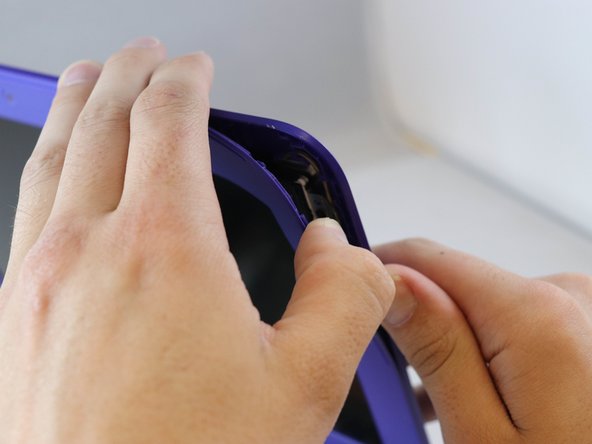
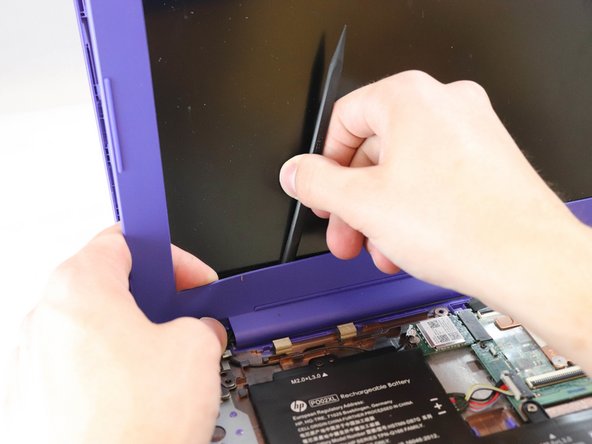
    • Using the black nylon spudger, lift the top right corner of the frame from the screen.

    • From there, you can make your way around the screen. You will feel the frame pop off one at a time.

    • When you get to the bottom of the screen, place the plastic spudger between the screen and the frame and drag along the bottom to separate the adhesive.

  13. HP Stream 11-r020nr Screen Replacement: 手順 13、 1の画像 1
    • Flip the laptop to separate the frames using the small plastic opening tool.

    • You will hear a series of clicks as the screen pops apart

  14. HP Stream 11-r020nr Screen Replacement: 手順 14、 3の画像 1 HP Stream 11-r020nr Screen Replacement: 手順 14、 3の画像 2 HP Stream 11-r020nr Screen Replacement: 手順 14、 3の画像 3
    • Using the plastic spudger, separate the cosmetic stickers from the bottom left and right of the frame.

    • Using the Phillips #0 screwdriver, remove two 2mm screws, one on each side. Then remove the plastic covering the edge of the screen.

    • Continuing with the Phillips #0 screwdriver, remove four 2mm screws that hold the screen in place.

  15. HP Stream 11-r020nr Screen Replacement: 手順 15、 3の画像 1 HP Stream 11-r020nr Screen Replacement: 手順 15、 3の画像 2 HP Stream 11-r020nr Screen Replacement: 手順 15、 3の画像 3
    • Lift and flip the screen up to reveal the video cable.

    • Gently pull the tape connected to the video cable.

    • Disconnect the video cable and remove the screen from the device.

終わりに

To reassemble your device, follow these instructions in reverse order.

ある他の人がこのガイドを完成しました。

作成者

3人の作成者と共同で作成されました。

Victoria McGregor

メンバー登録日: 04/09/18

556 ポイント

4のガイドは作成済み

チーム

0 件のコメント

コメントを追加

統計データ:

過去 24時間: 0

過去 7 日: 4

過去 30 日: 12

今までの合計 451