メインコンテンツにスキップ

HP ProBook 440 G1 Hard Disc Drive (HDD) Replacement

必要な工具と部品

  1. HP ProBook 440 G1 Hard Disc Drive (HDD) Replacement, Battery: 手順 1、 2の画像 1 HP ProBook 440 G1 Hard Disc Drive (HDD) Replacement, Battery: 手順 1、 2の画像 2
    • Make sure the laptop is turned off before you start.

    • Push and hold the release tab on the right and left toward the center.

  2. HP ProBook 440 G1 Hard Disc Drive (HDD) Replacement: 手順 2、 2の画像 1 HP ProBook 440 G1 Hard Disc Drive (HDD) Replacement: 手順 2、 2の画像 2
    • Pull the battery out.

  3. HP ProBook 440 G1 Hard Disc Drive (HDD) Replacement, Backplate: 手順 3、 3の画像 1 HP ProBook 440 G1 Hard Disc Drive (HDD) Replacement, Backplate: 手順 3、 3の画像 2 HP ProBook 440 G1 Hard Disc Drive (HDD) Replacement, Backplate: 手順 3、 3の画像 3
    • Push and hold the release tabs on the right and left toward the center again.

  4. HP ProBook 440 G1 Hard Disc Drive (HDD) Replacement: 手順 4、 1の画像 1
    • Slide the backplate off.

  5. HP ProBook 440 G1 Hard Disc Drive (HDD) Replacement, Hard Disc Drive (HDD): 手順 5、 2の画像 1 HP ProBook 440 G1 Hard Disc Drive (HDD) Replacement, Hard Disc Drive (HDD): 手順 5、 2の画像 2
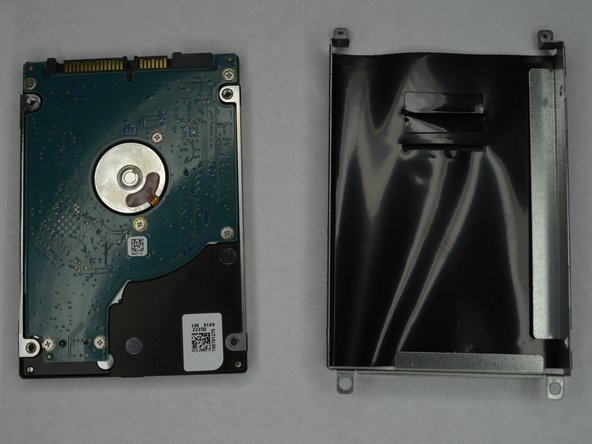
    • Locate the hard drive, opposite the battery across from the wireless card.

  6. HP ProBook 440 G1 Hard Disc Drive (HDD) Replacement: 手順 6、 3の画像 1 HP ProBook 440 G1 Hard Disc Drive (HDD) Replacement: 手順 6、 3の画像 2 HP ProBook 440 G1 Hard Disc Drive (HDD) Replacement: 手順 6、 3の画像 3
    • Remove all four Phillips #00 screws that hold the hard drive in place.

  7. HP ProBook 440 G1 Hard Disc Drive (HDD) Replacement: 手順 7、 3の画像 1 HP ProBook 440 G1 Hard Disc Drive (HDD) Replacement: 手順 7、 3の画像 2 HP ProBook 440 G1 Hard Disc Drive (HDD) Replacement: 手順 7、 3の画像 3
    • Lift up on the outer part of the hard drive.

    • Pull the hard drive out.

  8. HP ProBook 440 G1 Hard Disc Drive (HDD) Replacement: 手順 8、 2の画像 1 HP ProBook 440 G1 Hard Disc Drive (HDD) Replacement: 手順 8、 2の画像 2
    • Remove the four Phillips #00 screws holding the HDD in the HDD cover.

    • The HDD should slide out after all screws are removed.

終わりに

To reassemble your device, follow these instructions in reverse order.

作成者

2人の作成者と共同で作成されました。

Ethan A Courtney

メンバー登録日: 10/24/18

851 ポイント

7のガイドは作成済み

チーム

Purdue University Northwest, Team S1-G4, Hingst Fall 2018 Purdue University Northwest, Team S1-G4, Hingst Fall 2018人のメンバー

PNW-HINGST-F18S1G4

1 メンバー

7のガイドは作成済み

0 件のコメント

コメントを追加

統計データ:

過去 24時間: 2

過去 7 日: 6

過去 30 日: 24

今までの合計 4,077