必要な工具と部品
-
-
Rotate the printer 90 degrees counter clockwise so that the side panel next to control panel is facing you.
-
Remove the two T10 12mm Torx screws from the left side panel.
-
-
-
Set aside the top panel of the printer.
-
Remove the two T10 12 mm Torx screws from the top front of the printer
-
-
-
-
Set aside the ink cartridge carriage.
-
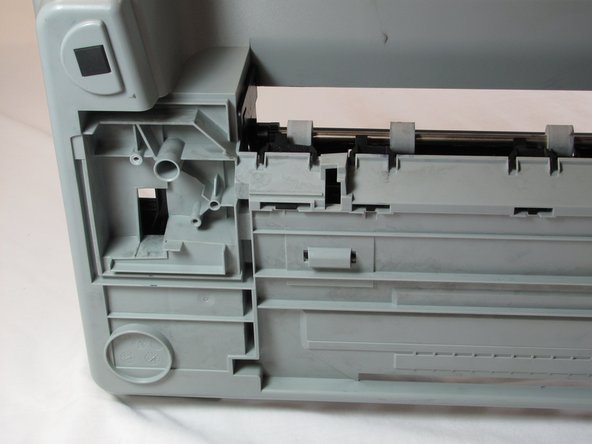
Remove the three T10 12mm Torx screws holding the paper guide to the printer body.
-
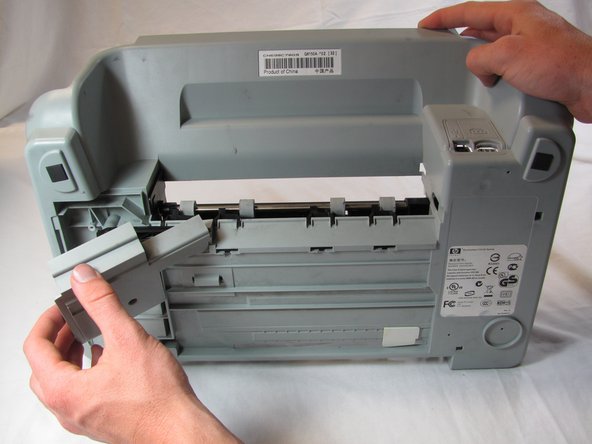
Lift the paper guide directly up to remove it and set it aside.
-
-
-
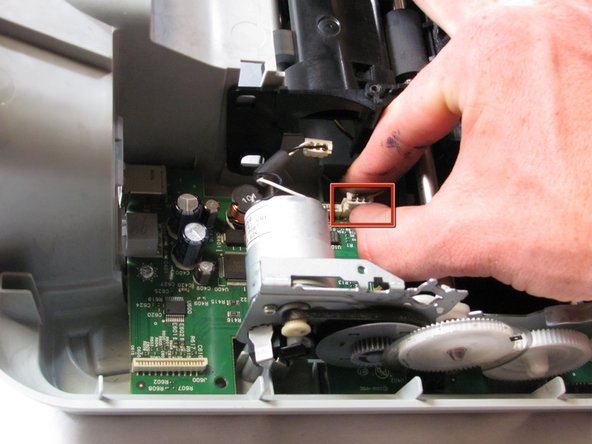
Set aside the feed roller assembly.
-
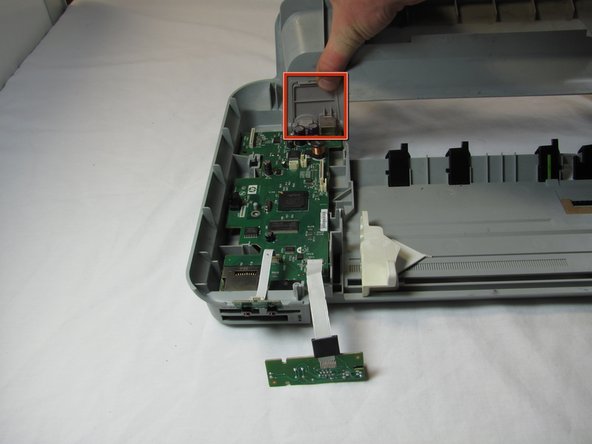
Push down on the tab that is on the power and USB back panel and then away from the printer to remove the power and USB back panel.
-


To reassemble your device, follow these instructions in reverse order.
To reassemble your device, follow these instructions in reverse order.
7 の人々がこのガイドを完成させました。
チーム

Cal Poly, Team 20-30, Maness Fall 2011 Cal Poly, Team 20-30, Maness Fall 2011人のメンバー
CPSU-MANESS-F11S20G30
4 メンバー
25のガイドは作成済み
4 件のコメント
Muito boas elucidações das etapas para desmontagem da HP C3180
Excellent guide! You saved my printer. Thanks!
Dino Conte - 返信
Hi, love your instructional slide shows. Very detailed. Thank you.
So now the big question: where do I buy the parts from? I have an HP C4280 all-in-one printer/scanner and I need to replace {because of your videos} either the control panel circuitry or the main control panel. But I have no idea where to get them. Can you suggest anyone?
Thank you,
Diane L.